
Currently, Alex and I are in the process of moving so our kitchen/apartment/lives are in shambles. Most of my baking equipment and ingredients have been packed up for the past week or so, but I (strategically) put aside things that I knew I would be in need of for Halloween treats. Like last year, our friends (who just got engaged - congrats Bryan and Samantha!) are throwing another Halloween bash, and I plan on once again contributing a number of things. I’ll most likely whip up a batch of my mango and roasted tomatillo salsa, throw together a sangria or a boozy punch, and will definitely bring a couple of sweet treats. At last year’s party, I brought my toffee and brown sugar cookies as well as today’s recipe of homemade dark chocolate peanut butter cups, and since everyone loved them, I’m planning on doing it again this year!
If someone were to ask me what my favorite Halloween candy/chocolate was, I’m pretty certain that Reese’s Peanut Butter Cups would be at the top of that list (followed by Baby Ruth and York Peppermint Patties). I’ve stated before that my love for peanut butter knows no bounds and it’s only natural that my favorite chocolate must have some peanut butter component in it. Eating Reese’s Peanut Butter Cups, or Trader Joe’s version of the candy, is blissful in and of itself, but making your own version of it at home is on a whole different level of satisfaction.
The first time I came across a recipe for homemade peanut butter cups was back in 2015 via one of my favorite food websites, Food52. I remember how excited I was to make them and it was perfect timing because the recipe was shared right before Halloween time, so I promptly made a huge batch (4 dozen) of half milk chocolate and half dark chocolate peanut butter cups for my boyfriend’s Halloween party. The recipe called for you to make the cups in mini muffin wrappers and let me tell you, it was a MESS. I spilled chocolate everywhere, the peanut butter layer was extremely difficult to work with, and I was ready to just give up. But with the help of my mom (thanks mom!) we were able to finish it and the end result, miraculously, was a success. After that experience, I knew I would continue to make homemade peanut butter cups but I figured that there just had to be a simpler way. Enter the candy mold.
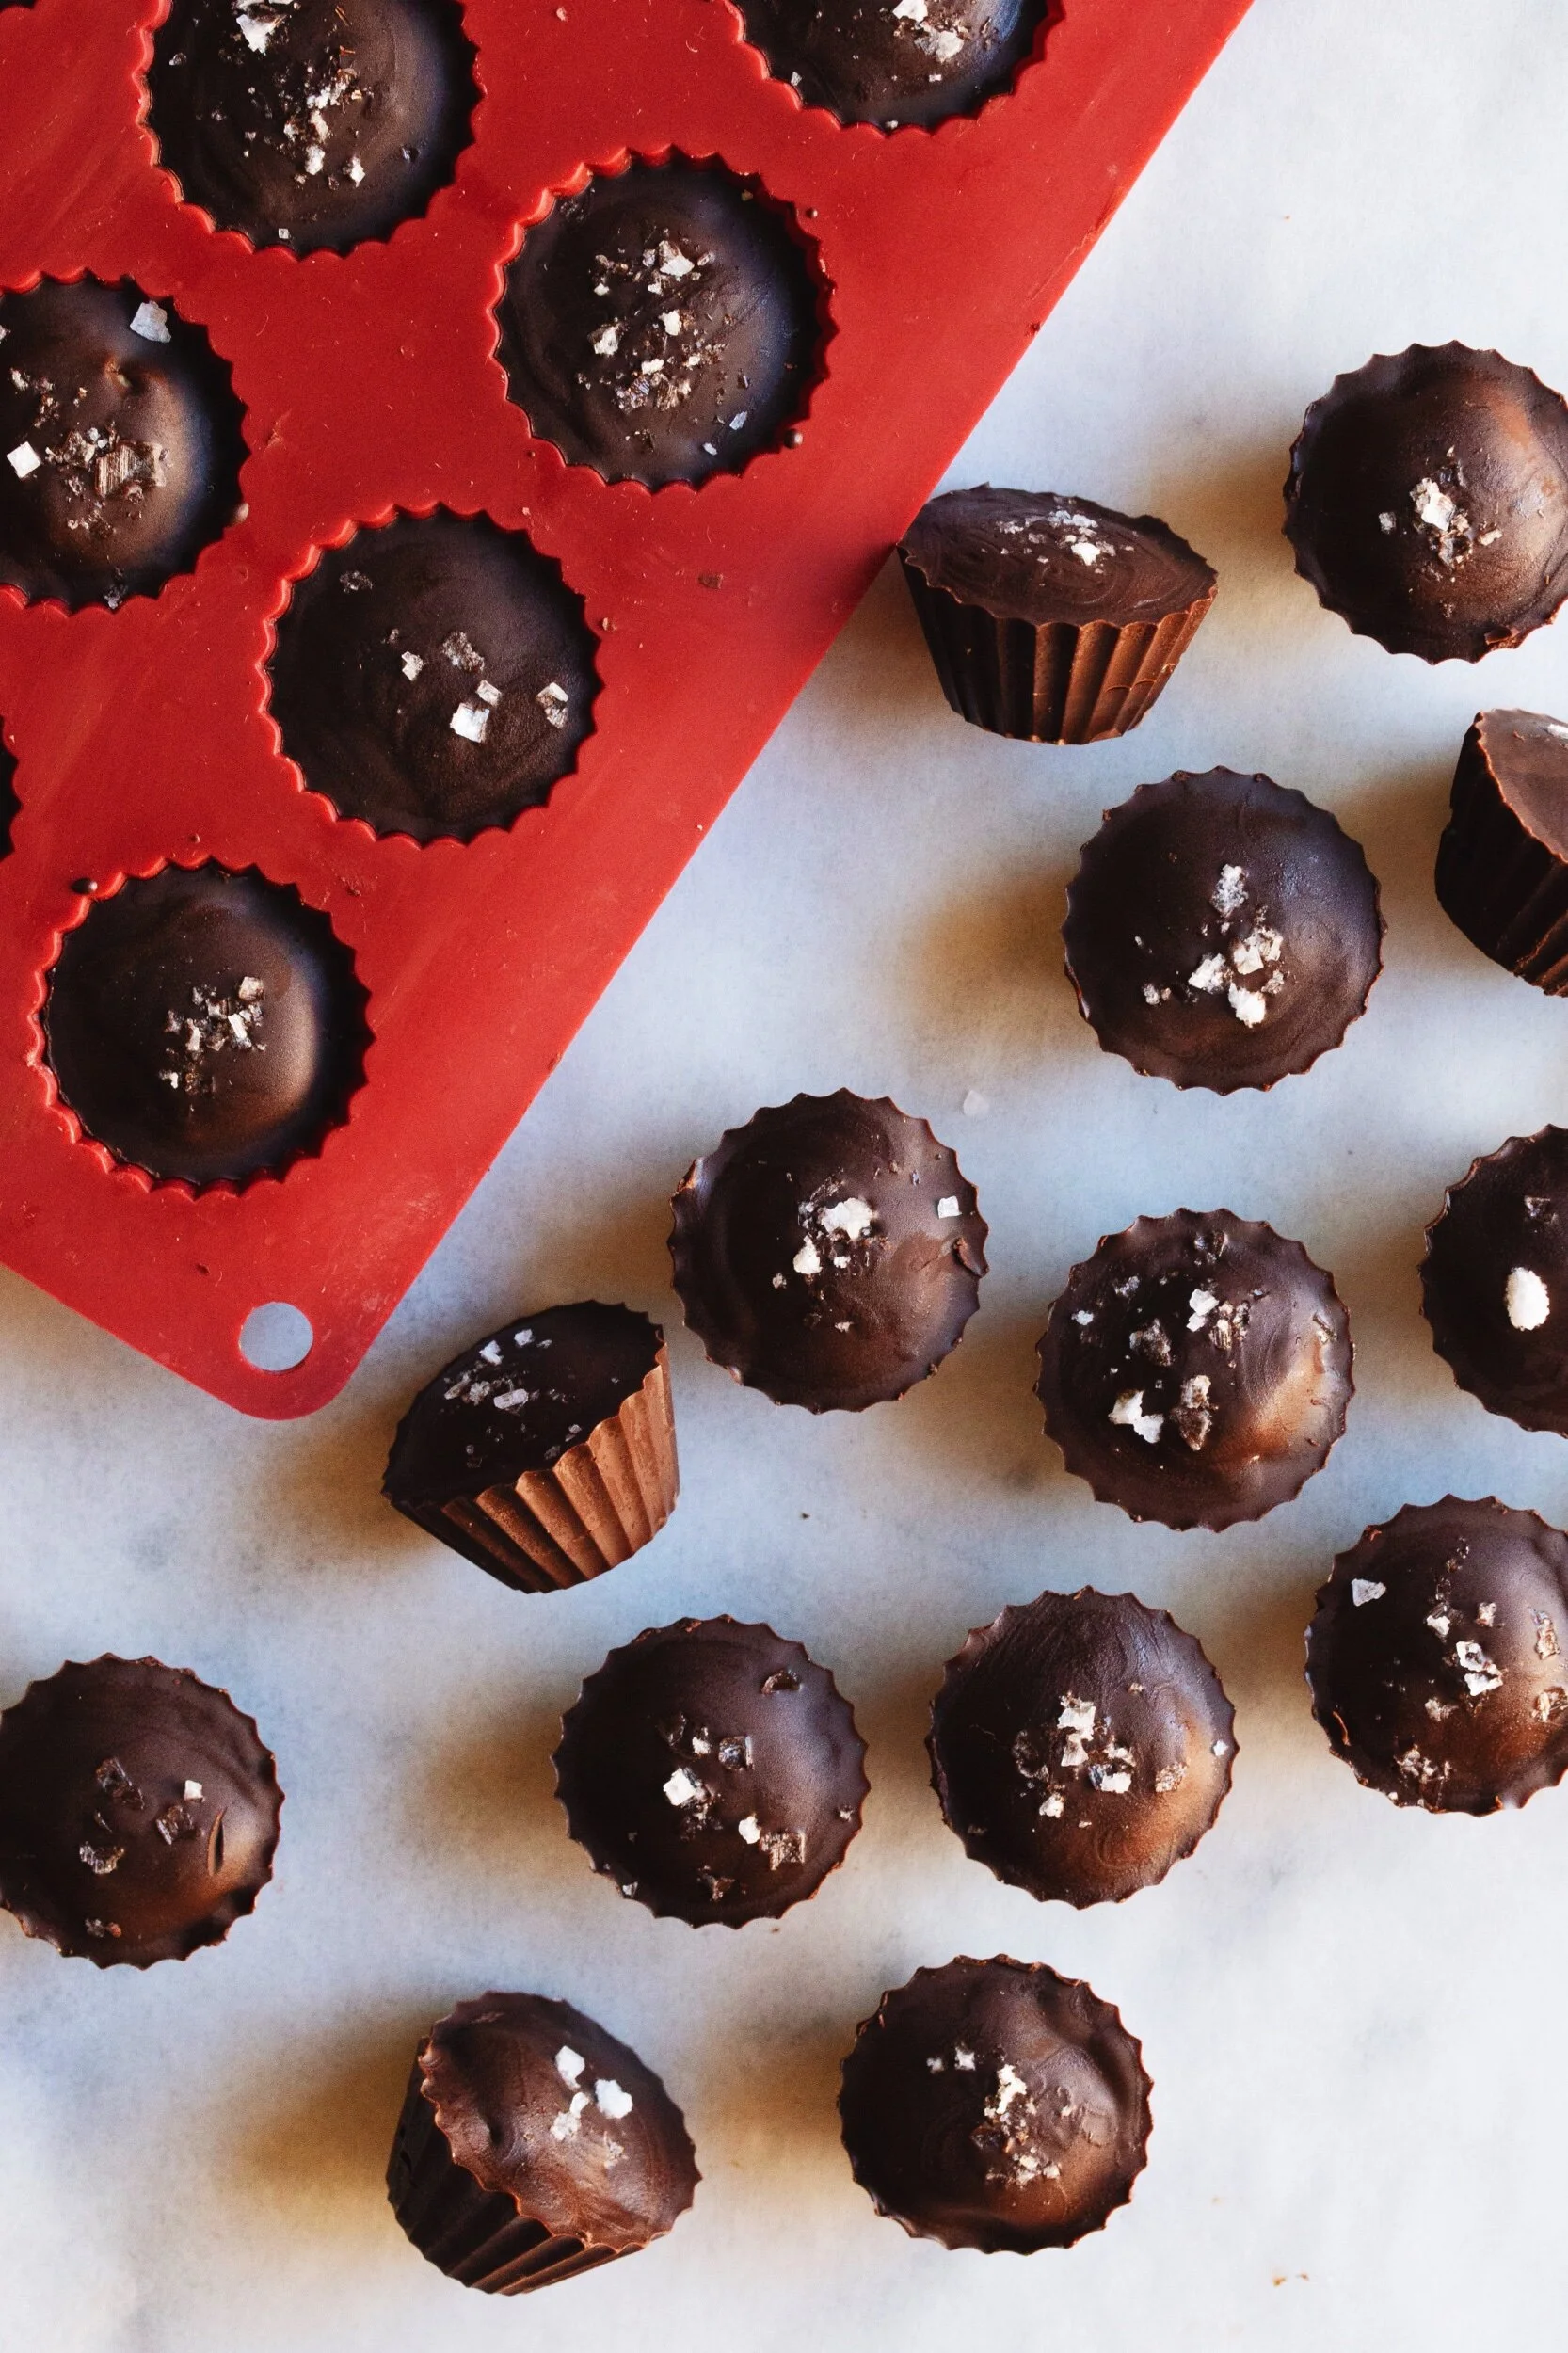
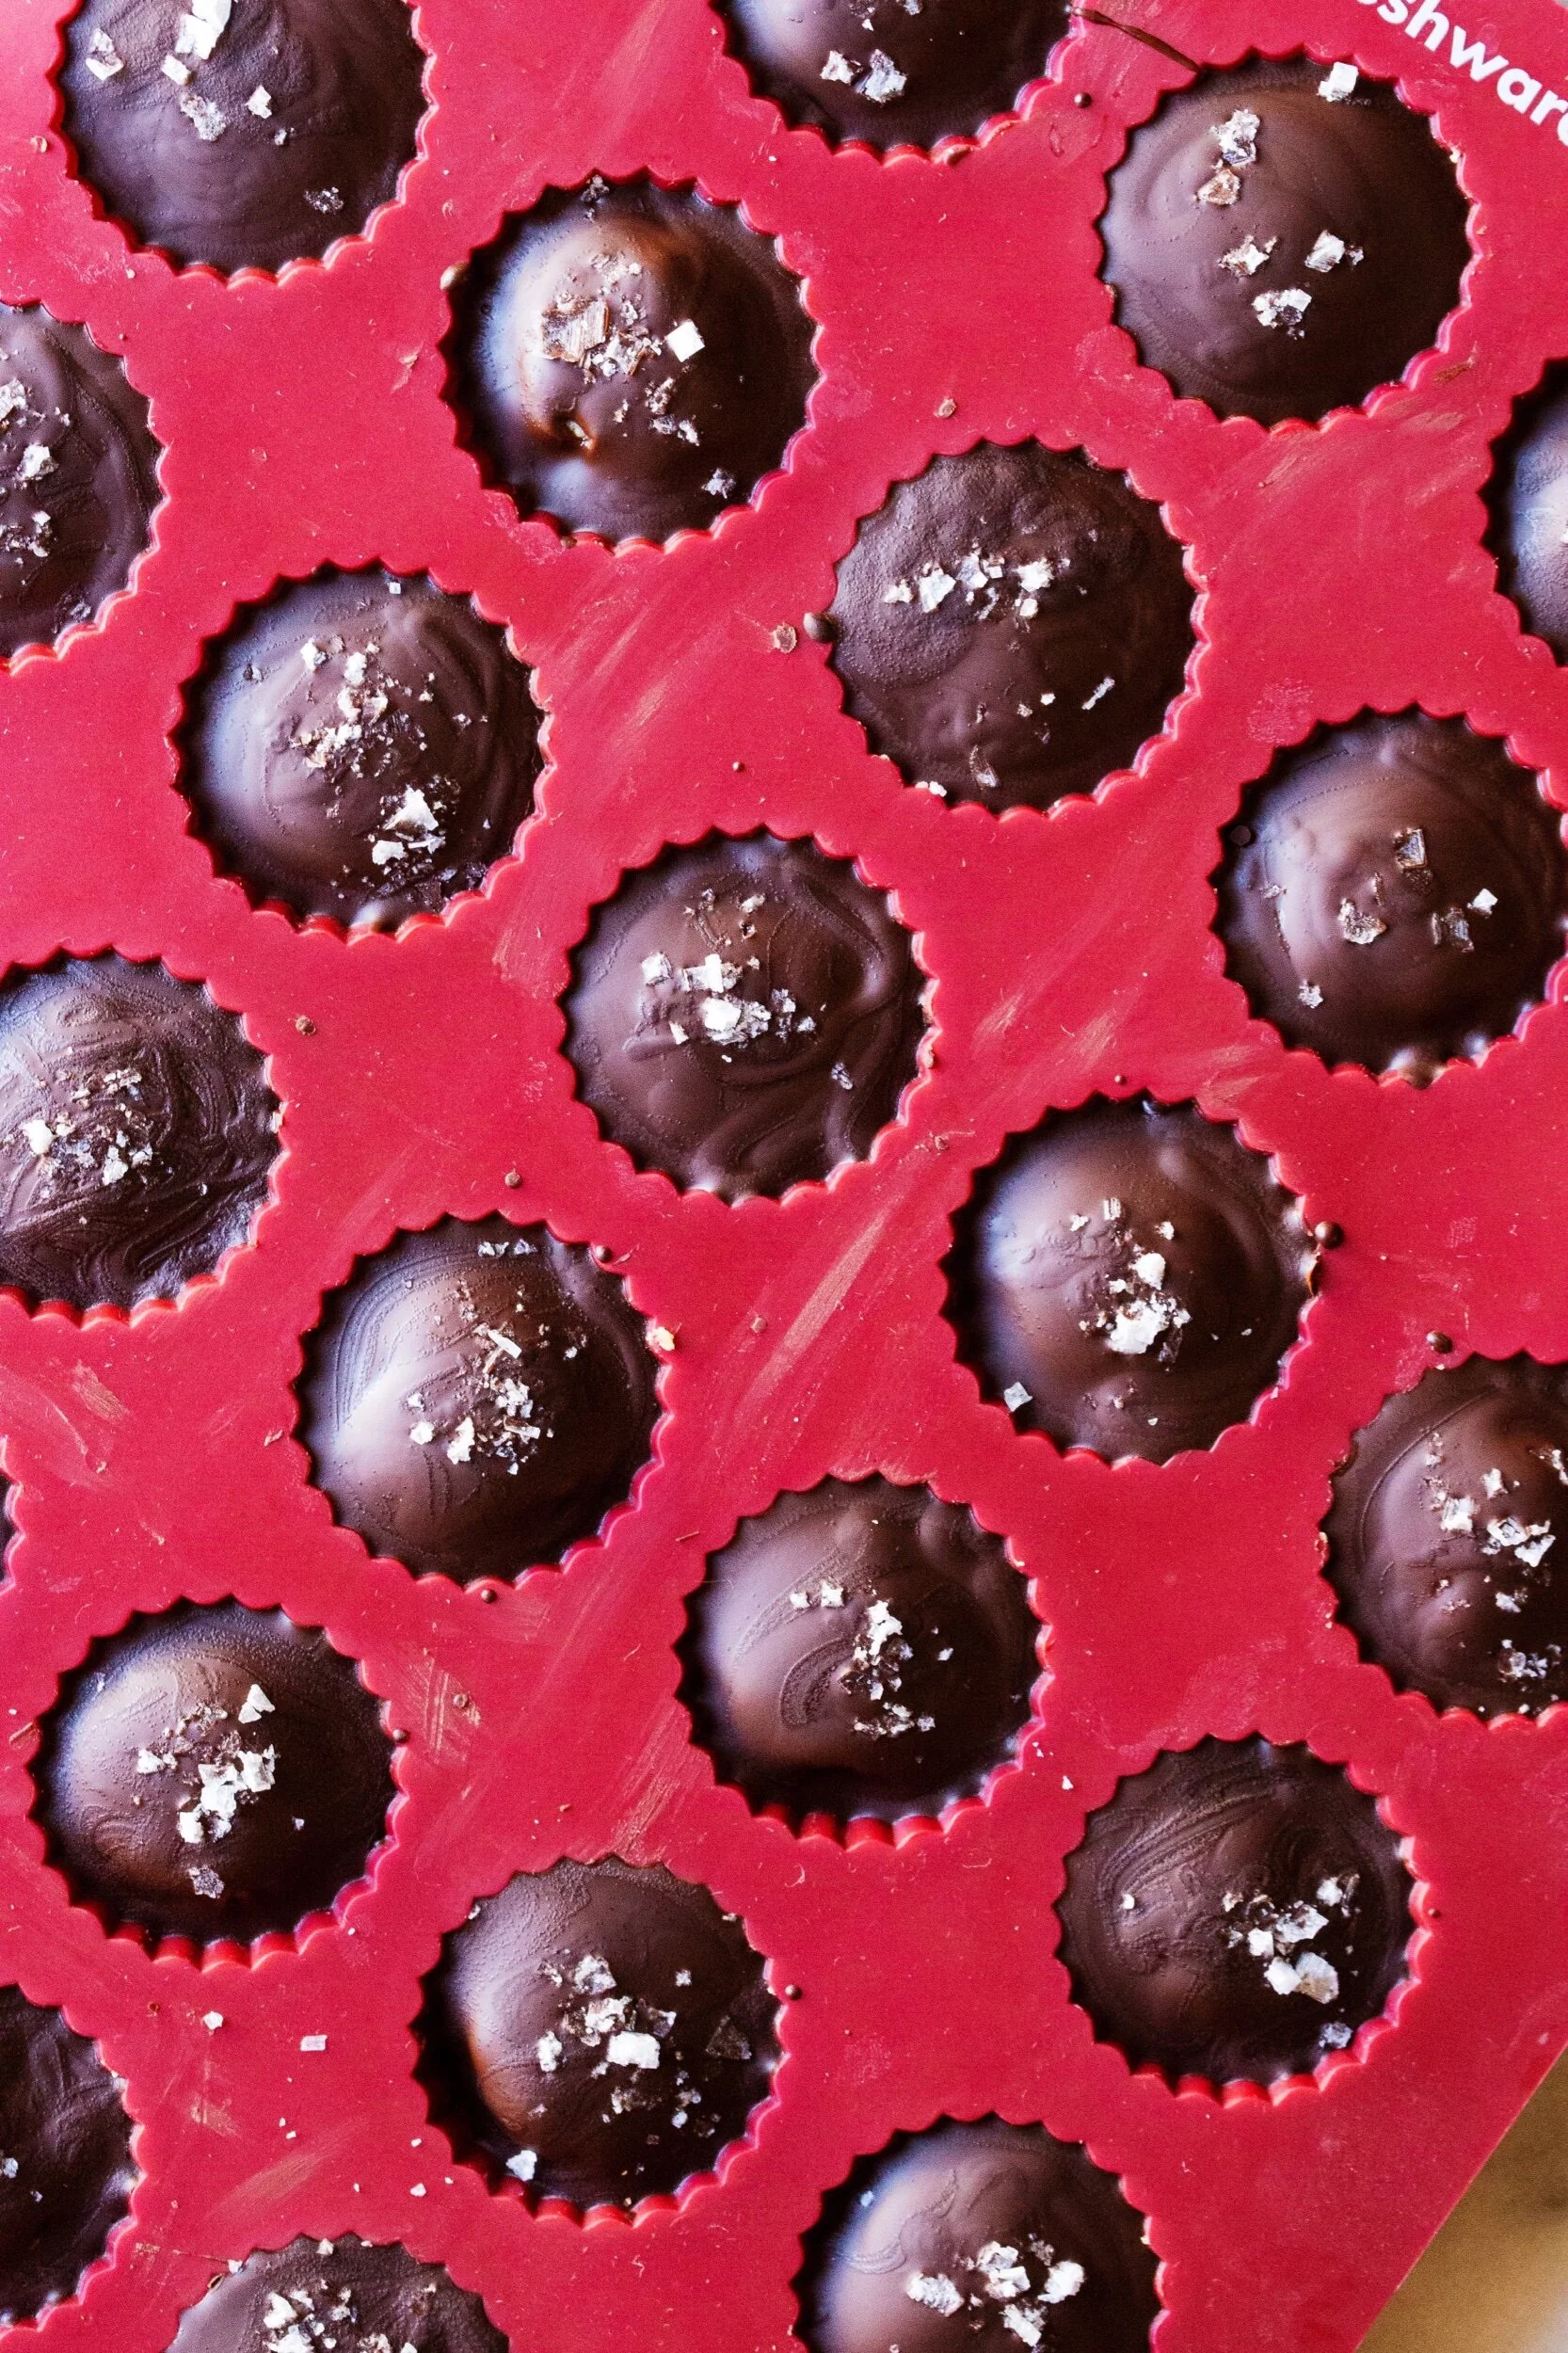
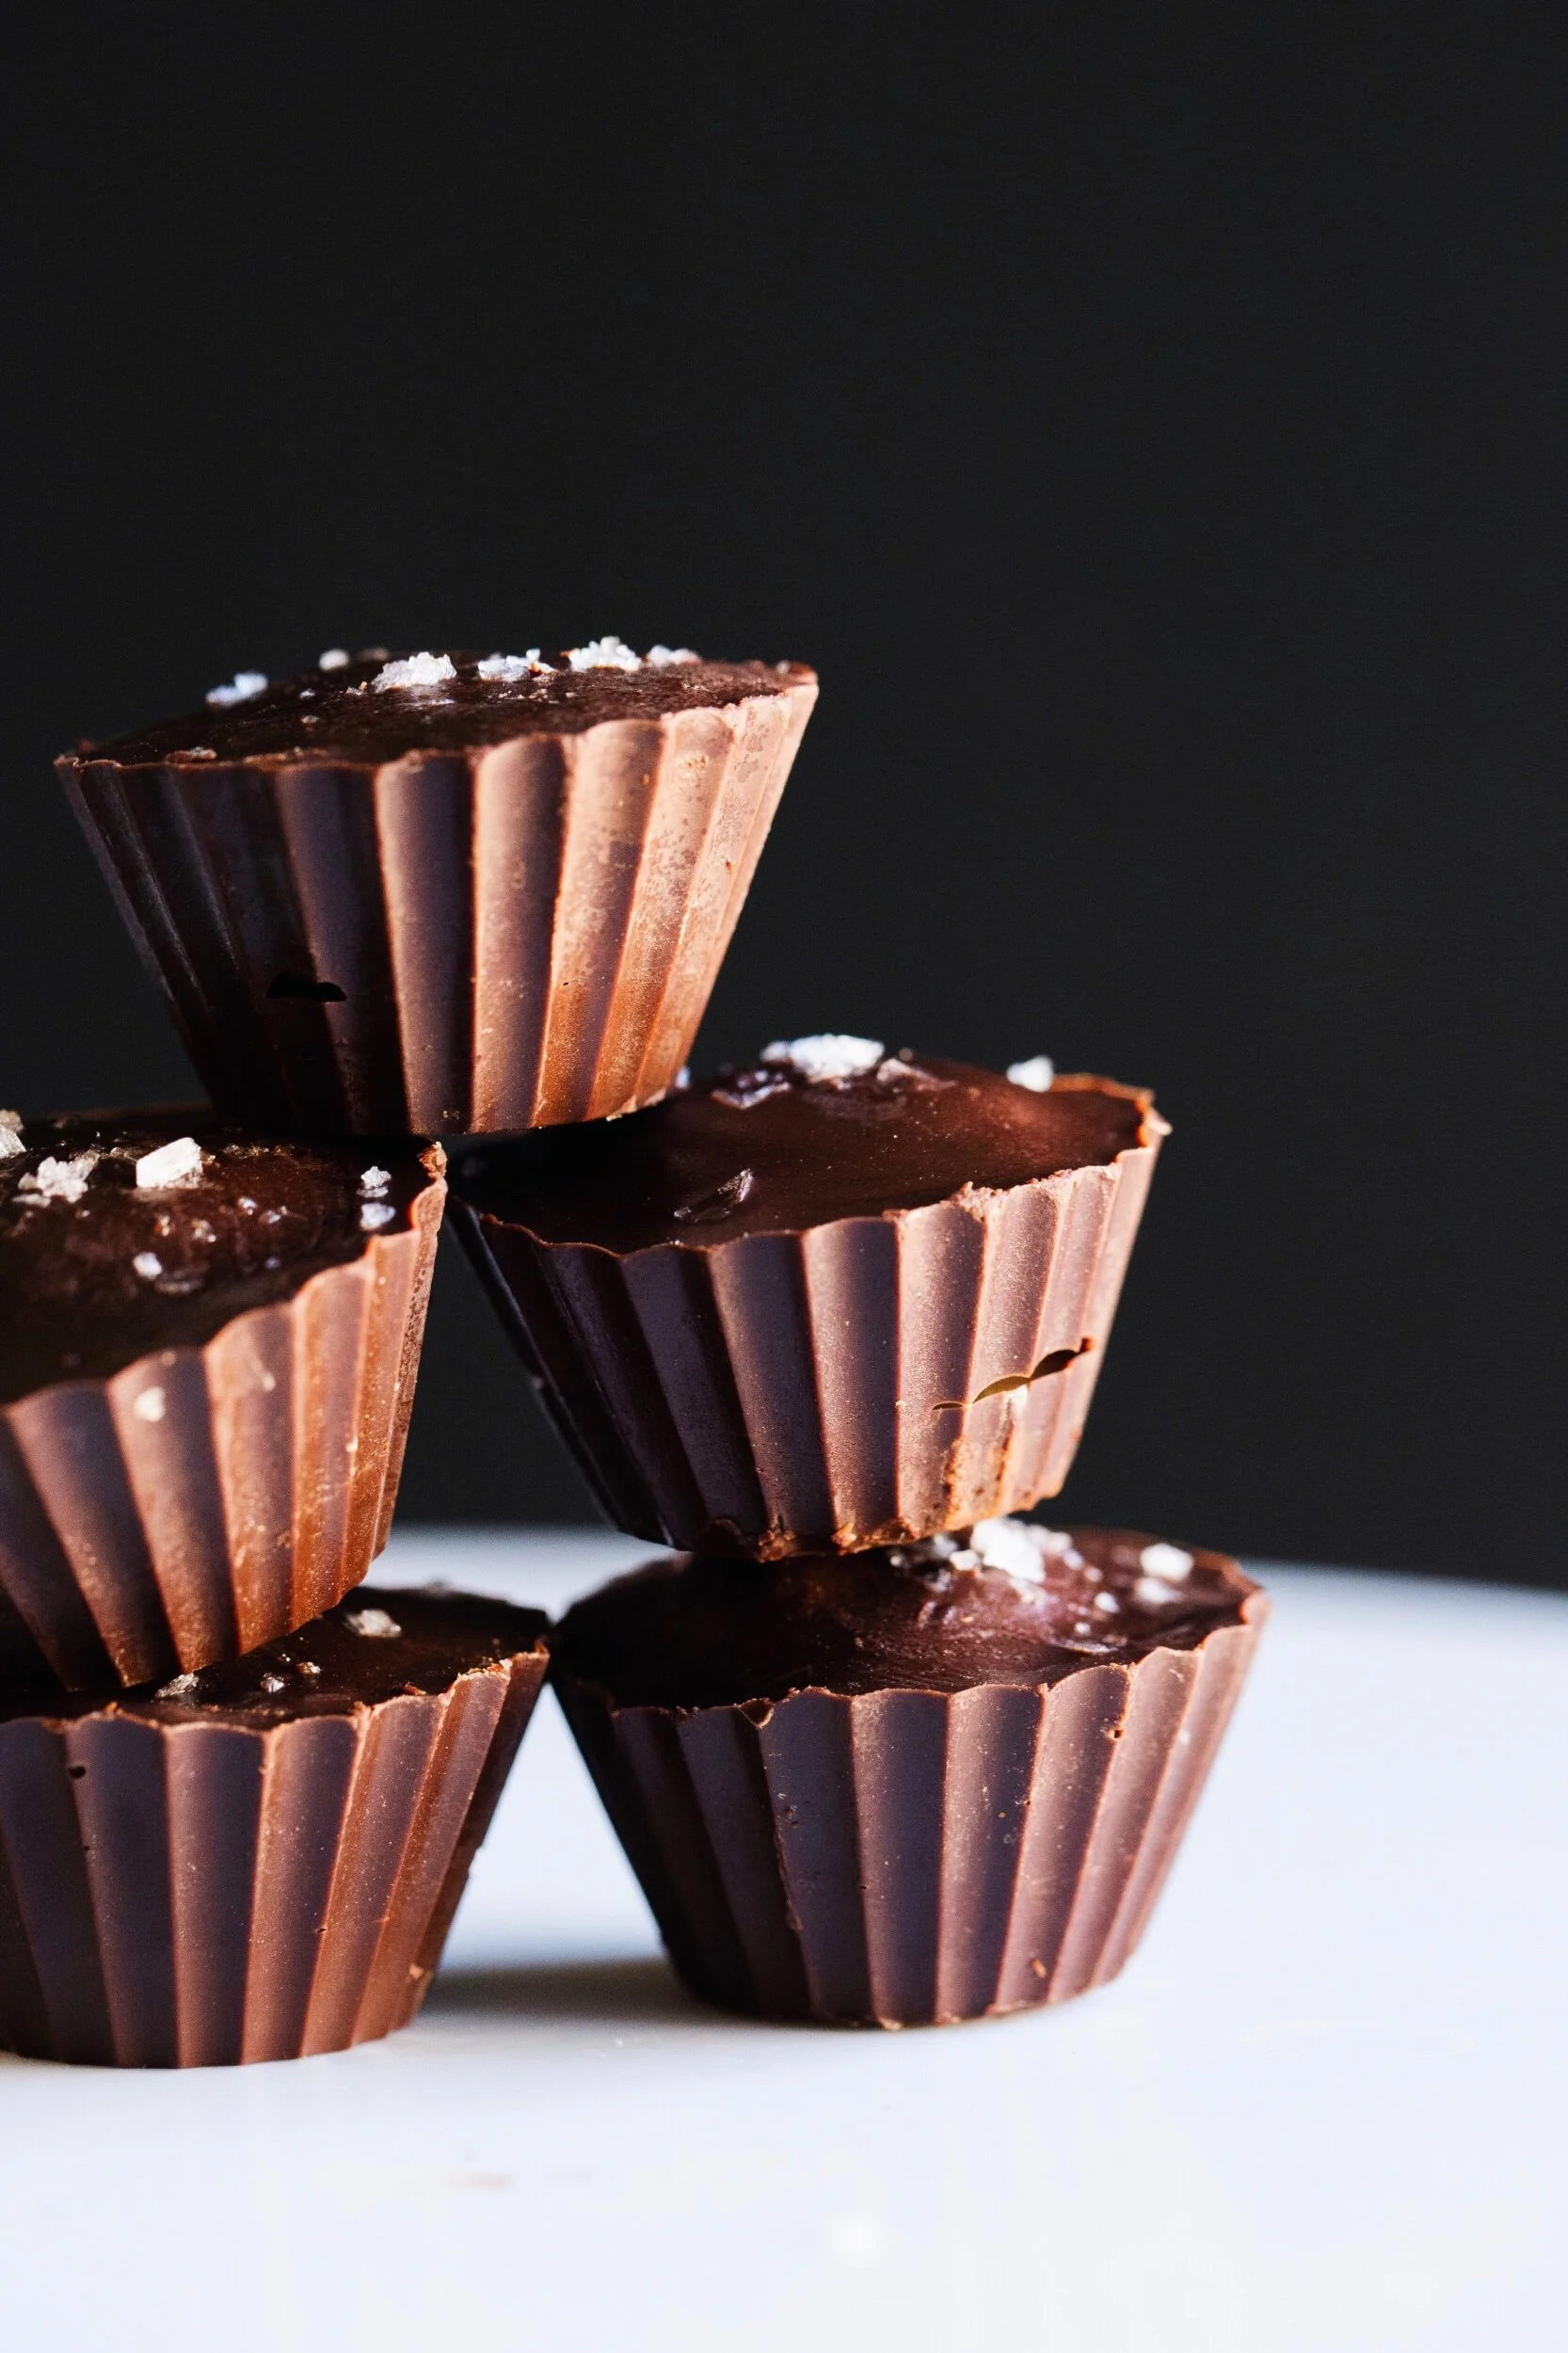
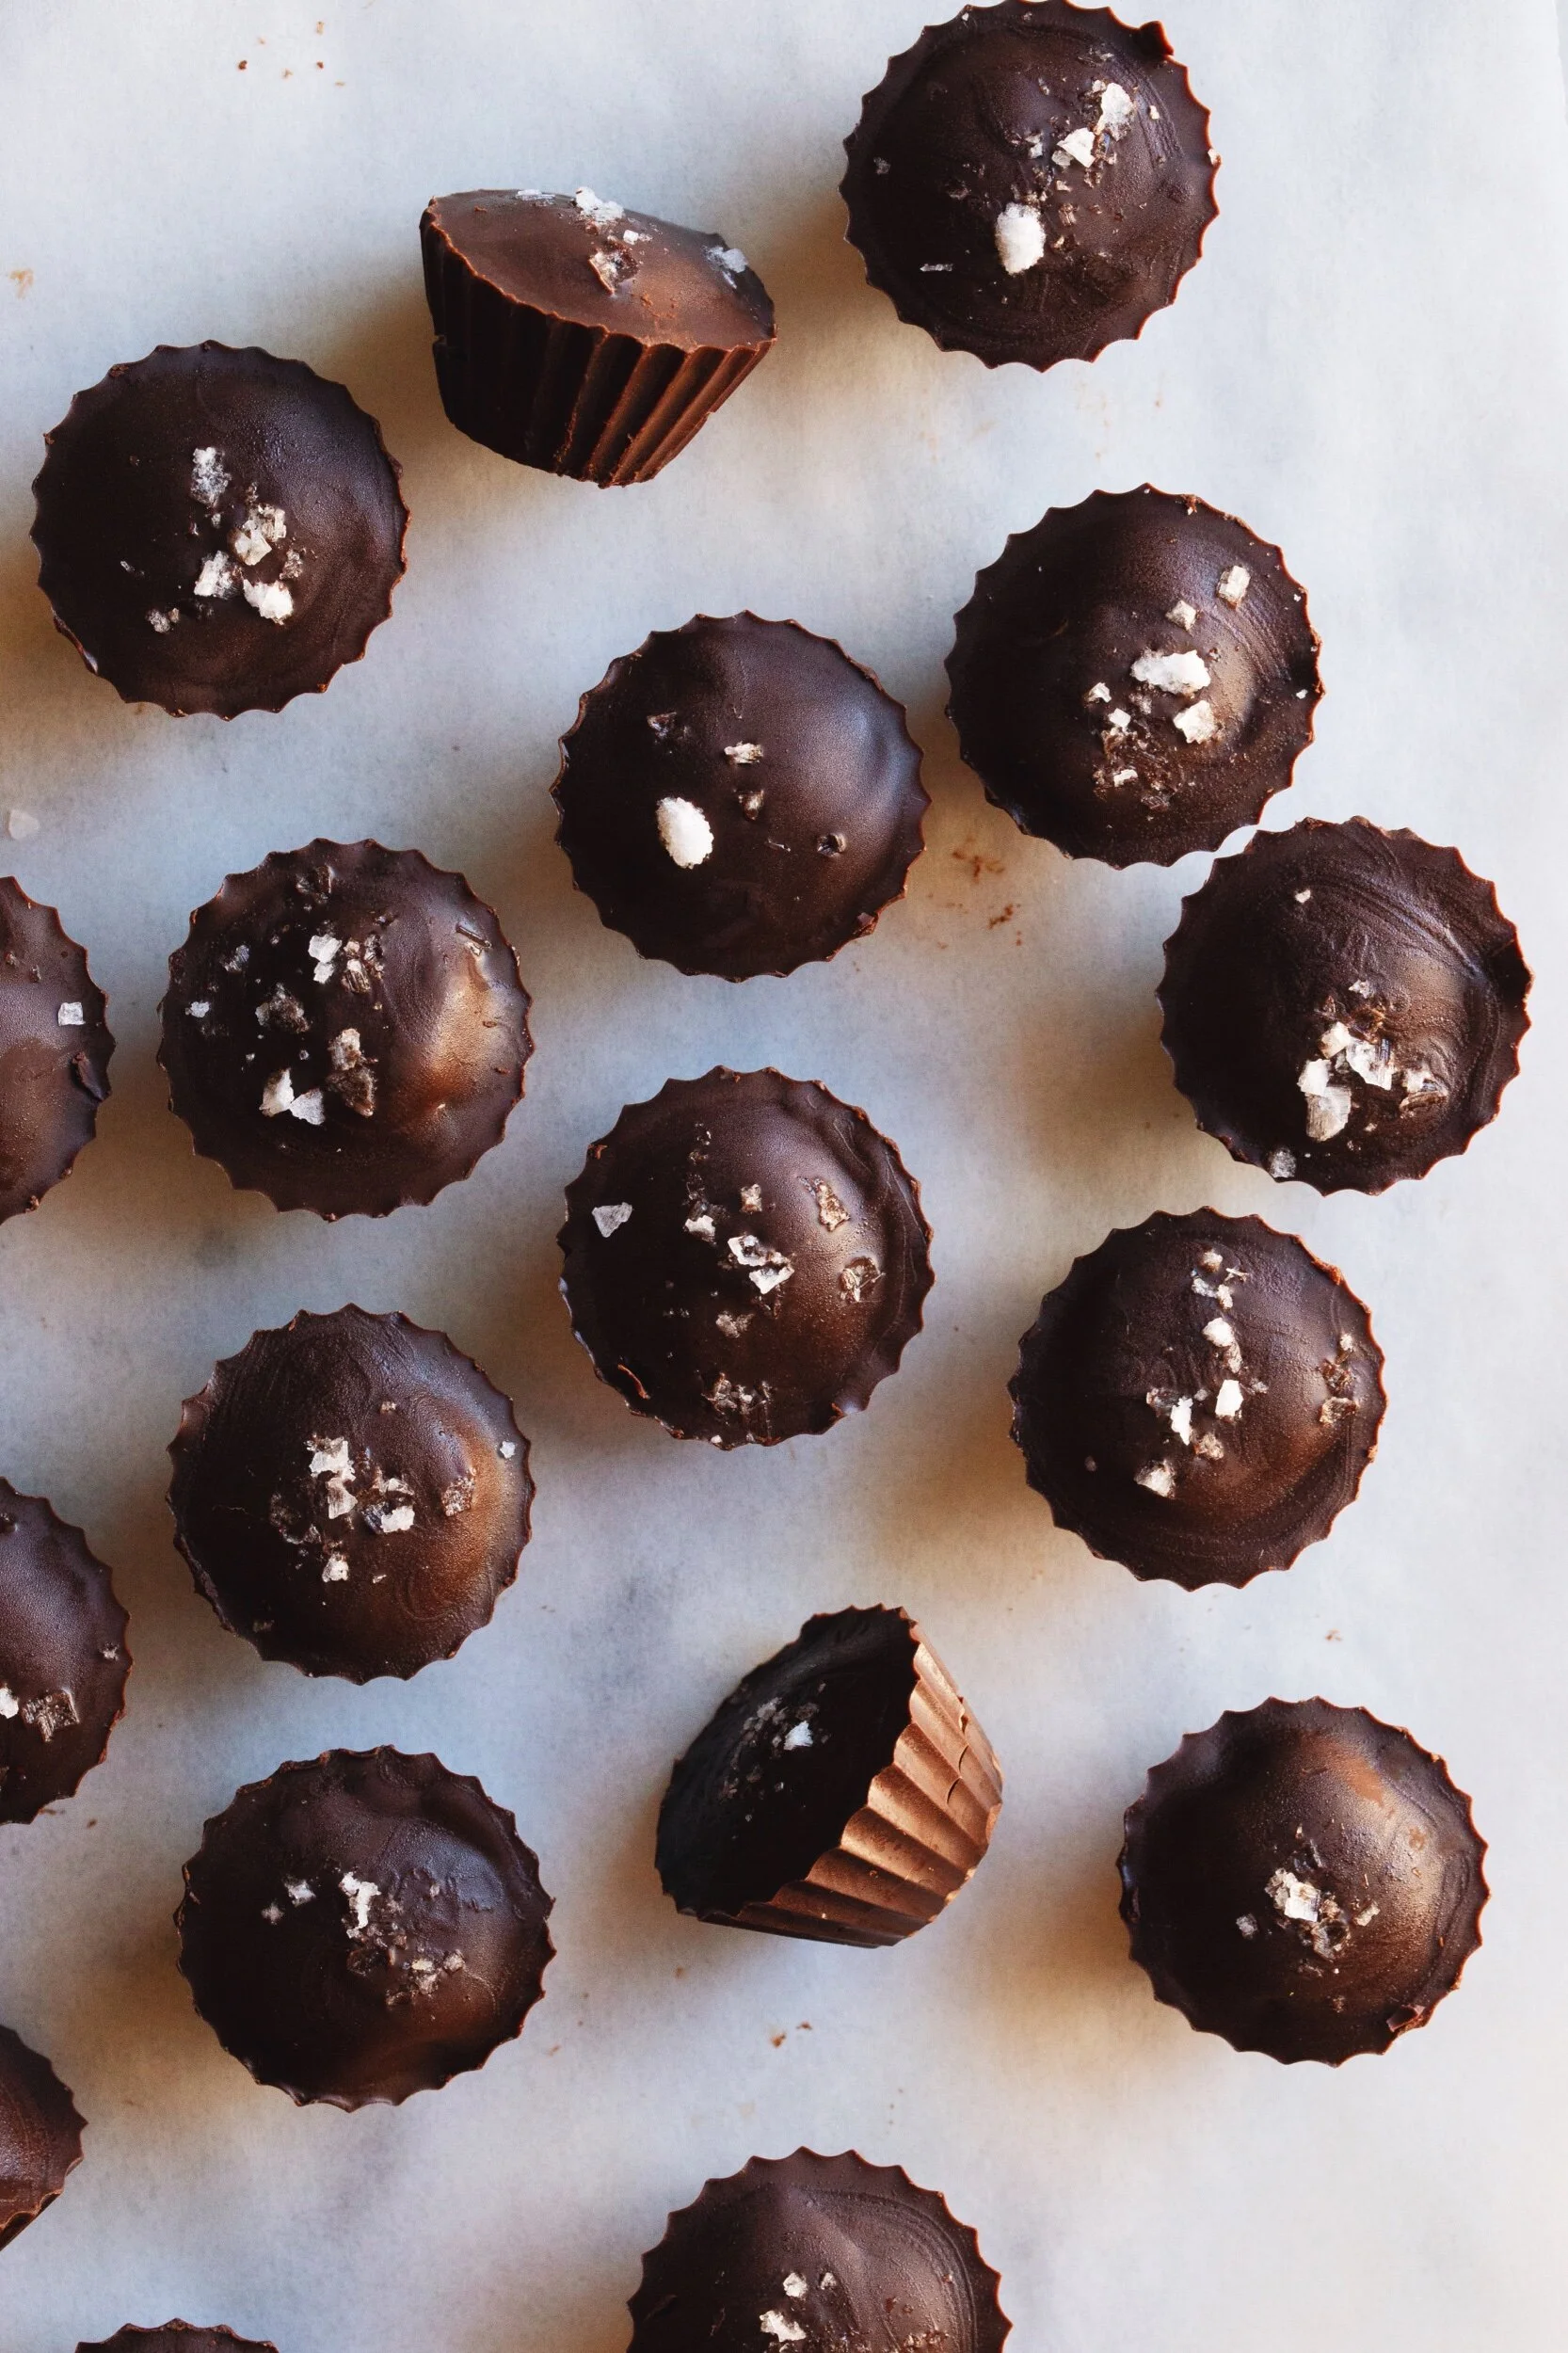
The candy mold, which you can see in my pictures, makes the whole process of making the cups (or any other candy or chocolate of your choosing) infinitely easier. The molds are sturdy and therefore can withstand the melted chocolate and peanut butter layers, the silicone material is nonstick and flexible so removing the cups from the cavities is not a problem and requires no nonstick spray, and lastly, it makes transferring the cups back and forth to the fridge/freezer much easier. With the mold, you can come as close to peanut butter cup perfection as is possible and also achieve uniformity - when people see the finished product, there’s no doubt in their mind of what they’re about to eat. I couldn’t recommend buying the mold enough.
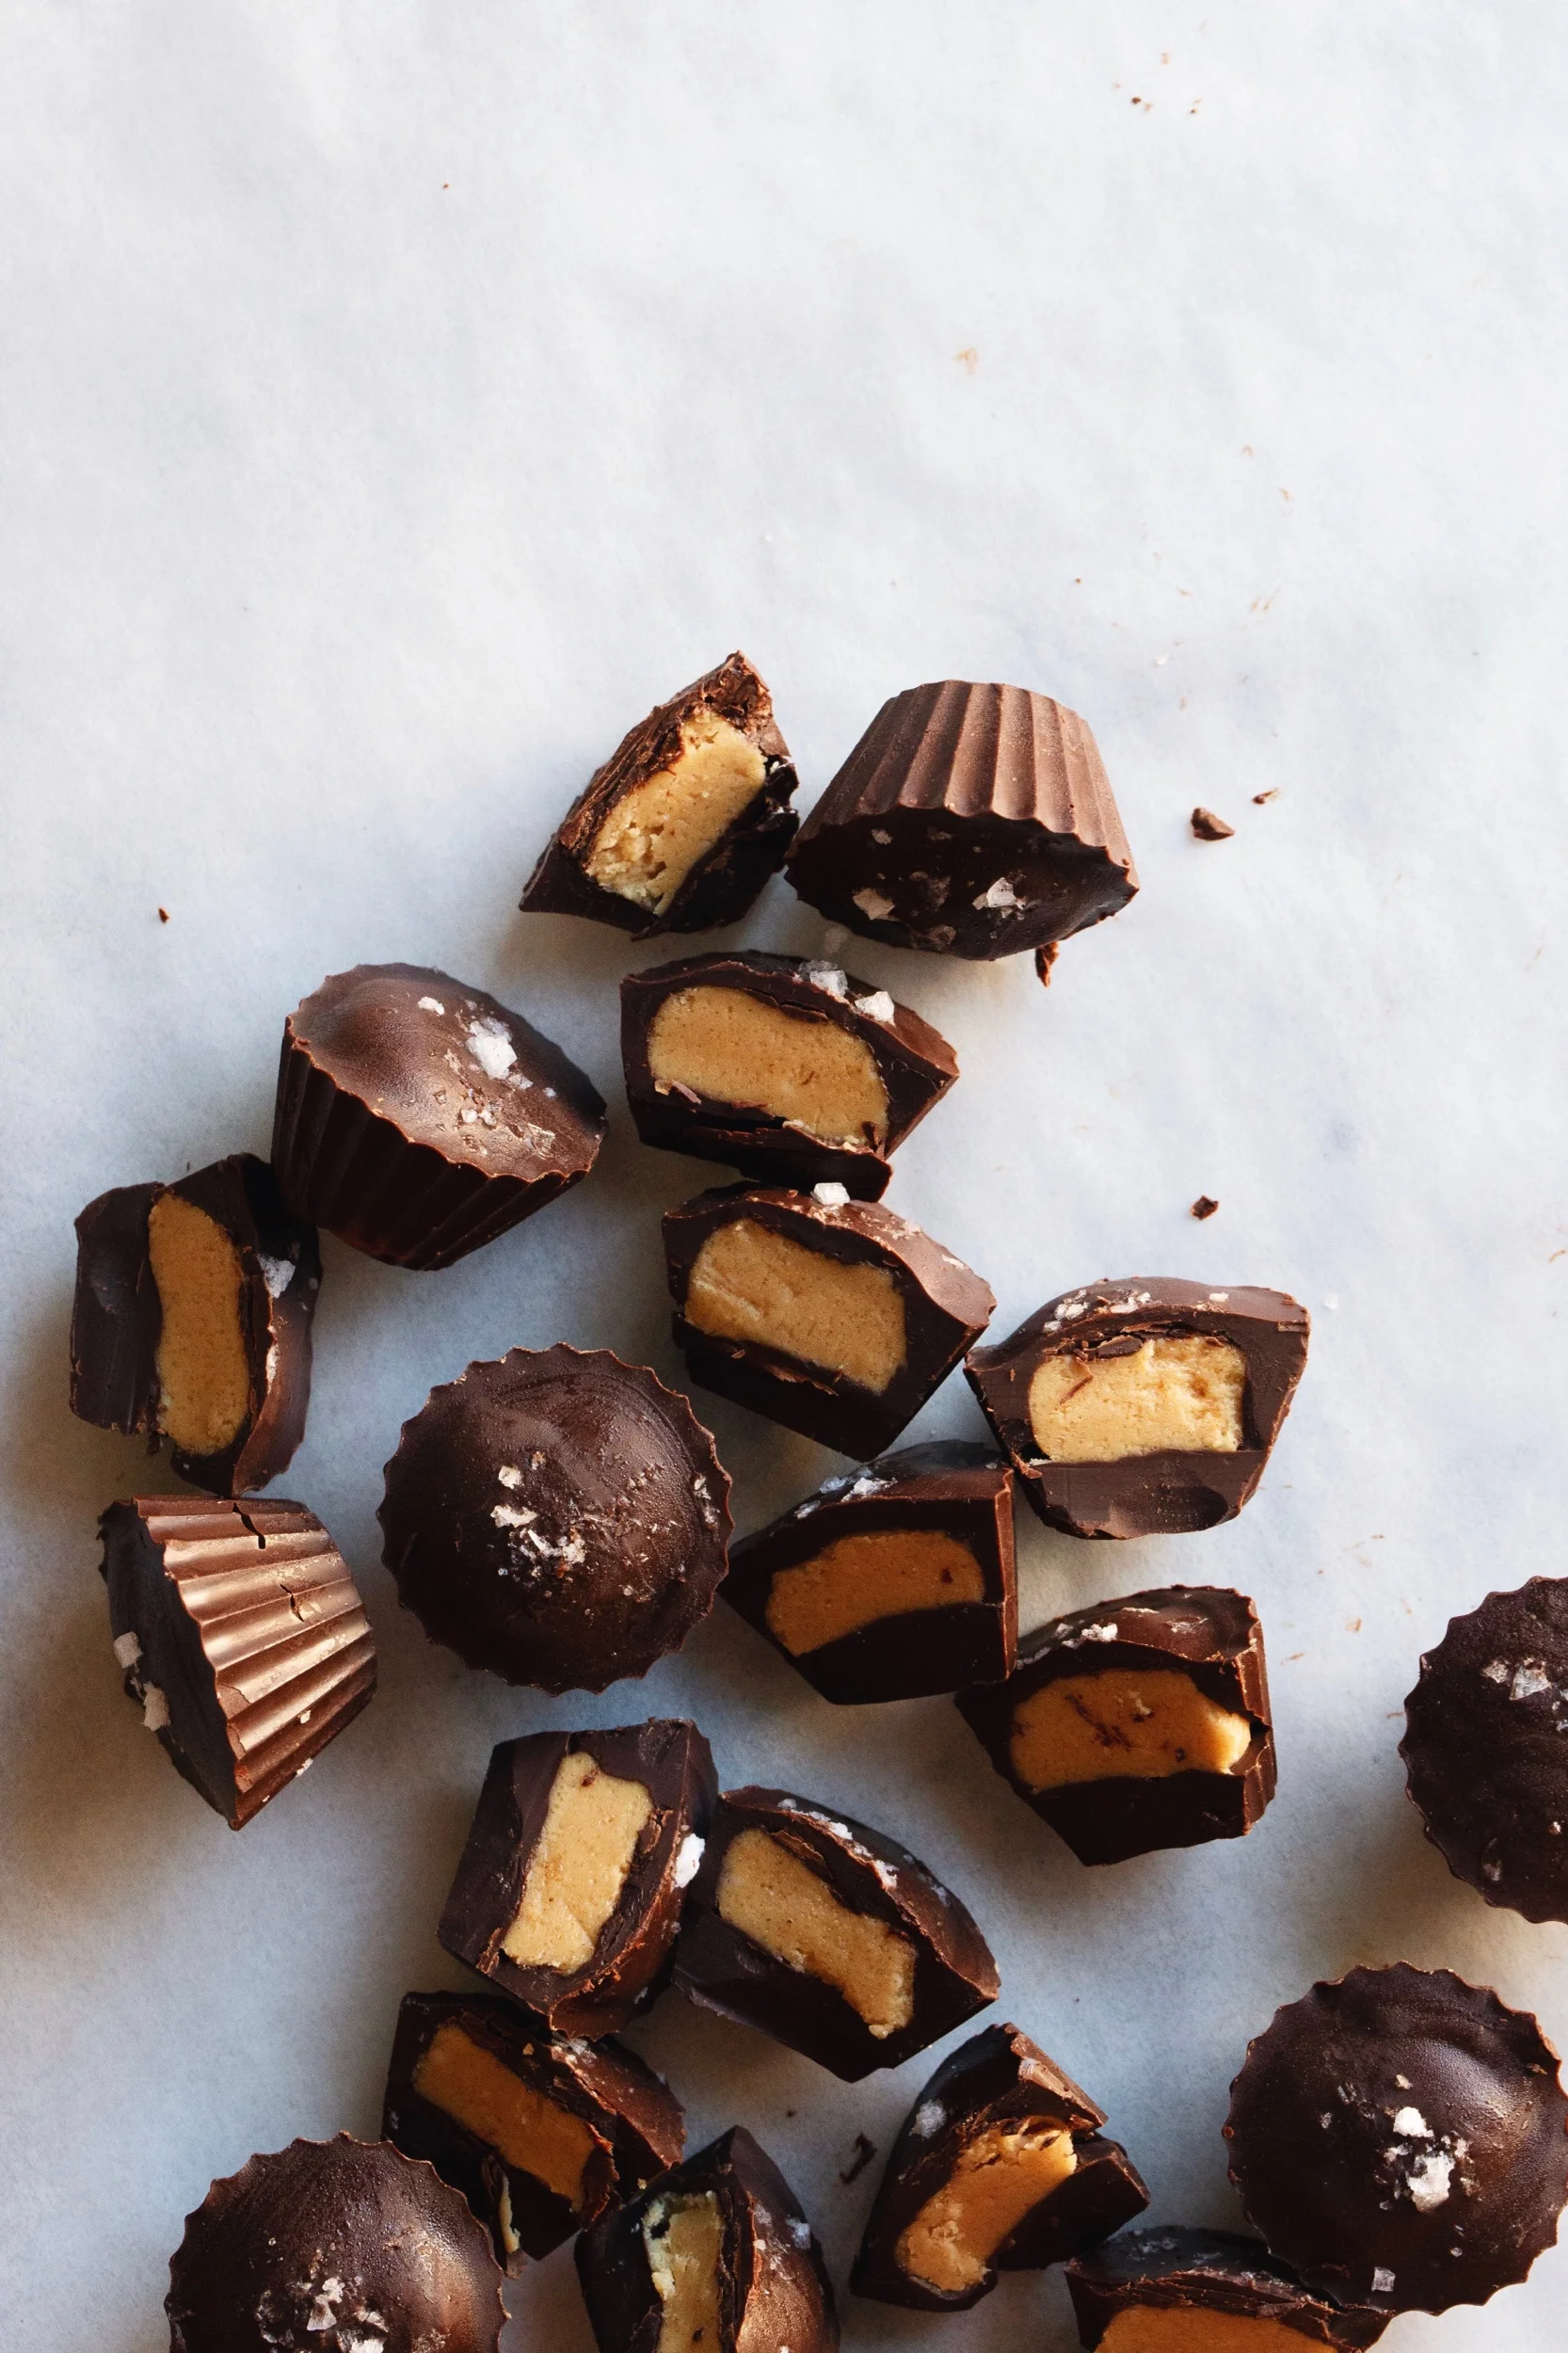
The recipe for the cups requires only 7 ingredients, if you include the flaky sea salt topping at the end, which you should! Although I personally eat natural peanut butter, for this recipe you’ll have to use the kind with all the added sugars and whatnot (like basic Jif or Skippy). This is because the natural varieties have too much oil in them and would make it difficult to work with for the peanut butter layer. As for the chocolate layer, I strongly suggest using dark chocolate because otherwise the whole thing would be sickeningly sweet. Dark chocolate is a perfect foil to the sweet peanut butter layer, but if you absolutely hate dark chocolate (yes, those people exist!) then go with your chocolate of choice, but remember that I warned you about the sweetness!
Also regarding the chocolate, the recipe requires you to melt it with either coconut oil or vegetable shortening. This gives the chocolate a smoother texture and overall, makes it easier to work with. We don’t want to melt it with butter or margarine because both contain water which would affect the melting process. I used coconut oil because that’s what I had on hand (I don’t think I’ve ever bought vegetable shortening before) and if you’re worried that there would be a coconut flavor added to the chocolate, I didn’t taste it at all.
I hope you give these homemade peanut butter cups a try and bring them to any Halloween party you attend this weekend. Let me know if you do! And if you’re looking for another Halloween-friendly recipe, here’s the recipe for my honeycomb dark chocolate bark.
Homemade Dark Chocolate Peanut Butter Cups
Yields about 3 dozen peanut butter cups
Ingredients
For the outer chocolate layer:
12 oz. dark chocolate, roughly chopped
2 tbsp. coconut oil or vegetable shortening
For the filling:
1/2 cup (4oz.) peanut butter (any non-natural variety)
2 tbsp. unsalted butter, melted
2 tbsp. light brown sugar, lightly packed
2/3 cup confectioners’ sugar (powdered sugar)
Flaky sea salt, to finish
Directions
Place the chocolate and coconut oil/vegetable shortening in a heatproof bowl and melt together in the microwave for about 2 minutes (stirring every 30 seconds).
Place the candy mold on top of a baking sheet so it’ll be easier to transfer from in and out of the fridge/freezer. Pour about 1 teaspoon of melted chocolate into the bottom of each candy mold. You can eyeball this, but I definitely think using a teaspoon made it much easier and cleaner. Place the mold/baking sheet in the fridge or freezer until it’s set and you’re ready to add the peanut butter layer.
In a small bowl, combine the peanut butter, melted butter, light brown sugar and confectioners’ sugar with a spatula. Place in the freezer for about 15 minutes to firm up a bit. Scoop out heaping 1/2 teaspoons of the peanut butter mixture and using your hands, roll it into tiny discs. Place the discs on top of the bottom layer of chocolate in each candy mold. The goal is to have the disc be smaller in circumference than the candy mold itself because you want the chocolate to totally encase the peanut butter layer. Keep working until you’ve completed each mold. You’ll have leftover peanut butter, which you can use to make extra cups once the first batch is set and removed from the mold.
Finish each peanut butter cup with another layer of melted chocolate - about 1 teaspoon per mold. Be careful to not overfill. Place the candy mold back into the fridge/freezer until set - but right before it’s fully set (after about 5-8 minutes), sprinkle flaky sea salt on top of each peanut butter cup. The peanut butter cups should pop right out the of mold easily when completely set. Store in the fridge or freezer.