CHEWY MOLASSES SPICE COOKIES

IMG_3479.jpg

Today we’re focusing on yet another cookie recipe that is a Christmas staple when it comes to treats: molasses spice cookies. Unlike gingerbread cookies that are molded into little gingerbread men, these are shaped into a classic cookie form that yields an unbelievably soft and chewy texture as well as the signature “cracks” on top. Furthermore, the cookies are rolled in crunchy turbinado sugar (or granulated sugar if that’s all you have) before going in the oven, which leaves the cookies with a beautiful, glittery finish. All of this is ideal if you plan on having cookies on display at your holiday party or if you’re gifting cookies to friends and family this year.

IMG_3115 2.jpg

The “spice” aspect in these cookies includes all your favorite warm and cozy spices that are so prominent this time of year. The most added spice in this recipe quantity-wise is ginger, which will always be a match made in heaven when paired with molasses. The other spices include the usual suspects like cinnamon, clove and cardamom, but I also throw in a small amount of freshly ground black pepper. There’s only 1/8th of a teaspoon in the recipe, but it definitely adds a subtle level of spicyness that makes for a more interesting cookie.

I actually used to make these molasses cookies with fresh ginger as well, but I’ve come to the realization that it’s not needed! Most people don’t have fresh ginger lying around and I wanted this recipe to be something that can easily be thrown together, especially if you want to quickly make a dessert for guests coming over during the holidays or to pass out as homemade gifts.

IMG_3332.jpg

For this recipe you can use either light or dark molasses, but just make sure you choose one that is unsulphured. Light molasses has a milder flavor and is usually the go-to when it comes to baked goods, whereas dark molasses is more bitter and robust-flavored. It’s up to you on which you choose to use in the recipe; maybe you can try baking a couple of batches using light molasses in one and dark in the other, and see which you prefer. Note: There’s also Blackstrap molasses, which is even more bitter than dark molasses, but I would recommend straying from this kind due to its intense flavor.

IMG_3347 2.jpg

I splurged on Valrhona white chocolate fèves (aka chocolate discs) from Whole Foods the other week and decided to “fancy” up these cookies by melting the chocolate and drizzling it over the cookies. I LOVE the look of it, and if you’re worried that the white chocolate would make the cookies overly sweet, it really didn’t and actually works really well with the molasses and spices! Furthermore, it makes the cookies look prettier and more Christmas-like with the beautiful white color against the shiny turbinado sugar. It’s an optional step but worth it if you’re planning on gifting these babies or showing them off. If you don’t want to spend $$$ on the Valrhona fèves like I did, simply purchase white chocolate bars, like Ghiradelli, or even white chocolate chips.

IMG_3391 2.jpg

Chewy Molasses Spice Cookies

Yields about two dozen cookies

Recipe adapted from Bon Appétit

Ingredients

IMG_3409 2.jpg
  • 2 cups all-purpose flour

  • 2 1/2 tsp. ground ginger

  • 1 tsp. ground cinnamon

  • 1/2 tsp. ground cardamom

  • 1/4 tsp. ground cloves

  • 1/8 tsp. freshly ground black pepper

  • 2 tsp. baking soda

  • 1/2 tsp. kosher salt

  • 1/2 cup (1 stick) unsalted butter, melted and slightly cooled

  • 1/3 cup granulated sugar

  • 1/4 cup dark brown sugar, packed

  • 1/3 cup molasses, light or dark

  • 1 large egg

  • Turbinado or granulated sugar, for rolling

  • Melted white chocolate, to finish (optional)

Directions

  1. In a small bowl, whisk the flour, spices, baking soda and salt together until combined. Set aside.

  2. In a medium bowl, whisk the melted butter, sugars, molasses and egg together. Using a spatula, fold in the dry ingredients and only mix until no flour bits remain. Really try not to over mix here! Cover the bowl with plastic wrap and refrigerate the dough for at least 30 minutes so it’ll be easier to roll the dough.

  3. Preheat the oven to 350°F and line a baking sheet with parchment paper. Using a cookie scoop or two spoons, Scoop out about 1 1/2 tbsp. of cookie dough and using your hands, roll into balls. Roll each cookie ball through turbinado or granulated sugar and place them about 2 inches apart on the prepared baking sheet.

  4. Bake for 9-12 minutes, flipping the tray halfway through, until golden and crackled. The cookies will also be puffed up a bit. Allow the cookies to cool on the baking sheet for 5 minutes before transferring to a cooling rack. Drizzle with melted white chocolate if desired and enjoy!

LEMON + ROSEMARY MADELEINES

After last weekend’s getaway to Big Bear, Alex and I fortunately have another trip coming up that we are beyond excited about. On Wednesday, we’re heading to the actual opposite side of the country, Portland, Maine, which will be our second time visiting. We traveled to Portland last October to visit our dear friend, Spencer, who had recently moved there (he’s a born and raised Southern Californian) and since Alex and I had never been to Maine before, we jumped at the opportunity to visit him. To say that we fell in love with the city would be a severe understatement. Although Portland is on a small peninsula, it is beaming with beautiful landscape, a plethora of amazing restaurants and bars, and is downright charming. In fact, Bon Appétit magazine appointed Portland the high honor of “Restaurant City of the Year” for 2018.

IMG_7348.jpg

We love the city so much that Alex and I have been contemplating moving there. After this second trip, we’re going to really discuss our options and see if it’s even possible, but regardless, it’s something to dream about. If you want me to dedicate a post to Portland and my recommendations, aka a travel guide, I would love to! I have a huge list compiled from my own research and experience, and I’m sure I’ll have the city down after seeing it for a second time. Let me know in the comments!

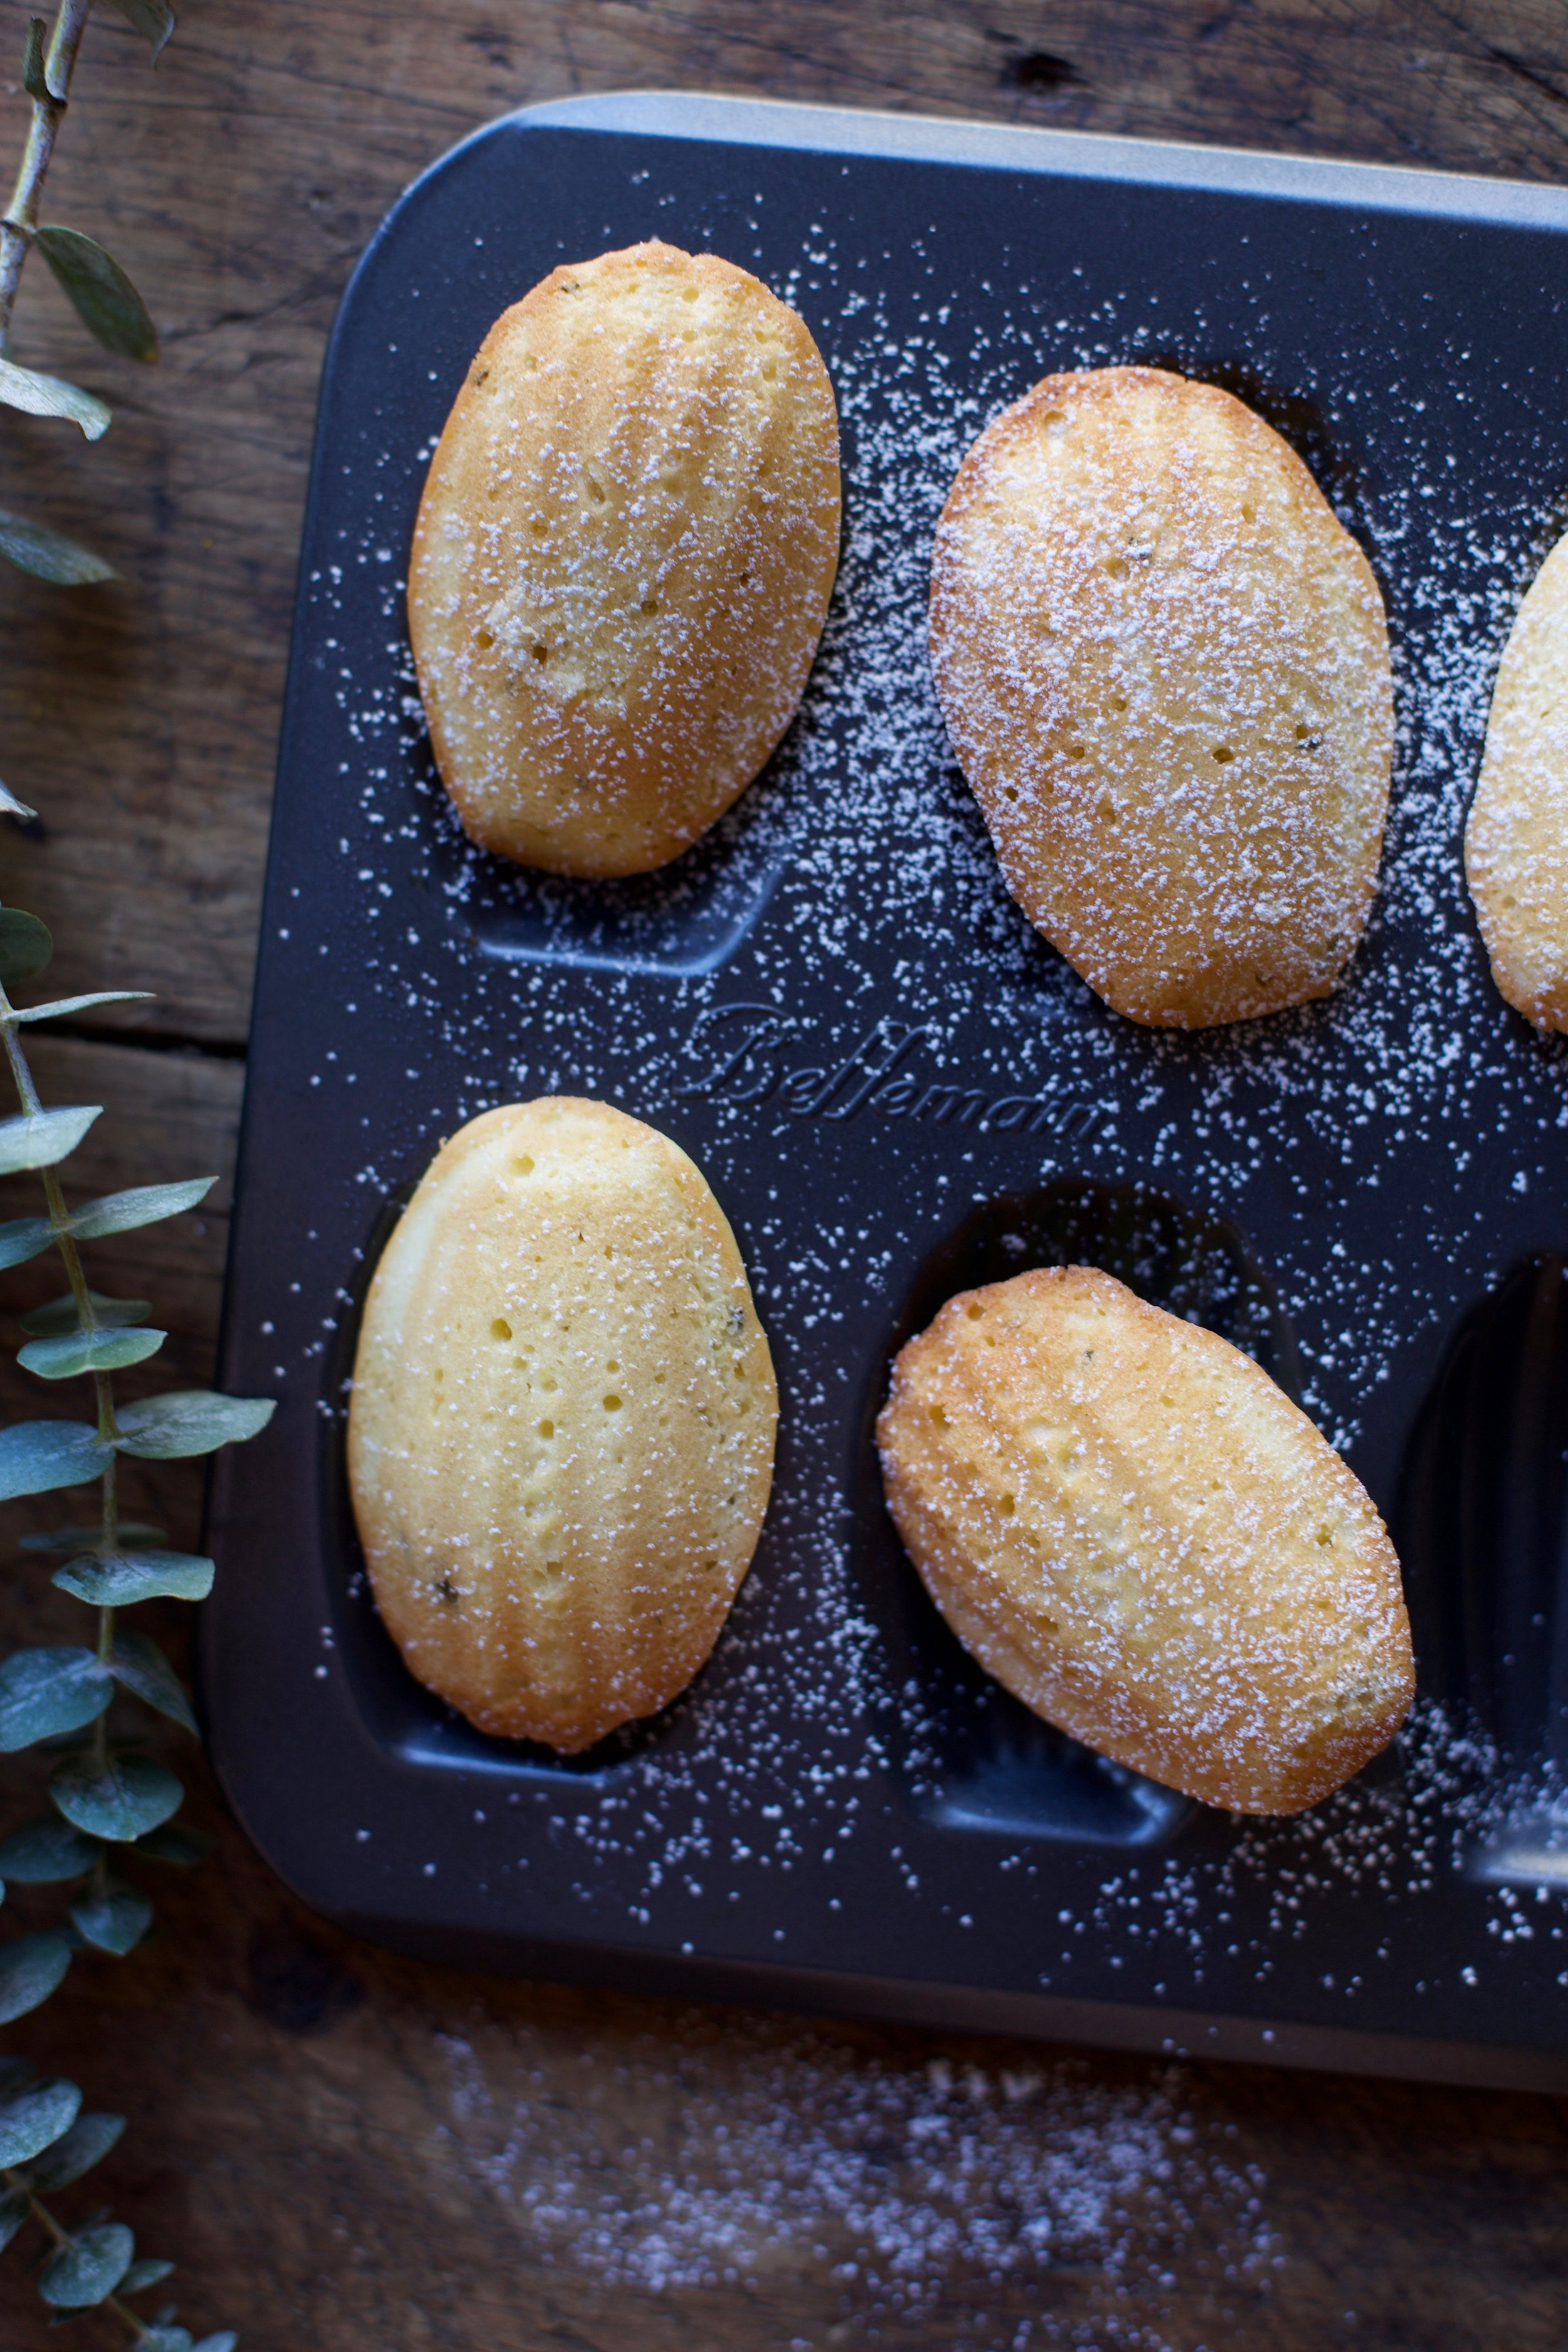
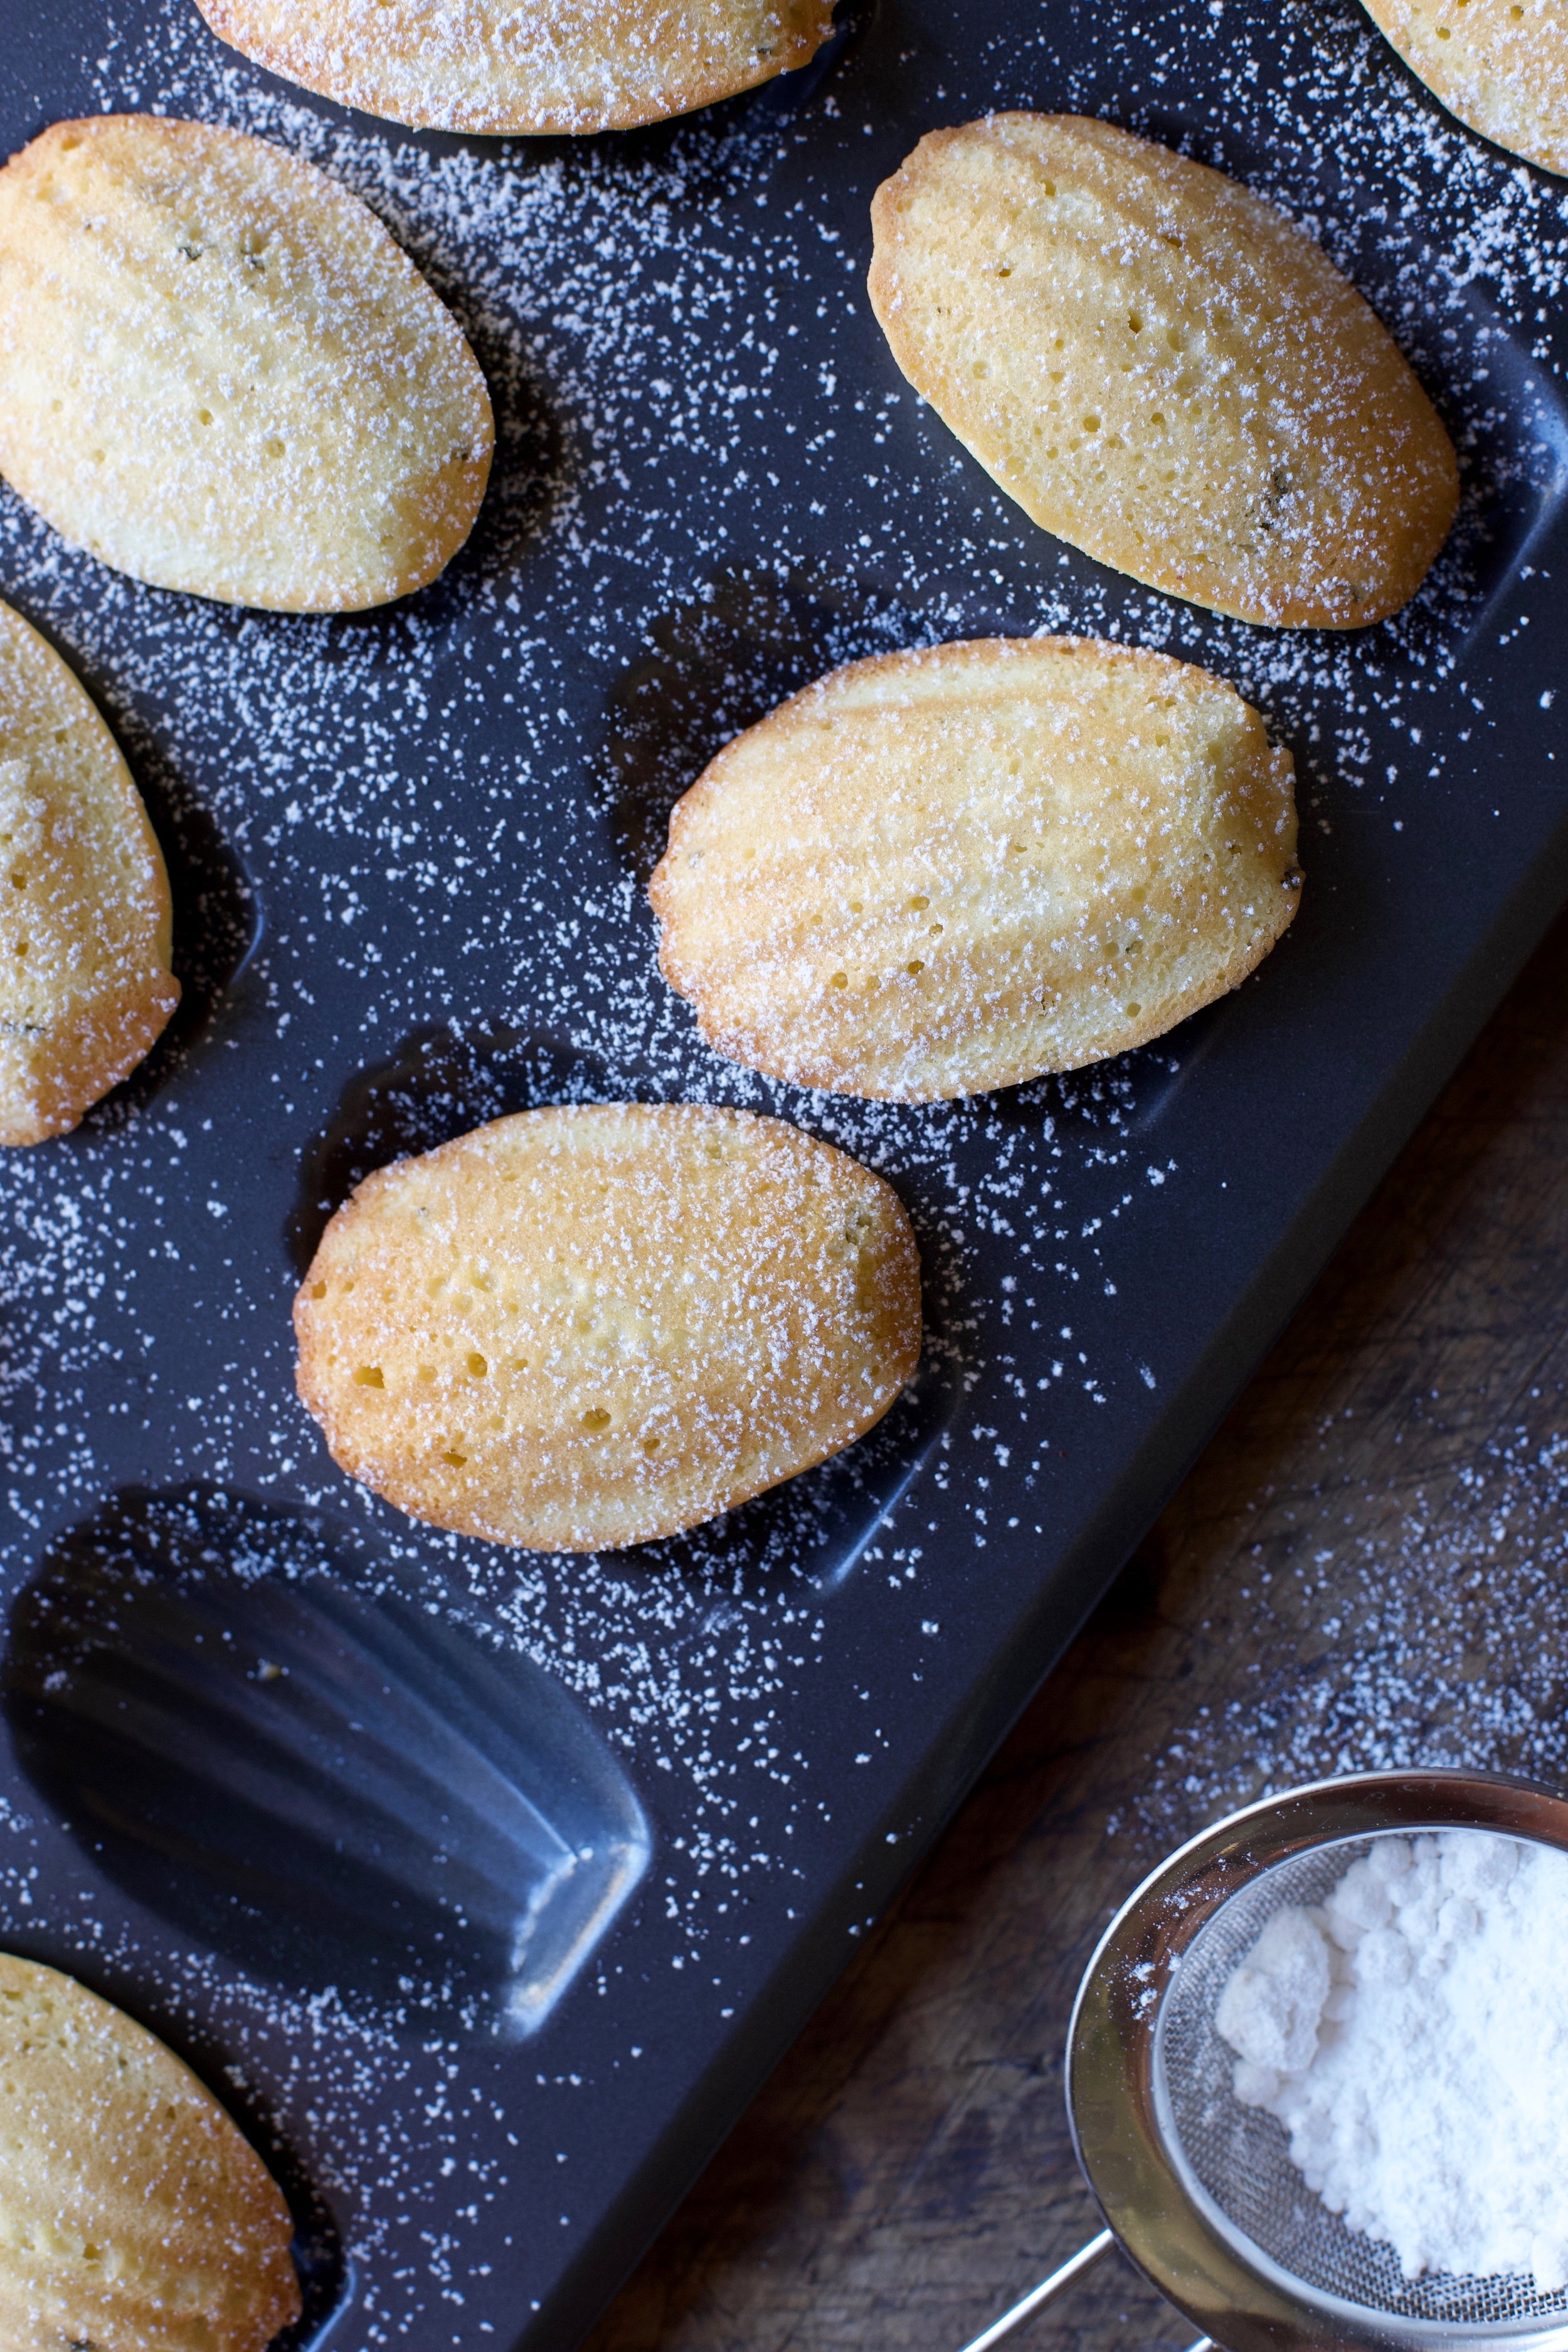
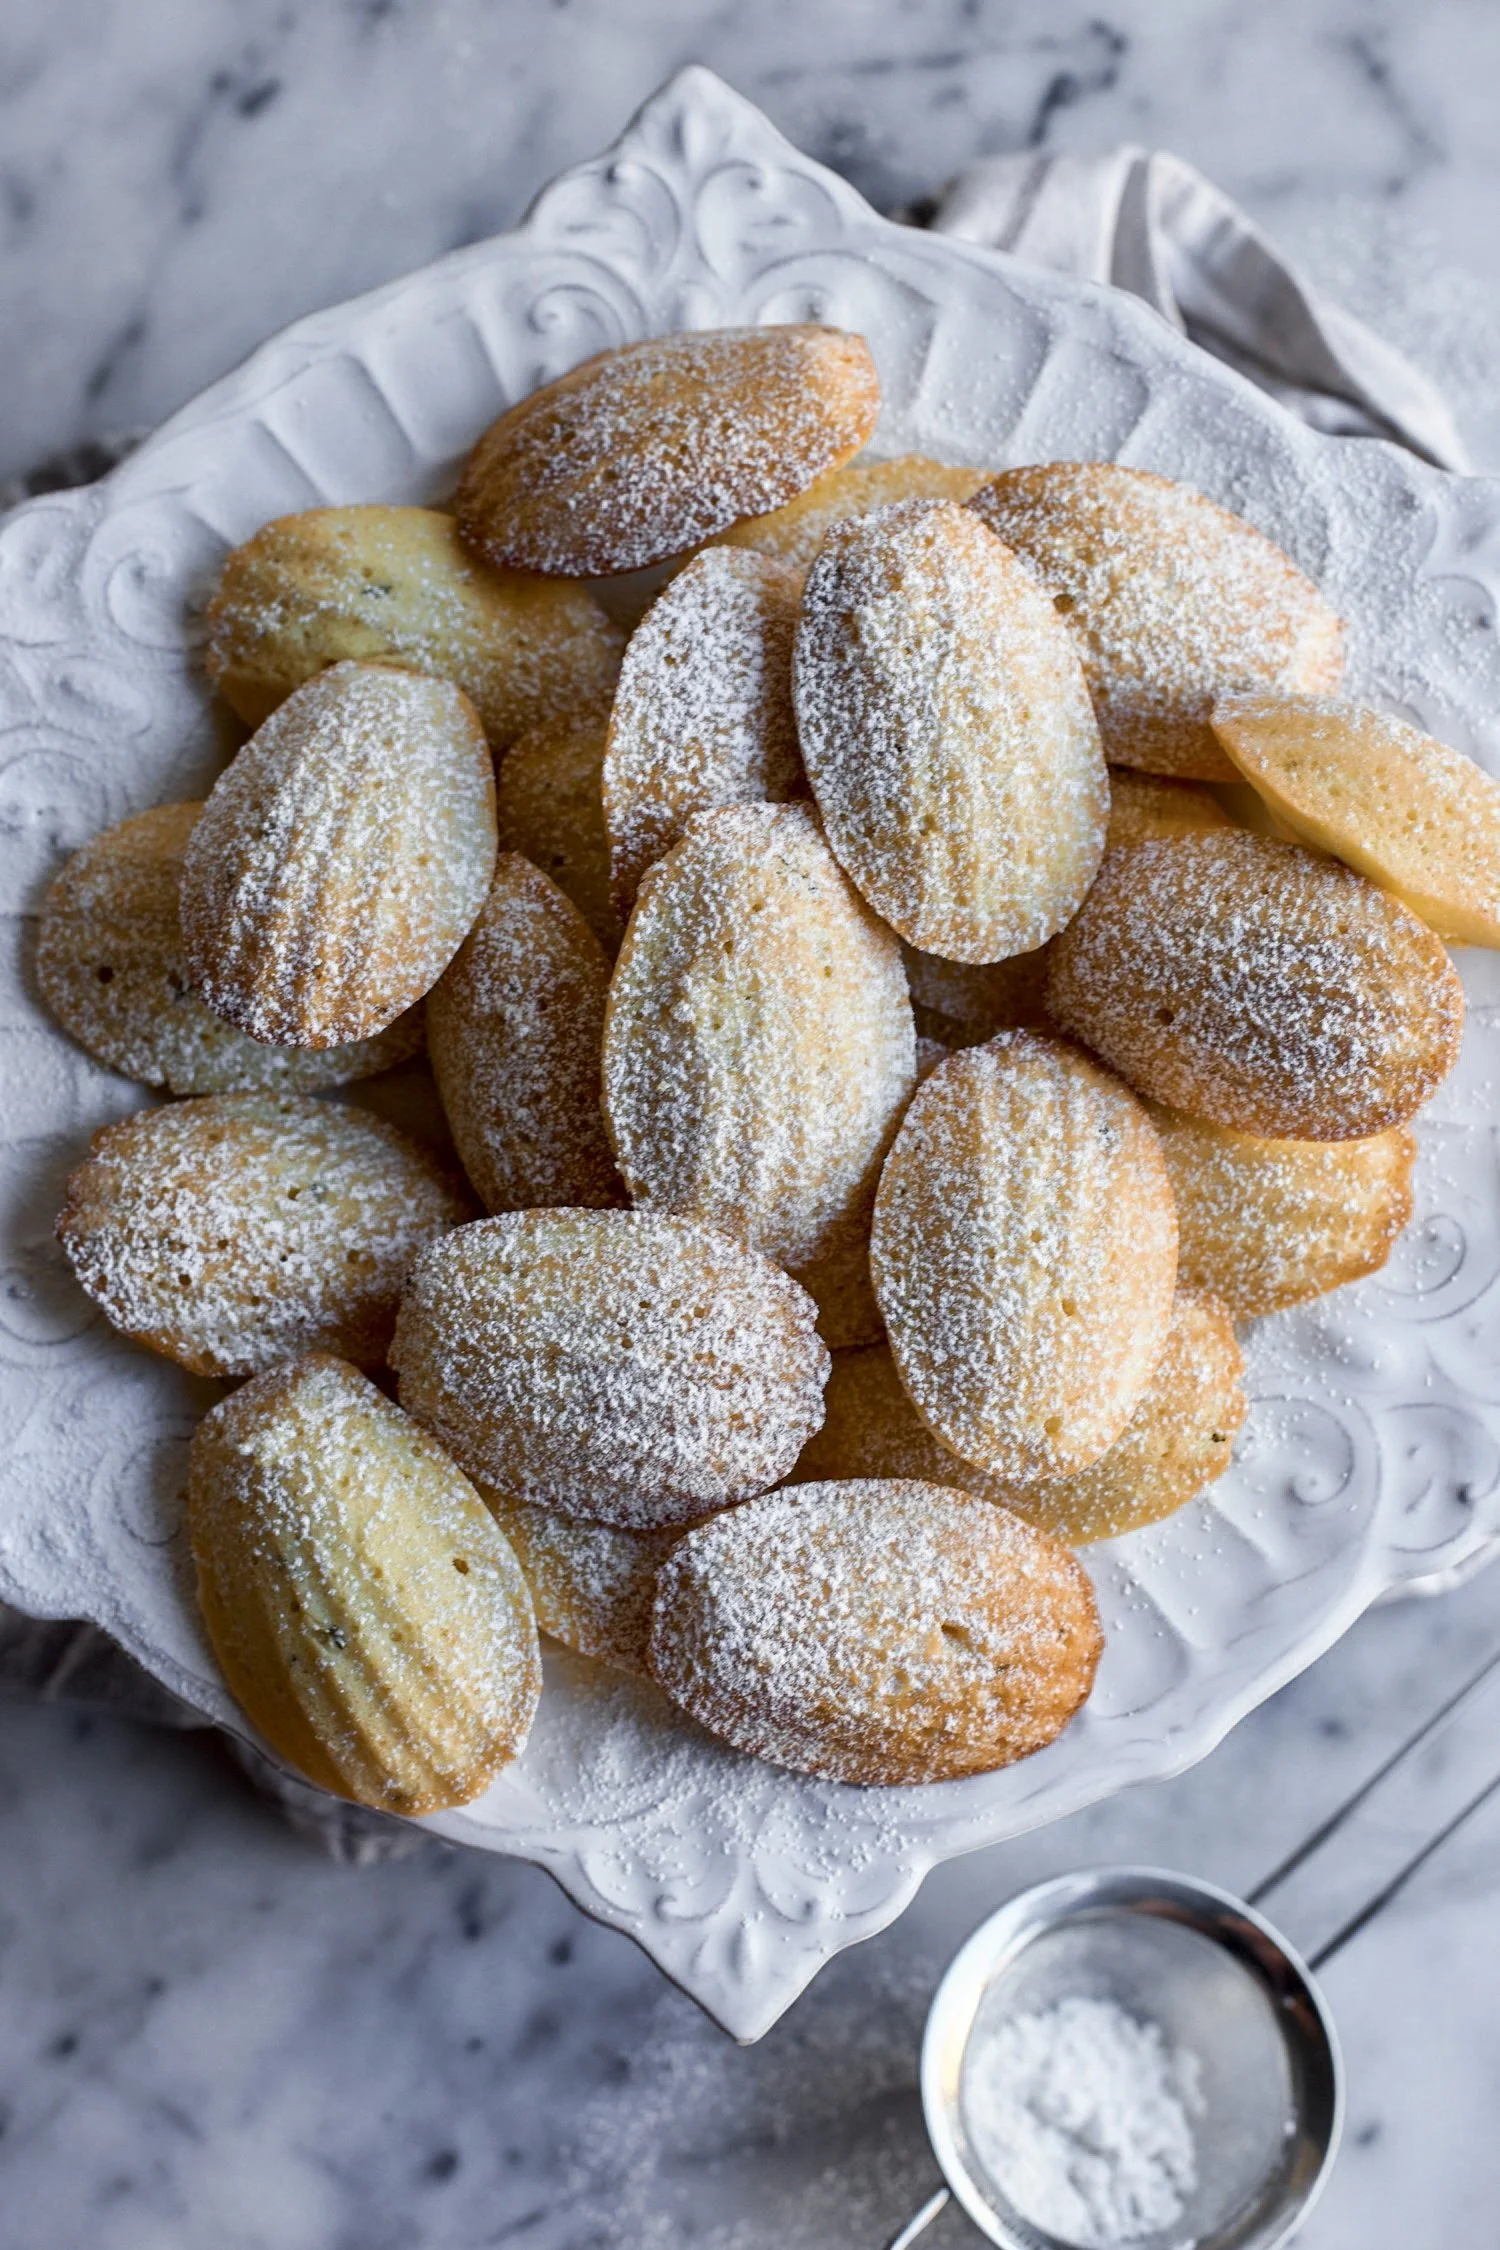
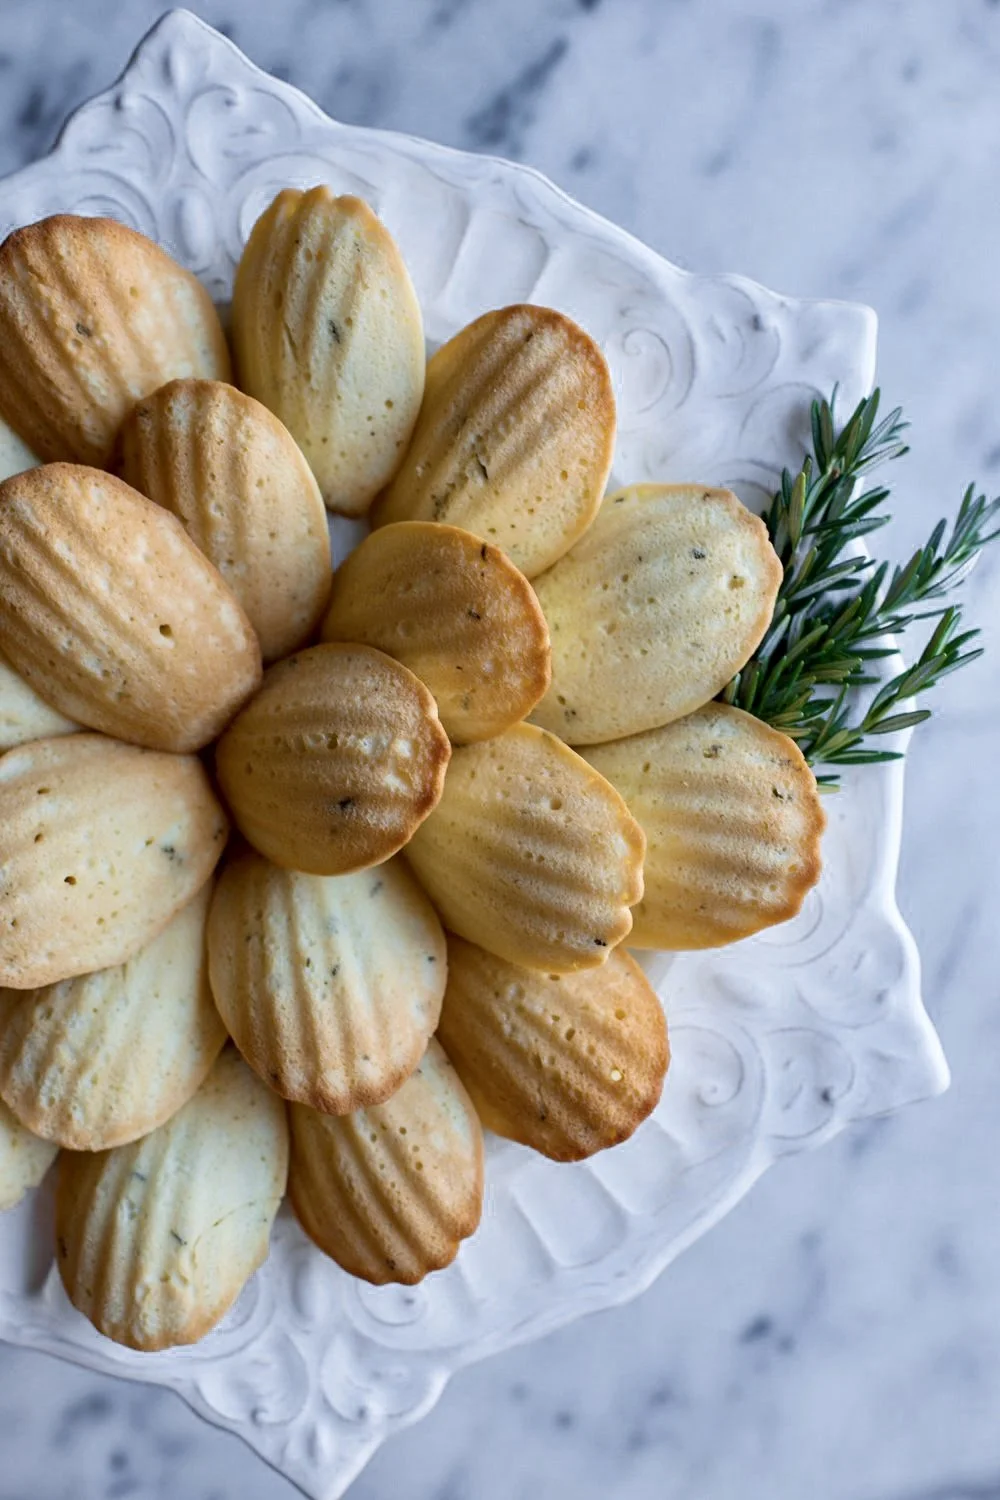
Since I’m leaving in the middle of next week, I won’t be posting another recipe until after I get back from the trip. But until then, I’m leaving you with one of the easiest, yet rewarding little treats I could offer you. Today we’re talking about madeleines, French teacakes that could also pass as cookies, that are perfectly buttery, light and airy, with crisp edges and distinctive shell-like shapes. If you’ve been in any chain of coffee shops, you’ve probably seen them for sale near the register. This is actually how I was introduced to the tiny cakes, when my mom first started getting coffee from Coffee Bean & Tea Leaf when I was a kid. She would get her ice-blended mocha, and if I was lucky enough, she would treat me to a package of madeleines.

IMG_7583.jpg

Years later, it was Alex who surprised me with buying me a madeleine pan, probably because he caught on to my love for them or probably because he wanted fresh ones for himself. My first batch of madeleines, although I overfilled the cavities and made them jumbo-sized, were amazing and much better than any coffee shop could offer. I used a traditional recipe from world-renowned French chef Daniel Boulud, and continued to use his recipe for years due to its simplicity and perfection.

IMG_7509.jpg

But when I ordered the cookbook, The Fearless Baker, by Erin Jeanne McDowell last year, I came across her madeleine recipe that incorporated fresh rosemary. I was immediately intrigued and found myself baking her version the same day the book was delivered to my doorstep. The addition of rosemary gives the simple teacakes a more complex flavor, and although you wouldn’t think that rosemary belongs in desserts, it works beautifully, especially when paired with fresh lemon zest. The herb isn’t overpowering in any sense, but just the right amount. With Daniel Boulud’s classic madeleines, I was able to finish them in a number of ways: sprinkled with powdered sugar, dipped in chocolate, or dipped in chocolate and sprinkled with chopped pistachios. But with Erin’s madeleines, the best and only way to finish them is with a sprinkling of powdered sugar. I feel like any other toppings would clash with the rosemary/lemon combo.

Like stated above, baking madeleines is extremely simple, but requires owning a madeleine pan - you can find them sold online or in stores like Williams Sonoma. The only other thing asked of you is to let the batter sit in the fridge for about an hour, or even overnight. This helps the madeleines achieve the signature “bump” that occurs while baking. So if you are planning on making this for breakfast or a brunch party, it actually would be perfect for you to make the batter the night before and then just pop ‘em in the oven first thing in the morning. In my opinion, madeleines are best when they are fresh out of the oven, but according to Alex who literally just ate one that is three days old, they’re still just as good as the first day.


Lemon and Rosemary Madeleines

Makes about 30 madeleines

Adapted just slightly from Erin McDowell via her book, The Fearless Baker

Ingredients

  • 1 cup sugar

  • 3 large eggs

  • 1 tsp. vanilla extract

  • 1 1/2 tsp. fresh lemon zest

  • 1 1/2 cups all-purpose flour

  • 1/2 tsp. baking powder

  • 1/2 tsp. fine salt

  • 10 tbsp. (1 stick plus 2 tbsp.) unsalted butter, melted and slightly cooled

  • 2 tsp. finely chopped fresh rosemary

  • Confectioners’ sugar (powdered sugar), to finish

Directions

  1. In the bowl of a stand mixer fitted with the whisk attachment, or in a large bowl if using a hand mixer, whisk the sugar and eggs for 1-2 minutes on low speed, or until combined. Add the vanilla extract and lemon zest, and whisk again for about 30 seconds.

  2. To the bowl, add the flour, baking powder, and salt and mix together until just incorporated. While mixing on low, slowly add the melted butter in a steady stream, taking about a minute to add all of it. Finish mixing with a spatula, making sure to scrape down the sides of the bowl, then fold in the chopped rosemary. Cover the bowl with plastic wrap and chill for at least 60 minutes, or up to 12 hours/overnight. Don’t skip this step!

  3. Preheat the oven to 375°F. Grease your pan with cooking spray (you can also butter and flour them). Fill each madeleine cavity with a heaping tablespoon of batter. Do not spread the batter out because it will fill the mold naturally in the oven.

  4. Bake for about 10 minutes, or until the madeleines have popped up and the edges are slightly golden. If you’re still not sure if they are done, lightly press down on the tops with your finger - if it springs back, they’re good! Let the madeleines sit in the pan for a couple of minutes before removing (I like to use a butter knife to get them out). Cool slightly on a baking rack, and then top with a heavy dusting of powdered sugar. Enjoy!

OLIVE OIL BROWNIE COOKIES W/ NUTS

IMG_6428.jpg

I'll never forget the first time hearing someone say that they used olive oil in a dessert recipe. I was in high school, therefore completely unfamiliar with all things baking, when my sister told me that her then-boyfriend had made boxed brownies a few days earlier for his family. Sounds innocent enough, but since he was completely out of canola oil, he had no other choice but to use olive oil instead. I remember my sister and I laughing so hard and pretty much were mortified with the idea of mixing olive oil with chocolate. Of course, we never had the chance to taste them (and probably wouldn't have wanted to anyway) and decided to just write off my sister's boyfriend as a big dummy. 

Years later, I realized that it was I who was the big dummy and that I should have been experimenting with olive oil in desserts all along. When partially or completely using olive oil in place of butter or vegetable oil in recipes for cakes, cookies, etc. you are left with an amazing and delicious treat. The olive oil flavor doesn't overpower the other components in the recipe, and honestly just brings a whole different dynamic to the dish. It simply adds an incredible depth of flavor that other fats just can't deliver. 

IMG_6361.jpg

When scanning through old photos, I came to the realization that the recipe I am providing you with today is actually the first olive oil dessert that I ever baked. I remember being pretty hesitant when I was making these olive oil brownie cookies over 5 years ago, but in the end, I deemed these cookies to be the best of its kind. Let me be more clear: I've tried a handful of brownie cookie recipes since, mostly recipes using butter, and to this day, everything falls short compared to this batch. Over the years, I've probably made this recipe 10 or more times. 

Brownie cookies are the perfect marriage of two of my favorite treats: you get the decadence and fudgy-ness of a brownie all wrapped into a perfectly sized cookie with crisp set edges. They're totally addicting and nearly impossible to stop eating after trying one. Although I am not so fond of adding nuts to my brownies, all bets are off when it comes to my cookies, whether they're related to the brownie family or not. Pecans or walnuts usually reign supreme in the brownie world, but I wanted to do something a little out of the ordinary and decided that hazelnuts would be an amazing option. Luckily, I was right and as always when combining chocolate and hazelnuts together, there is definitely a bit of a Nutella flavor coming through. What could be better?

But, of course, feel free to use your favorite nuts in this recipe. My mom personally isn’t a fan of hazelnuts, so I’ve made these plenty of times with pecans and they are to die for.

IMG_6405.jpg

A couple of notes. Like I said above, I've made these cookies numerous times and I want to let it be known that you can use any kind of olive oil that you have in your pantry. I've used plain olive oil, standard extra virgin olive oil, expensive organic extra virgin olive oil... and I personally don't think which kind you use makes that big of a difference. Sure, extra virgin olive oil is a higher quality that contains pure, cold-pressed olives, as opposed to being a blend, but we aren't using the olive oil to dip bread into. It's part of a much larger picture combined with other huge flavors like chocolate, so if you don't want to go out and buy expensive olive oil for this, then don't! The olive oil flavor will still work its magic and the cookies will be fantastic regardless. 

And most importantly, the other note is that there is a step in the directions for this recipe that should not go unnoticed! At one point you have to mix baking soda with hot water to dissolve it before mixing it in with the cookie batter/dough. After some research, it appears that this ensures that the baking soda will be evenly distributed through out, which will prevent the cookies from spreading (these cookies are more susceptible to spreading due to the olive oil). I once forgot this step and I kid you not, I had to throw the cookies away because it turned into one huge cookie monster. Sounds like it could be delicious, but it was a very bad sight! Trust me on this when I say not to skip this step. Like always, read through the directions before doing anything, and you'll be just fine!

IMG_6546.jpg

Olive Oil Brownie Cookies w/ Nuts

Yields about 25 cookies

Recipe adapted from Butterlust

Ingredients

IMG_6699.jpg
  • 3/4 cup all-purpose flour

  • 3/4 cup unsweetened cocoa powder

  • 1 tsp. espresso powder (optional, but intensifies chocolate flavor)

  • 1/2 tsp. salt

  • 1/2 cup olive oil, any kind works

  • 1 cup sugar

  • 2 large eggs

  • 1 tsp. vanilla extract

  • 1 tsp. baking soda

  • 1 tbsp. hot water

  • 1 cup semi-sweet or bittersweet chocolate chips

  • 1 cup toasted hazelnuts, pecans or walnuts roughly chopped

  • Flaky sea salt, to finish (optional)

Directions

  1. In a medium bowl, whisk together the flour, cocoa powder, espresso powder (if using) and salt. Set aside.

  2. Using a stand mixer fitted with the paddle attachment, or in a large bowl, whisk the olive oil and sugar until completely incorporated. Add one egg at a time, mixing well until adding the next one and then mix in the vanilla extract.

  3. Slowly add the flour mixture and stir until just combined.

  4. In a small bowl, stir the baking soda and hot water together until the baking soda is dissolved. Add this to the large bowl and mix together.

  5. Using a spatula, fold in the chocolate chips and nuts. Cover with plastic wrap and refrigerate for at least 30 minutes. The longer it chills, the easier it'll be to scoop the dough. Compared to other doughs, this one is more like a brownie batter.

  6. Preheat the oven to 350°F. Line a baking tray with parchment paper, and using a spoon or a cookie scoop, scoop out 1-2 tablespoons of dough for each cookie.

  7. Bake the cookies for 8-10 minutes. The cookies are done when the edges are set - the center will still look soft. Do not overbake! Once taken out of the oven, sprinkle with flaky sea salt and allow the cookies to sit on the pan for about 5 minutes before transferring to a cooling rack.