A full year has gone by since my last ice cream post (hello, brown sugar + chocolate chip cookie dough) so I’d say it’s about time we revisited my favorite frozen treat. Being a sucker for seasonal flavors -peppermint ice cream and graham cracker frozen yogurt being some of my favorites - I wanted to do another ice cream that would be perfect for the autumn season: something that could be enjoyed while watching scary movies during Halloween time or as a dessert option for Thanksgiving. So, of course, I landed on pumpkin, an ingredient that is synonymous with the season and one that I truly love incorporating into desserts. If you’re looking for other pumpkin recipes, check out my pumpkin cheesecake, which I make every Thanksgiving, or my pumpkin and brown butter breakfast puffs, which are essentially doughnut holes baked in a muffin tin.
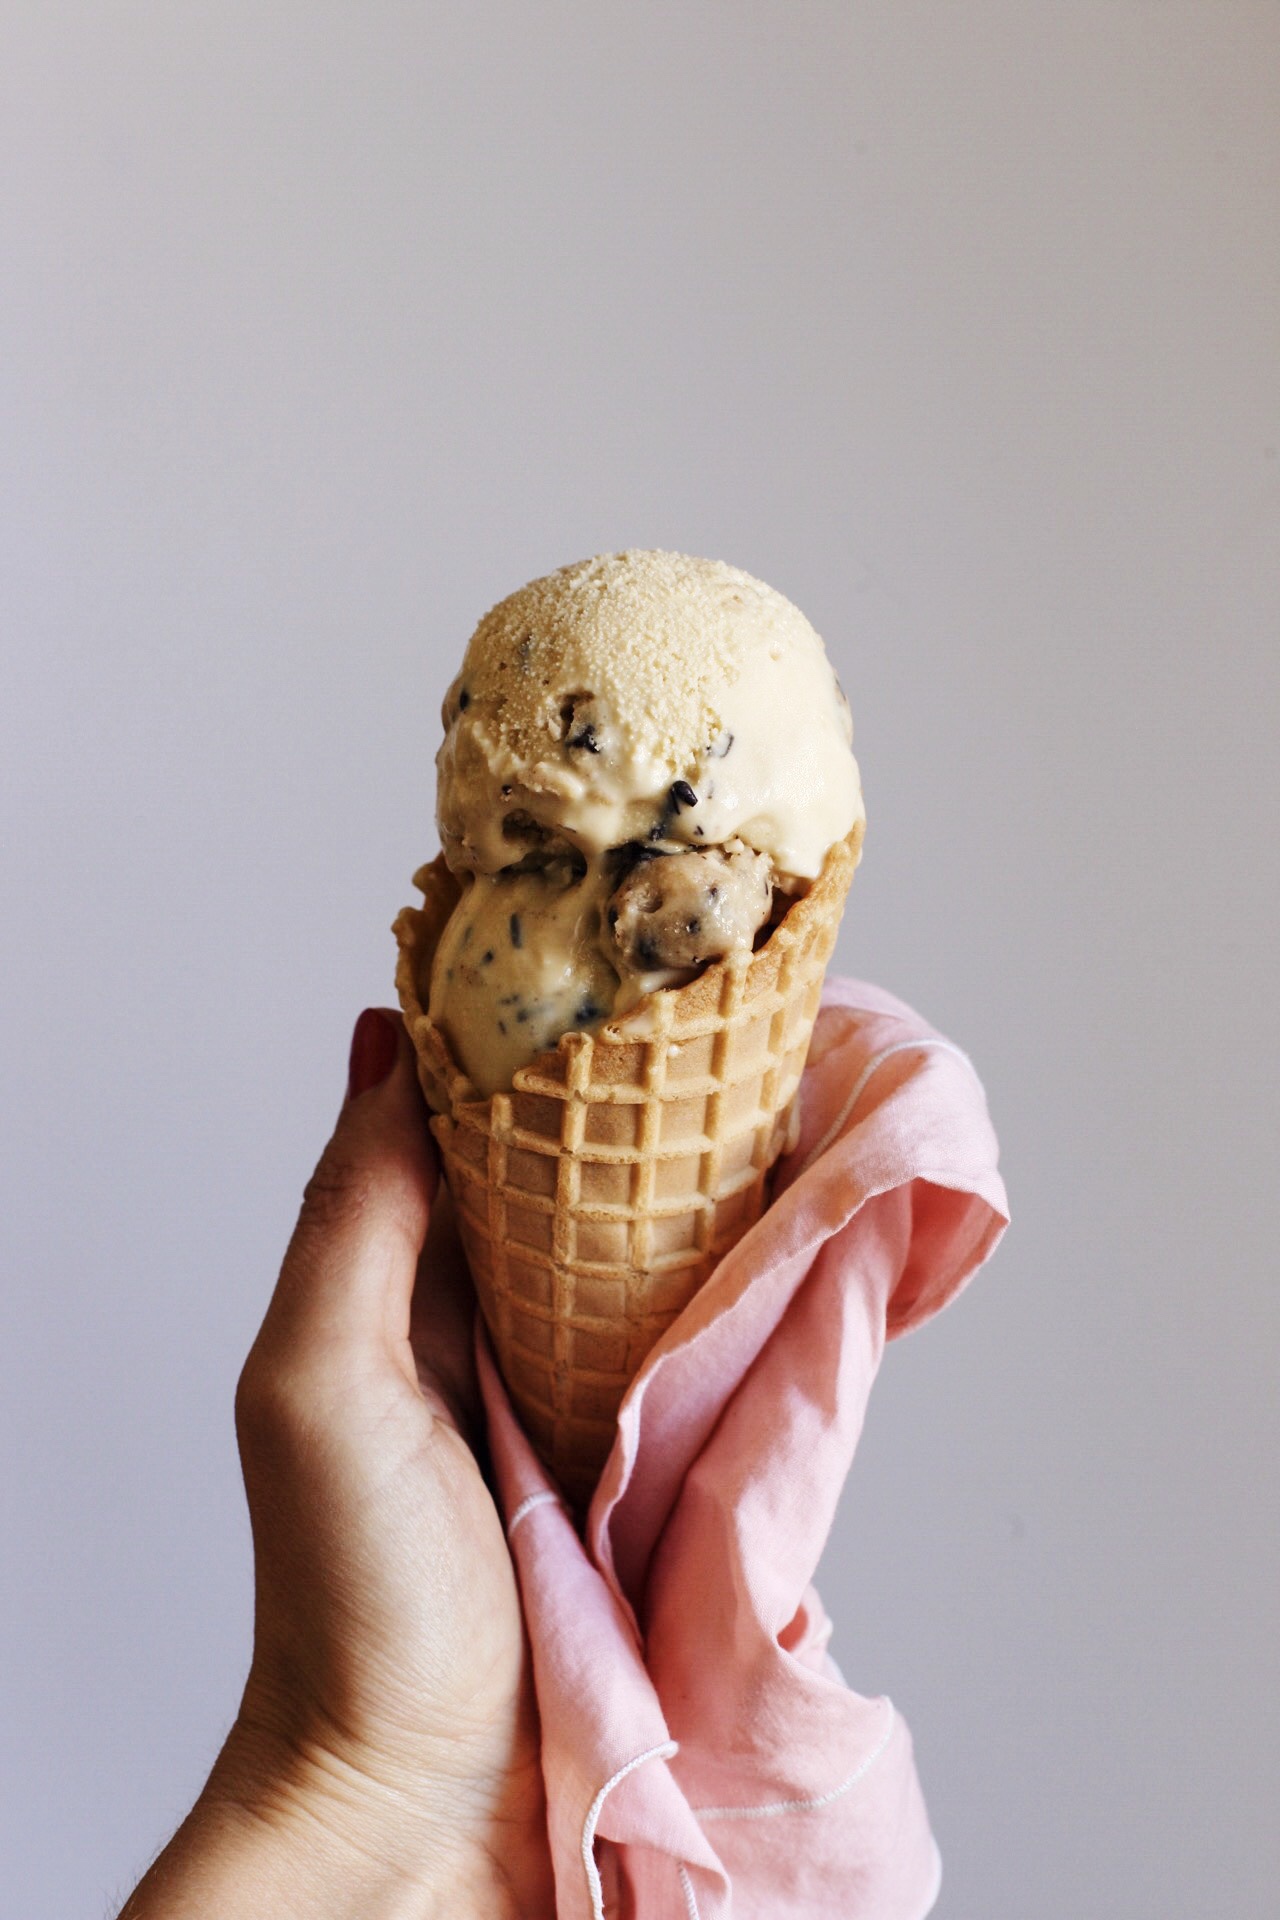
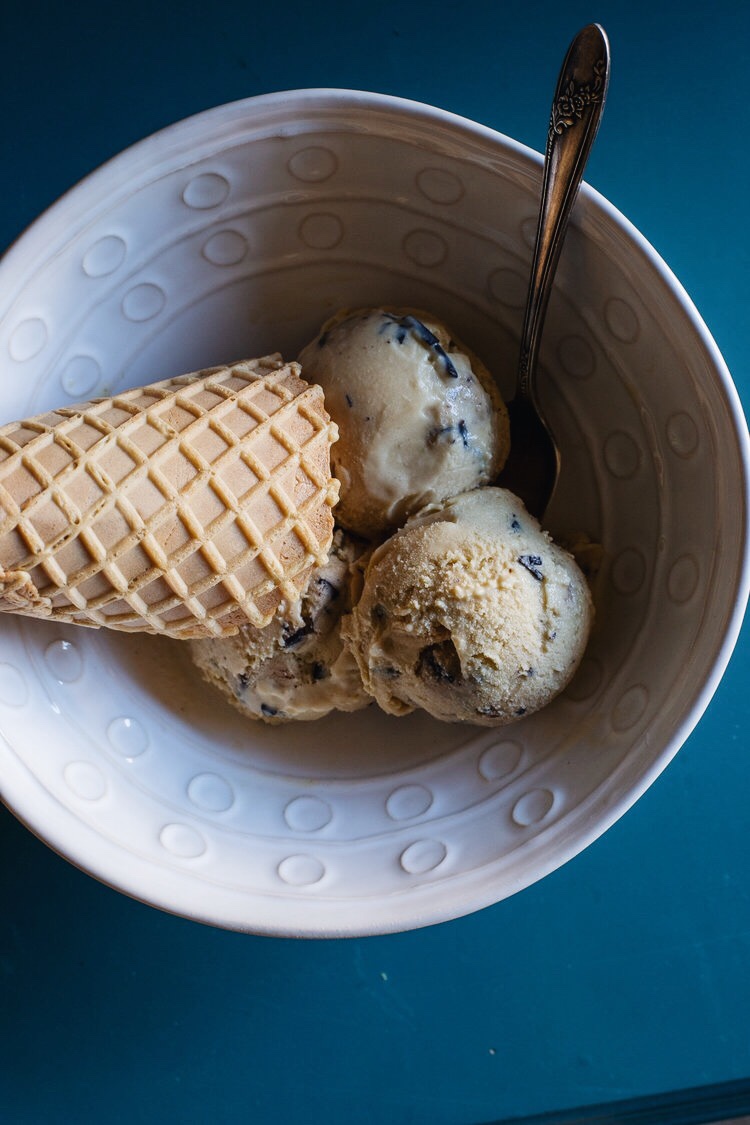
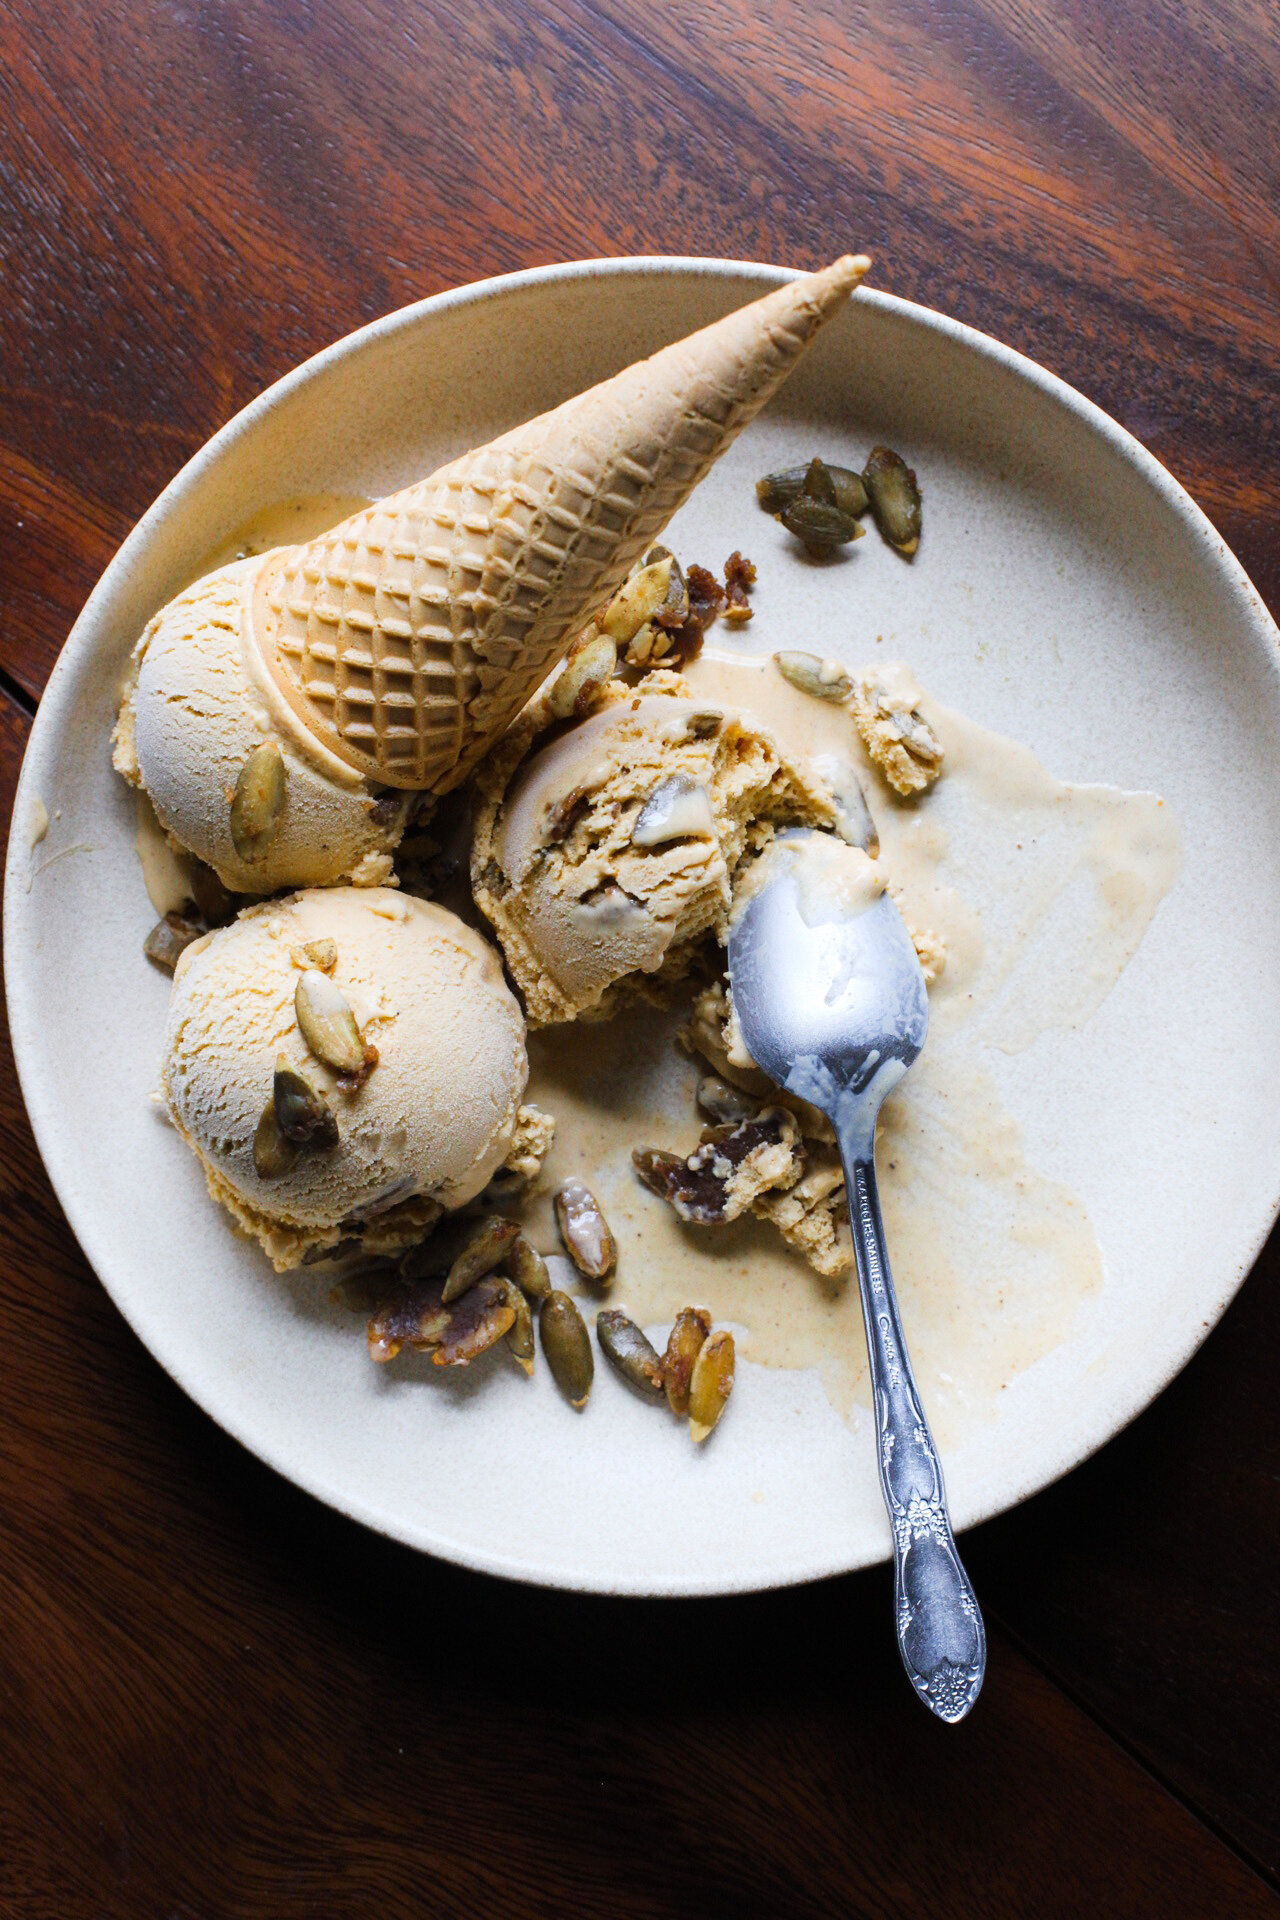
Now let’s talk about today’s ice cream. My pumpkin spice ice cream is custard based, meaning egg yolks are added to the milk/sugar mixture in order to yield a creamier flavor and a smoother texture. I always make my ice cream this way because although it requires a bit more skill while making it, the end result is far superior and comparable to what you’d find at artisanal ice cream shops. As for the pumpkin component, you’ll be adding store bought canned pumpkin purée (my favorite brand being Libby’s) or you can go above and beyond and make your own in case you just so happen to have unused pumpkins lying around. As you can tell from my pictures, my pumpkin ice cream will not give you a vibrant orange color like some other recipes do, and this is mostly due to the amount of milk, heavy cream and egg yolks added in relation to the pumpkin purée. I actually think the end result looks more natural with its faint hint of orange, but if you’re concerned that there isn’t enough pumpkin flavor, I assure you, it’s the perfect ratio.
The “spice” component of this ice cream comes from adding typical spices that you would find when baking a pumpkin pie: ground cinnamon, ginger and clove. You can definitely add nutmeg, allspice, cardamom or even black pepper if you want, or even make it easier on yourself and simply use store bought pumpkin pie spice, which is essentially a blend of all the aforementioned spices. I get mine from Trader Joe’s and actually used it for the candied pumpkin seeds component of this recipe.
Speaking of the candied pumpkin seeds, I got the idea for this from another seasonal ice cream recipe of mine: my maple pecan ice cream. I’m the kind of person who loves a crunchy/textural element in my ice cream, whether from chocolate chunks, toffee bits, or mini marshmallows, so I thought adding a bit more pumpkin flavor via the seeds would be a great addition. Because the seeds are candied, it adds little chunks of buttery, sweetness to just about every bite and really makes the ice cream that much more addicting.

Pumpkin Spice Ice Cream w/ Candied Pumpkin Seeds
Yields about 1 quart
Recipe adapted from David Lebovitz
Ingredients
For the candied pumpkin seeds:

1 tbsp. unsalted butter
1/2 cup raw pumpkin seeds
1 tbsp. brown sugar (light or dark)
1/2 tsp. pumpkin pie spice
For the ice cream:
1 cup heavy cream
1 1/2 cups whole milk
1/3 cup granulated sugar
Pinch of kosher salt
5 large egg yolks
3/4 cup pumpkin purée
1 tsp. vanilla extract
1 tsp. ground cinnamon
1 tsp. ground ginger
1/4 tsp, cloves
Directions
Make the candied pumpkin seeds:
Melt the butter in a large skillet over medium heat. Add the pumpkin seeds and toss to coat with butter. Sprinkle in the brown sugar and pumpkin pie spice, and cook for 3-4 minutes, or until the seeds are candied. Transfer to a bowl and allow to cool completely.
Make the ice cream:
Pour the heavy cream into a medium-sized bowl and set a strainer over the top. Place this bowl into an ice bath and set aside.
Warm the milk, sugar, and salt in a saucepan over medium-low heat. In a medium bowl, whisk the egg yolks together. Just as the milk mixture is beginning to simmer, gradually add some of it to the bowl of egg yolks, whisking constantly as to not scramble the eggs (this is called tempering). Once the egg yolk mixture temperature has raised, pour the mixture back into the saucepan. Stir constantly over medium-low heat until the mixture thickens and coats the back of your spatula or spoon.
Pour the custard mixture over the strainer-lined bowl. Stir the custard in with the heavy cream that is already in the bowl for a couple of minutes in order to bring the temperature down a bit. Pour this and all other ice cream ingredients (pumpkin purée, vanilla extract, and spices) into a blender and blend for about 30 seconds. Transfer the mixture back to the bowl that held the custard base, cover with plastic wrap, and chill in the refrigerator for at least 4 hours or overnight.
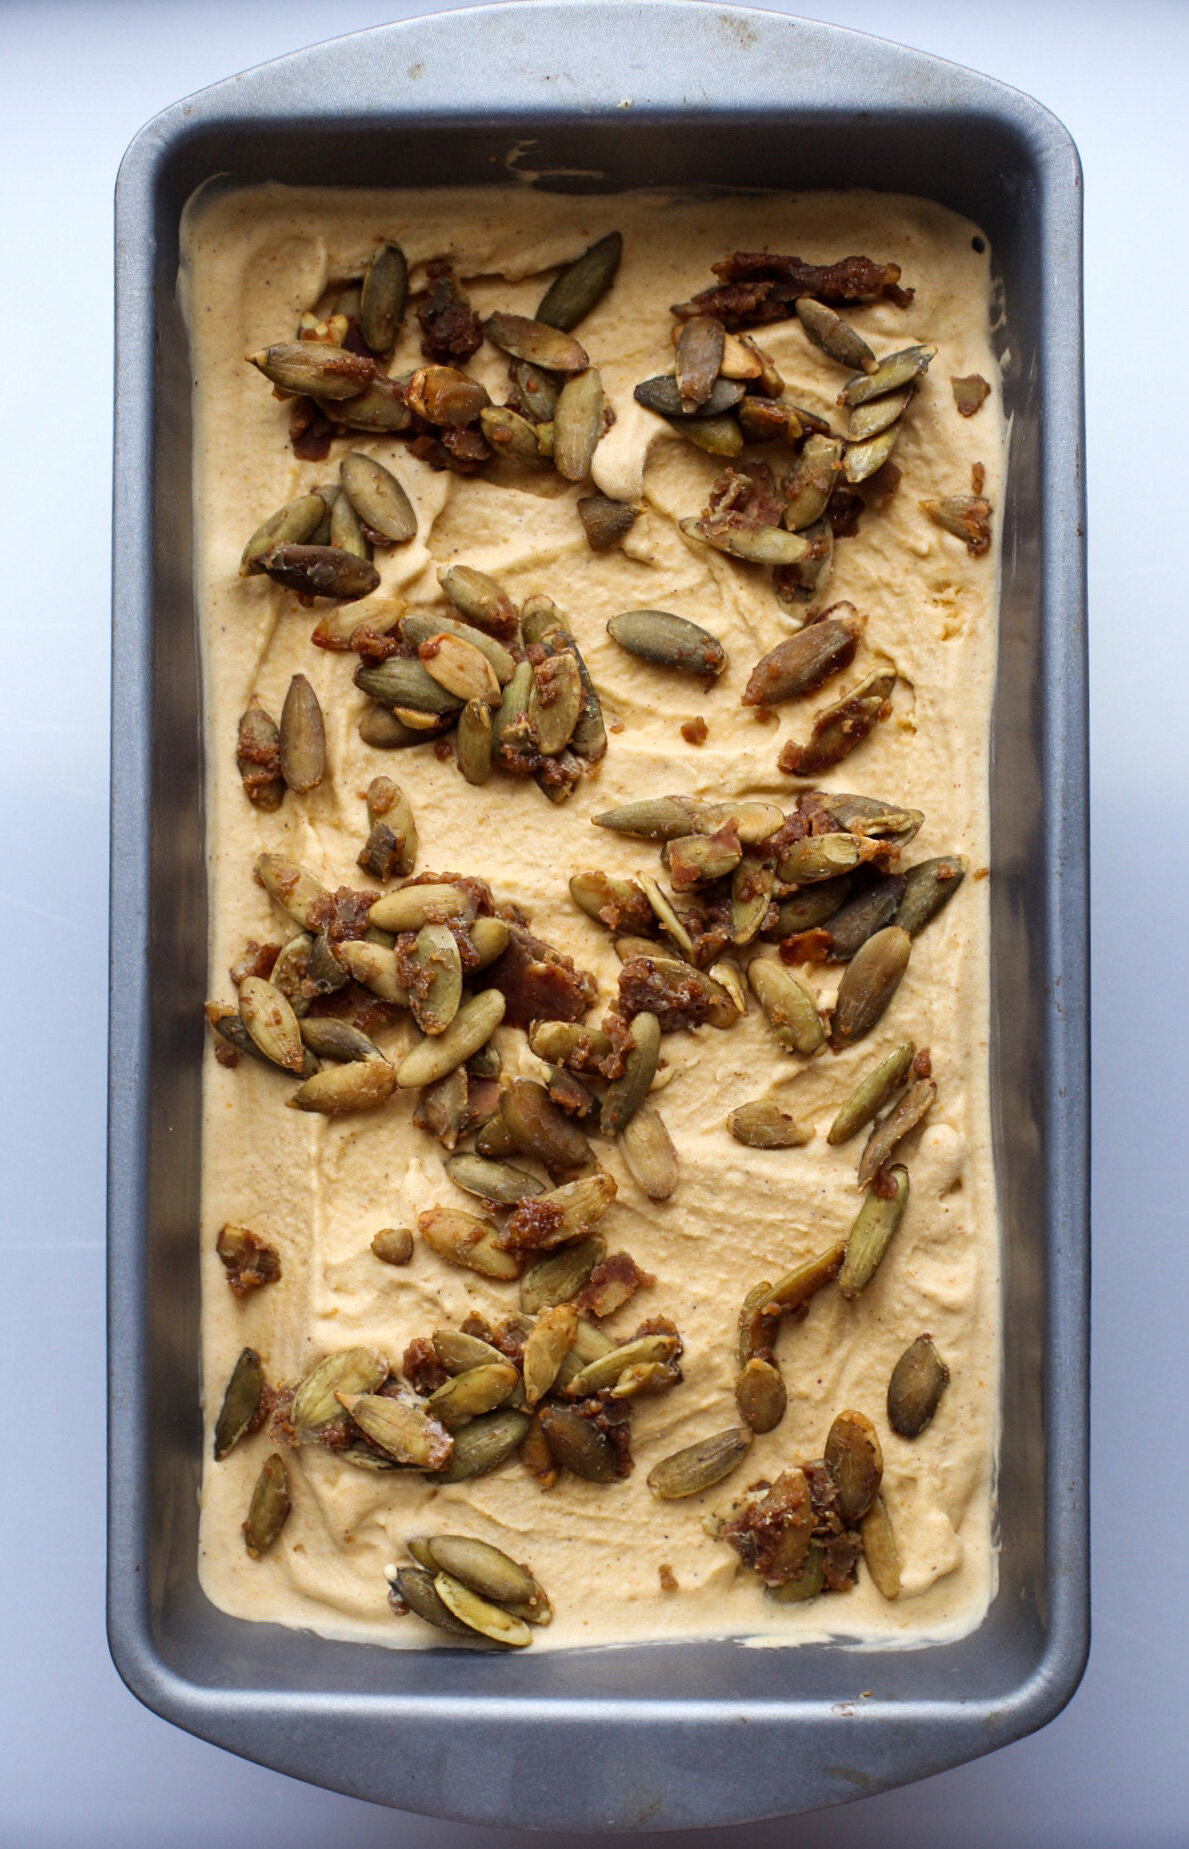
Churn the ice cream in your maker according to the manufacturer's instructions. Transfer the finished ice cream to an airtight container and stir in the candied pumpkin seeds. Freeze until solid. Enjoy!