LEMON CARDAMOM CRINKLE COOKIES

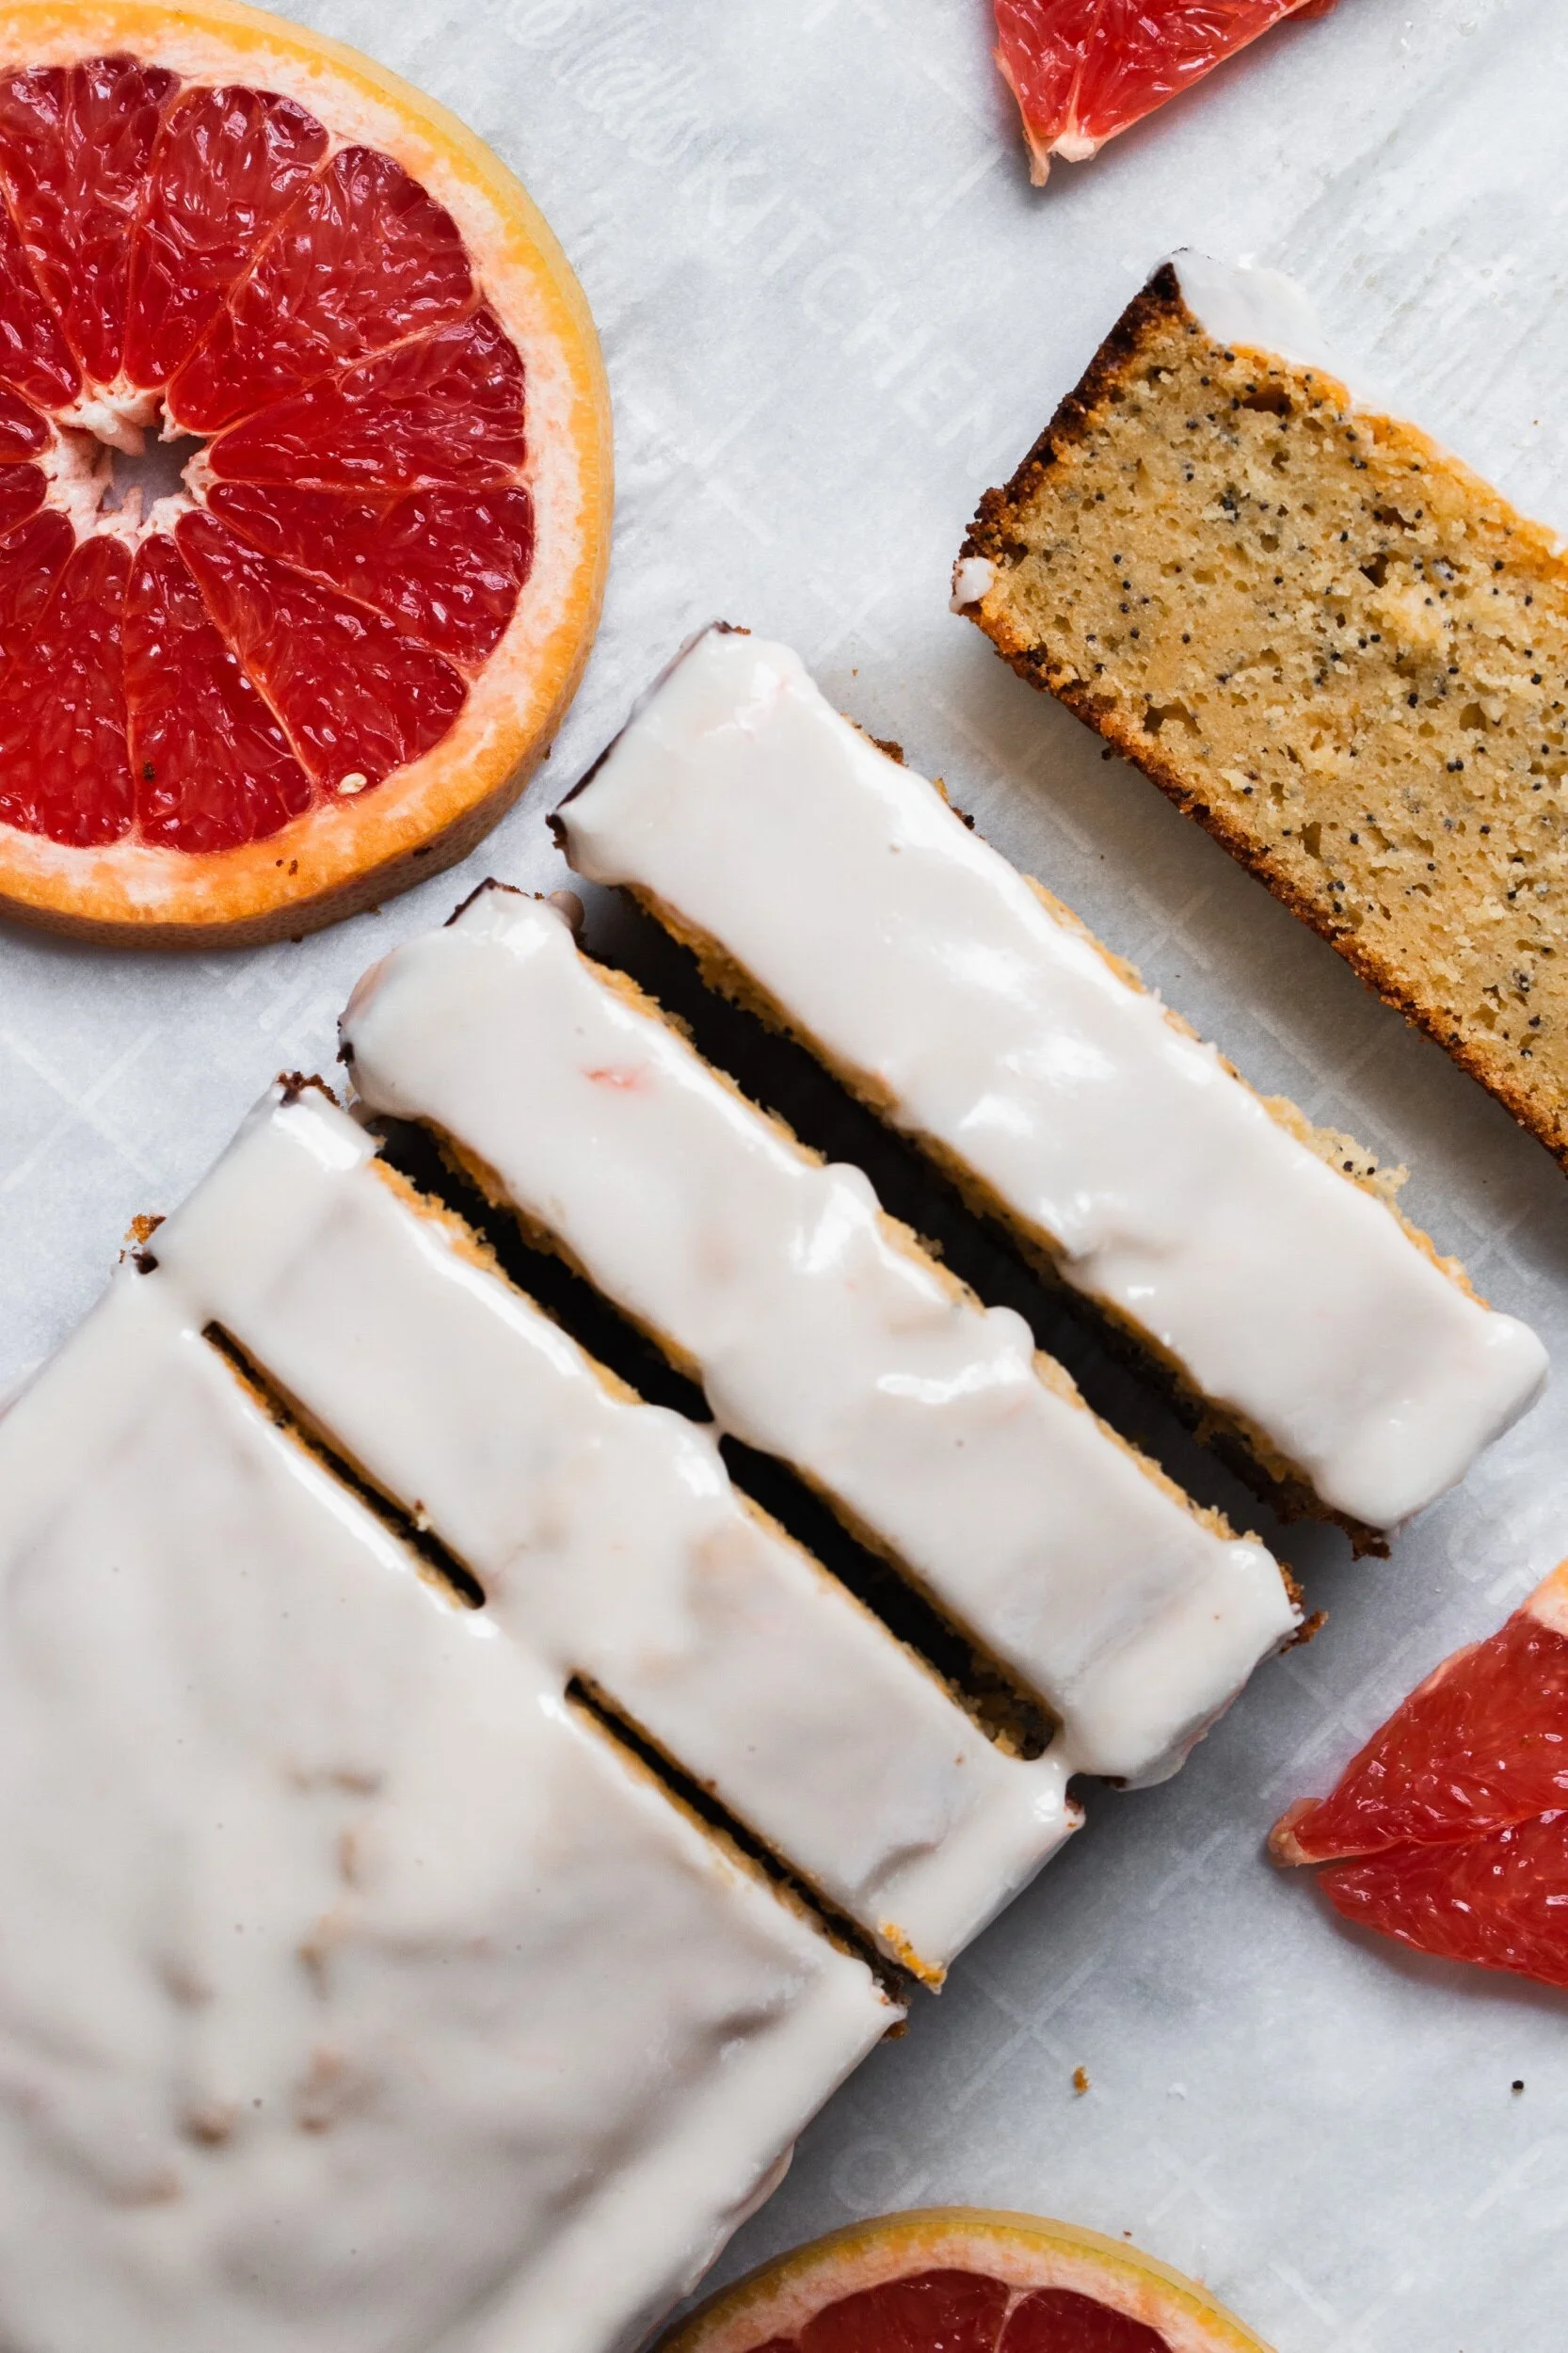
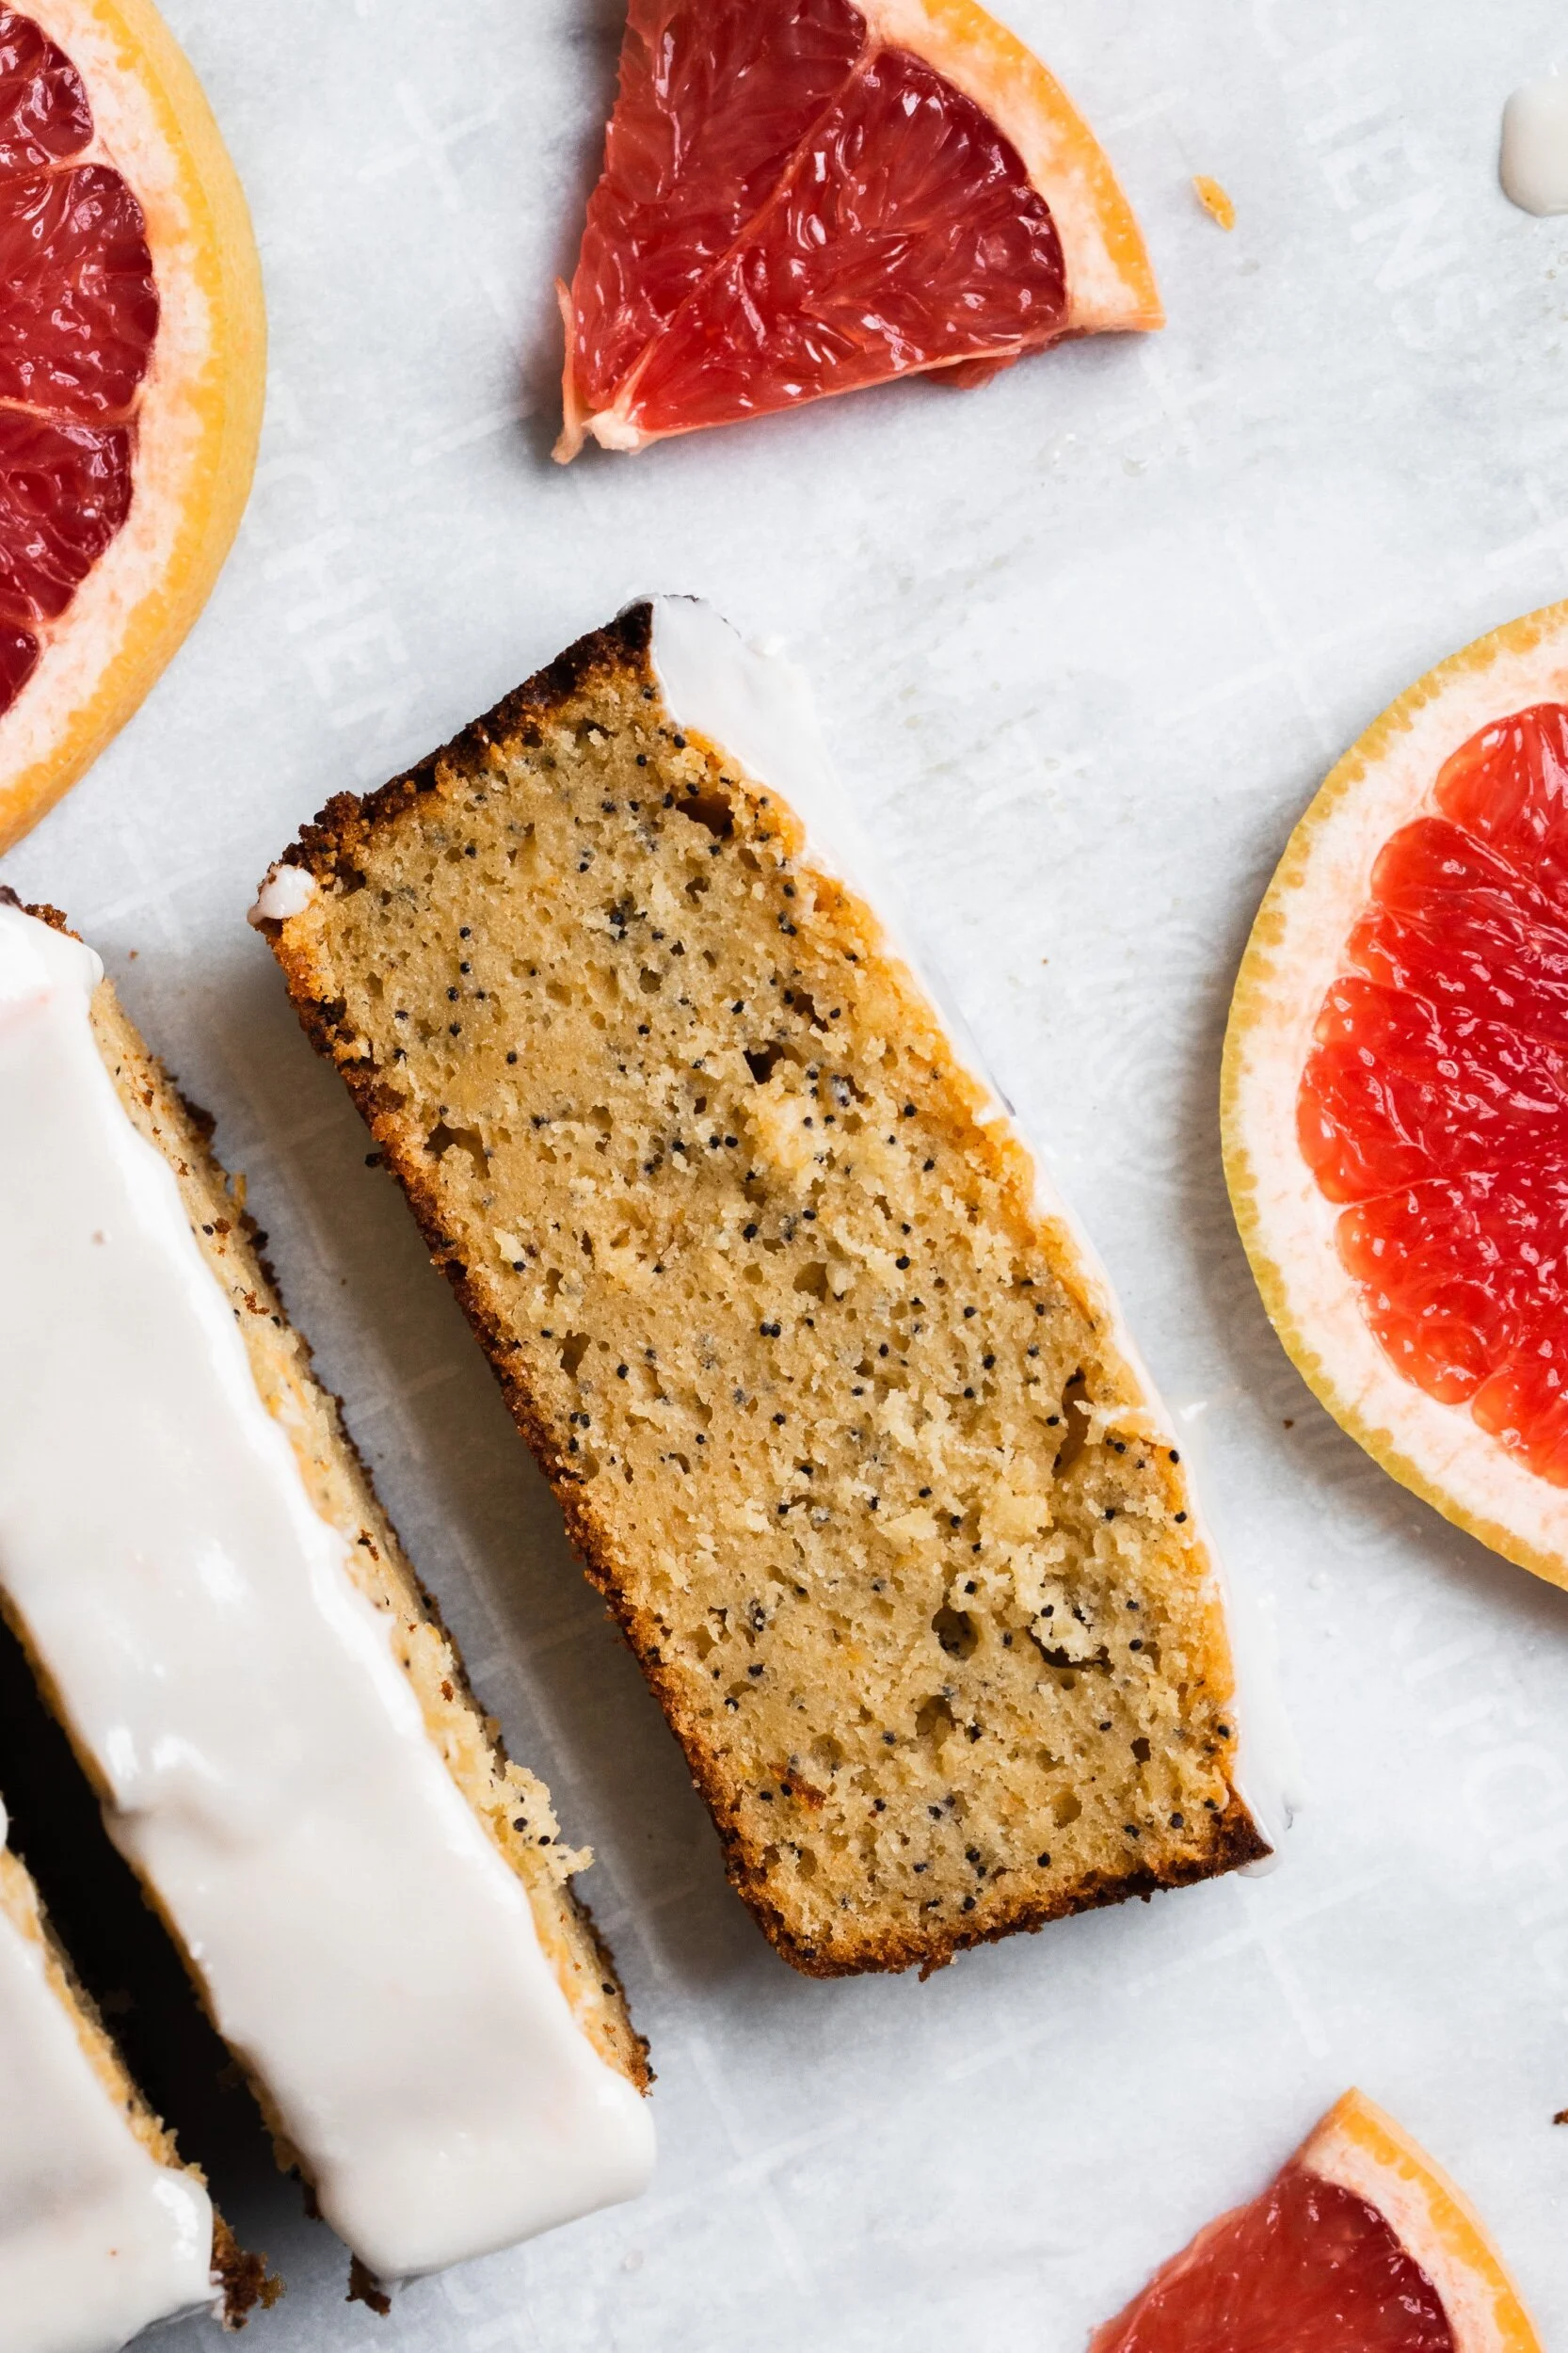
Welcome to my first blog post of 2022! Like most people’s lives these days, it’s been a bit hectic for us over here with nonstop events and celebrations being thrown at us, all while trying to stay healthy and safe. From our wedding party in early December to celebrating Christmas/my birthday/New Year’s Eve to getting ready to travel to Germany next week for a wedding… we’ve clearly had a lot on our plates. On top of all of this, we’re moving again this month which is adding another layer of stress, but luckily we aren’t moving across the country this time.

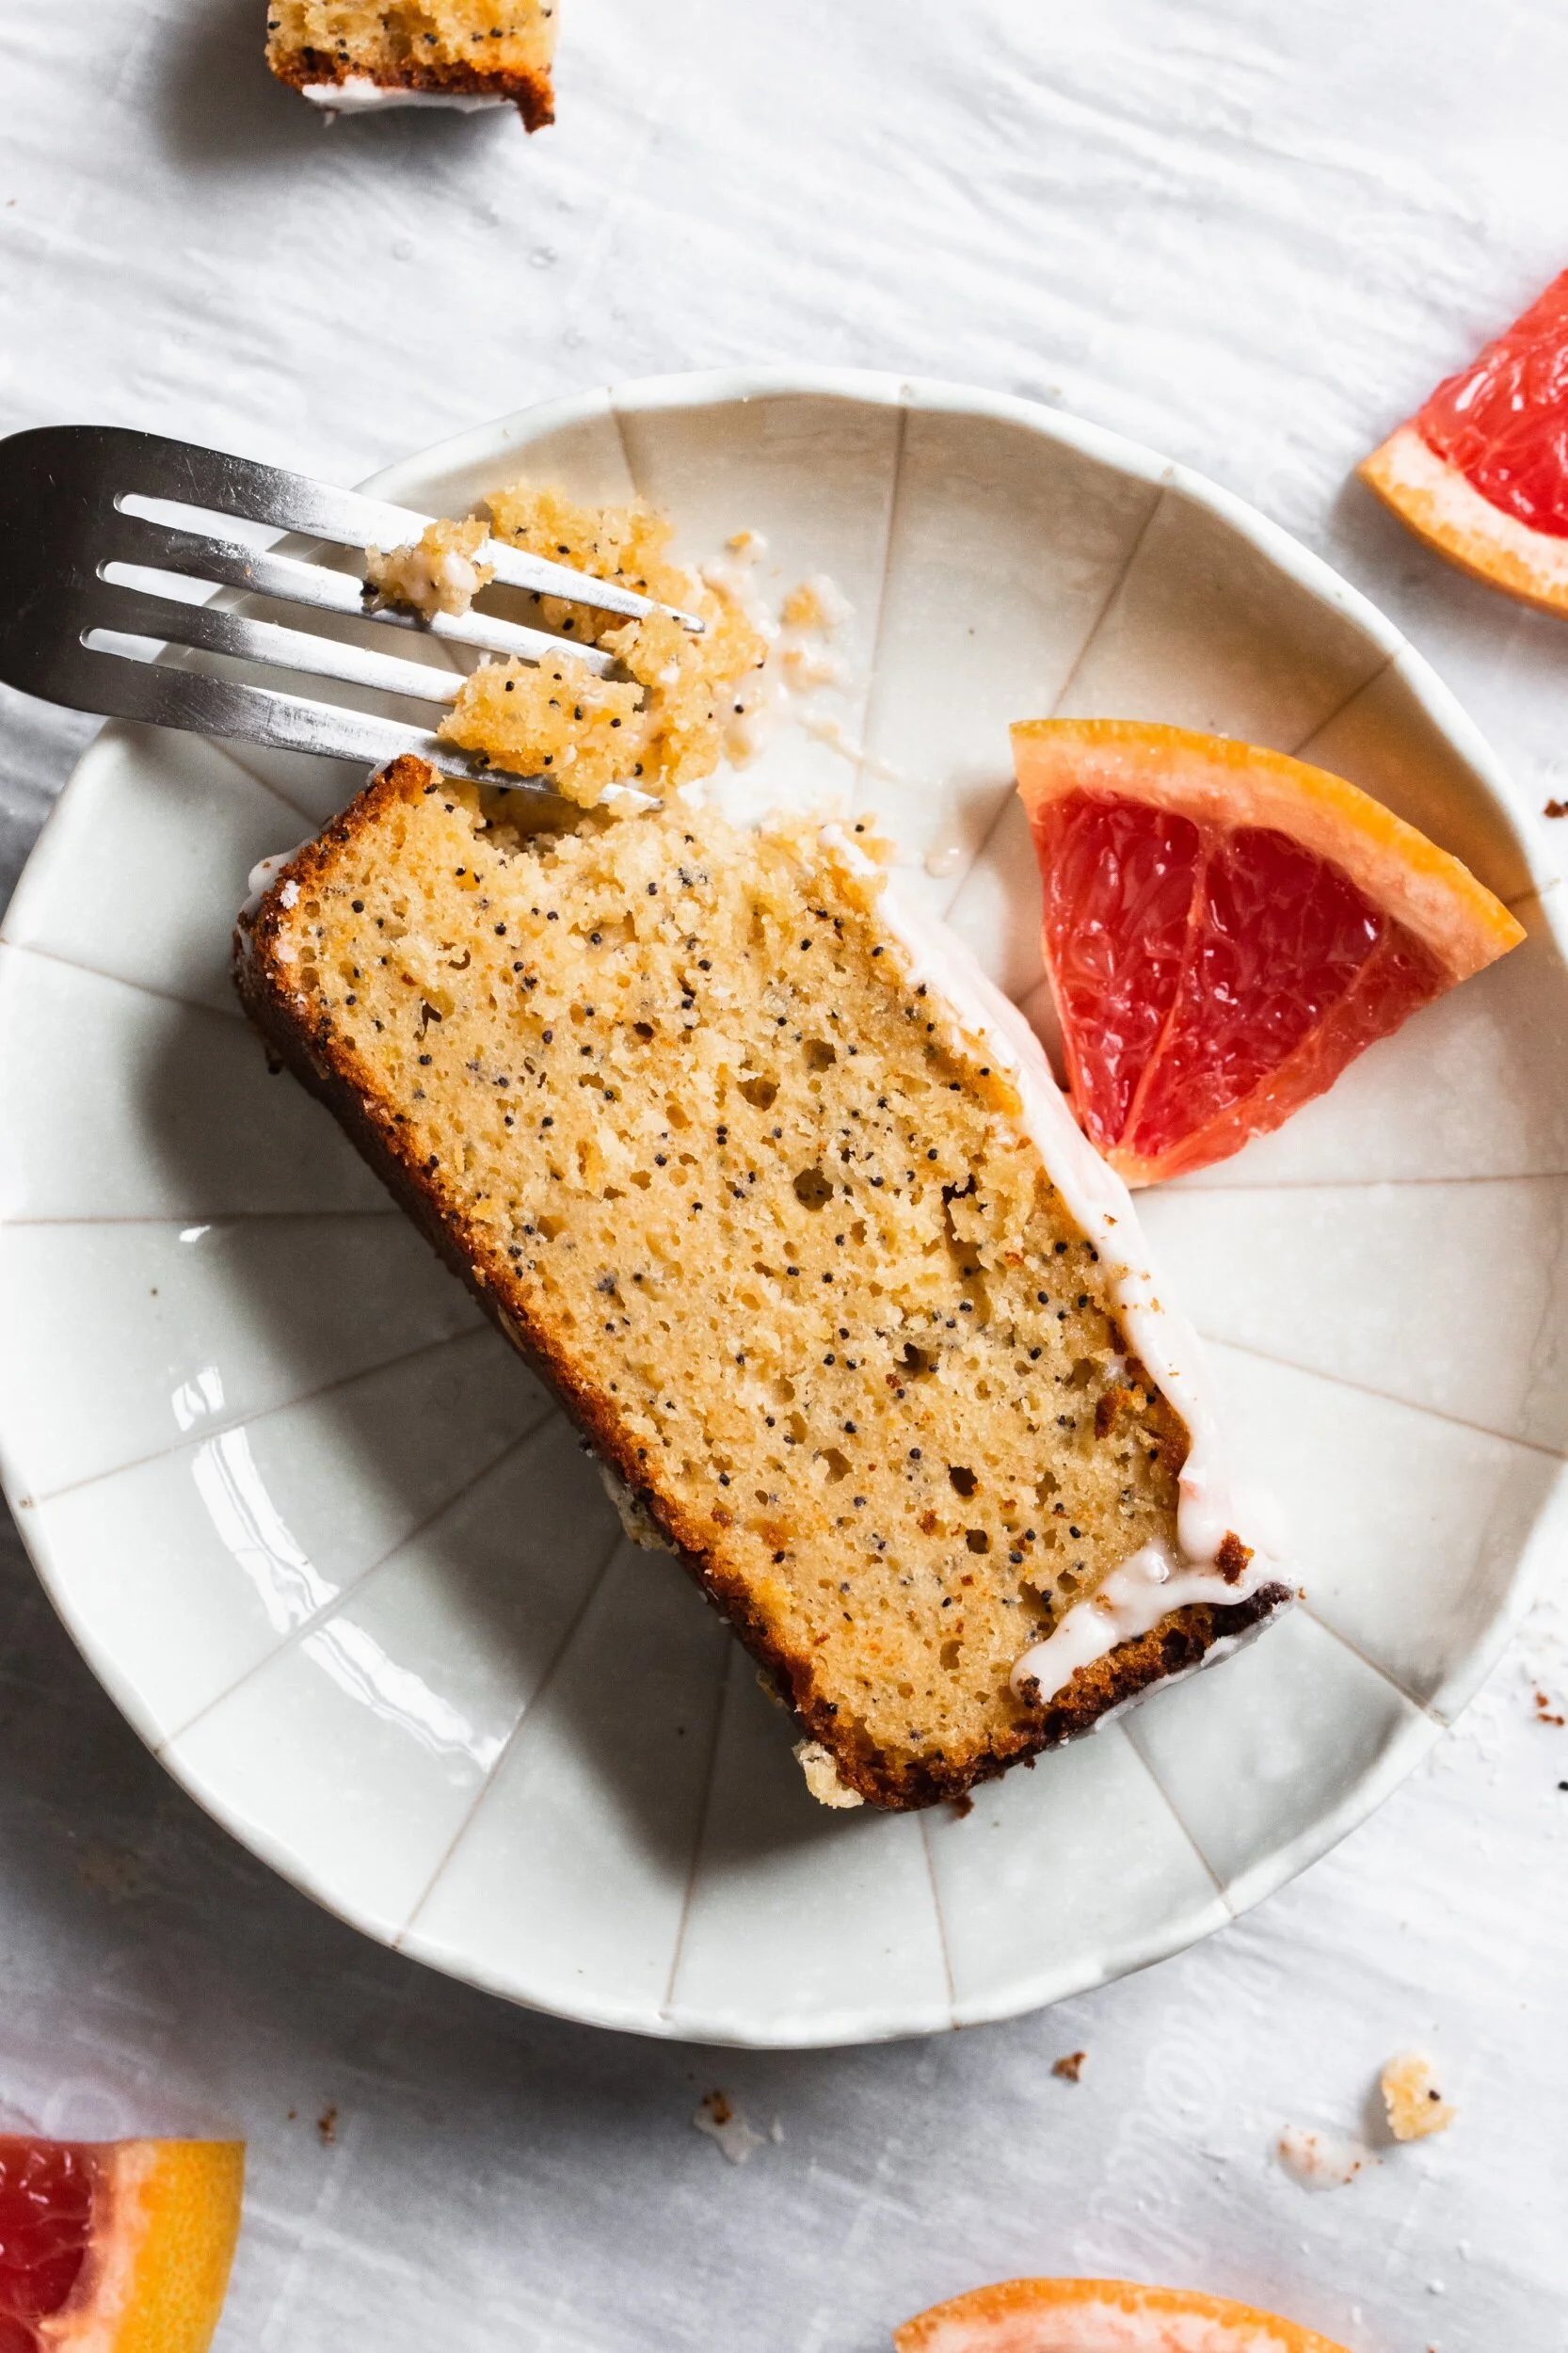
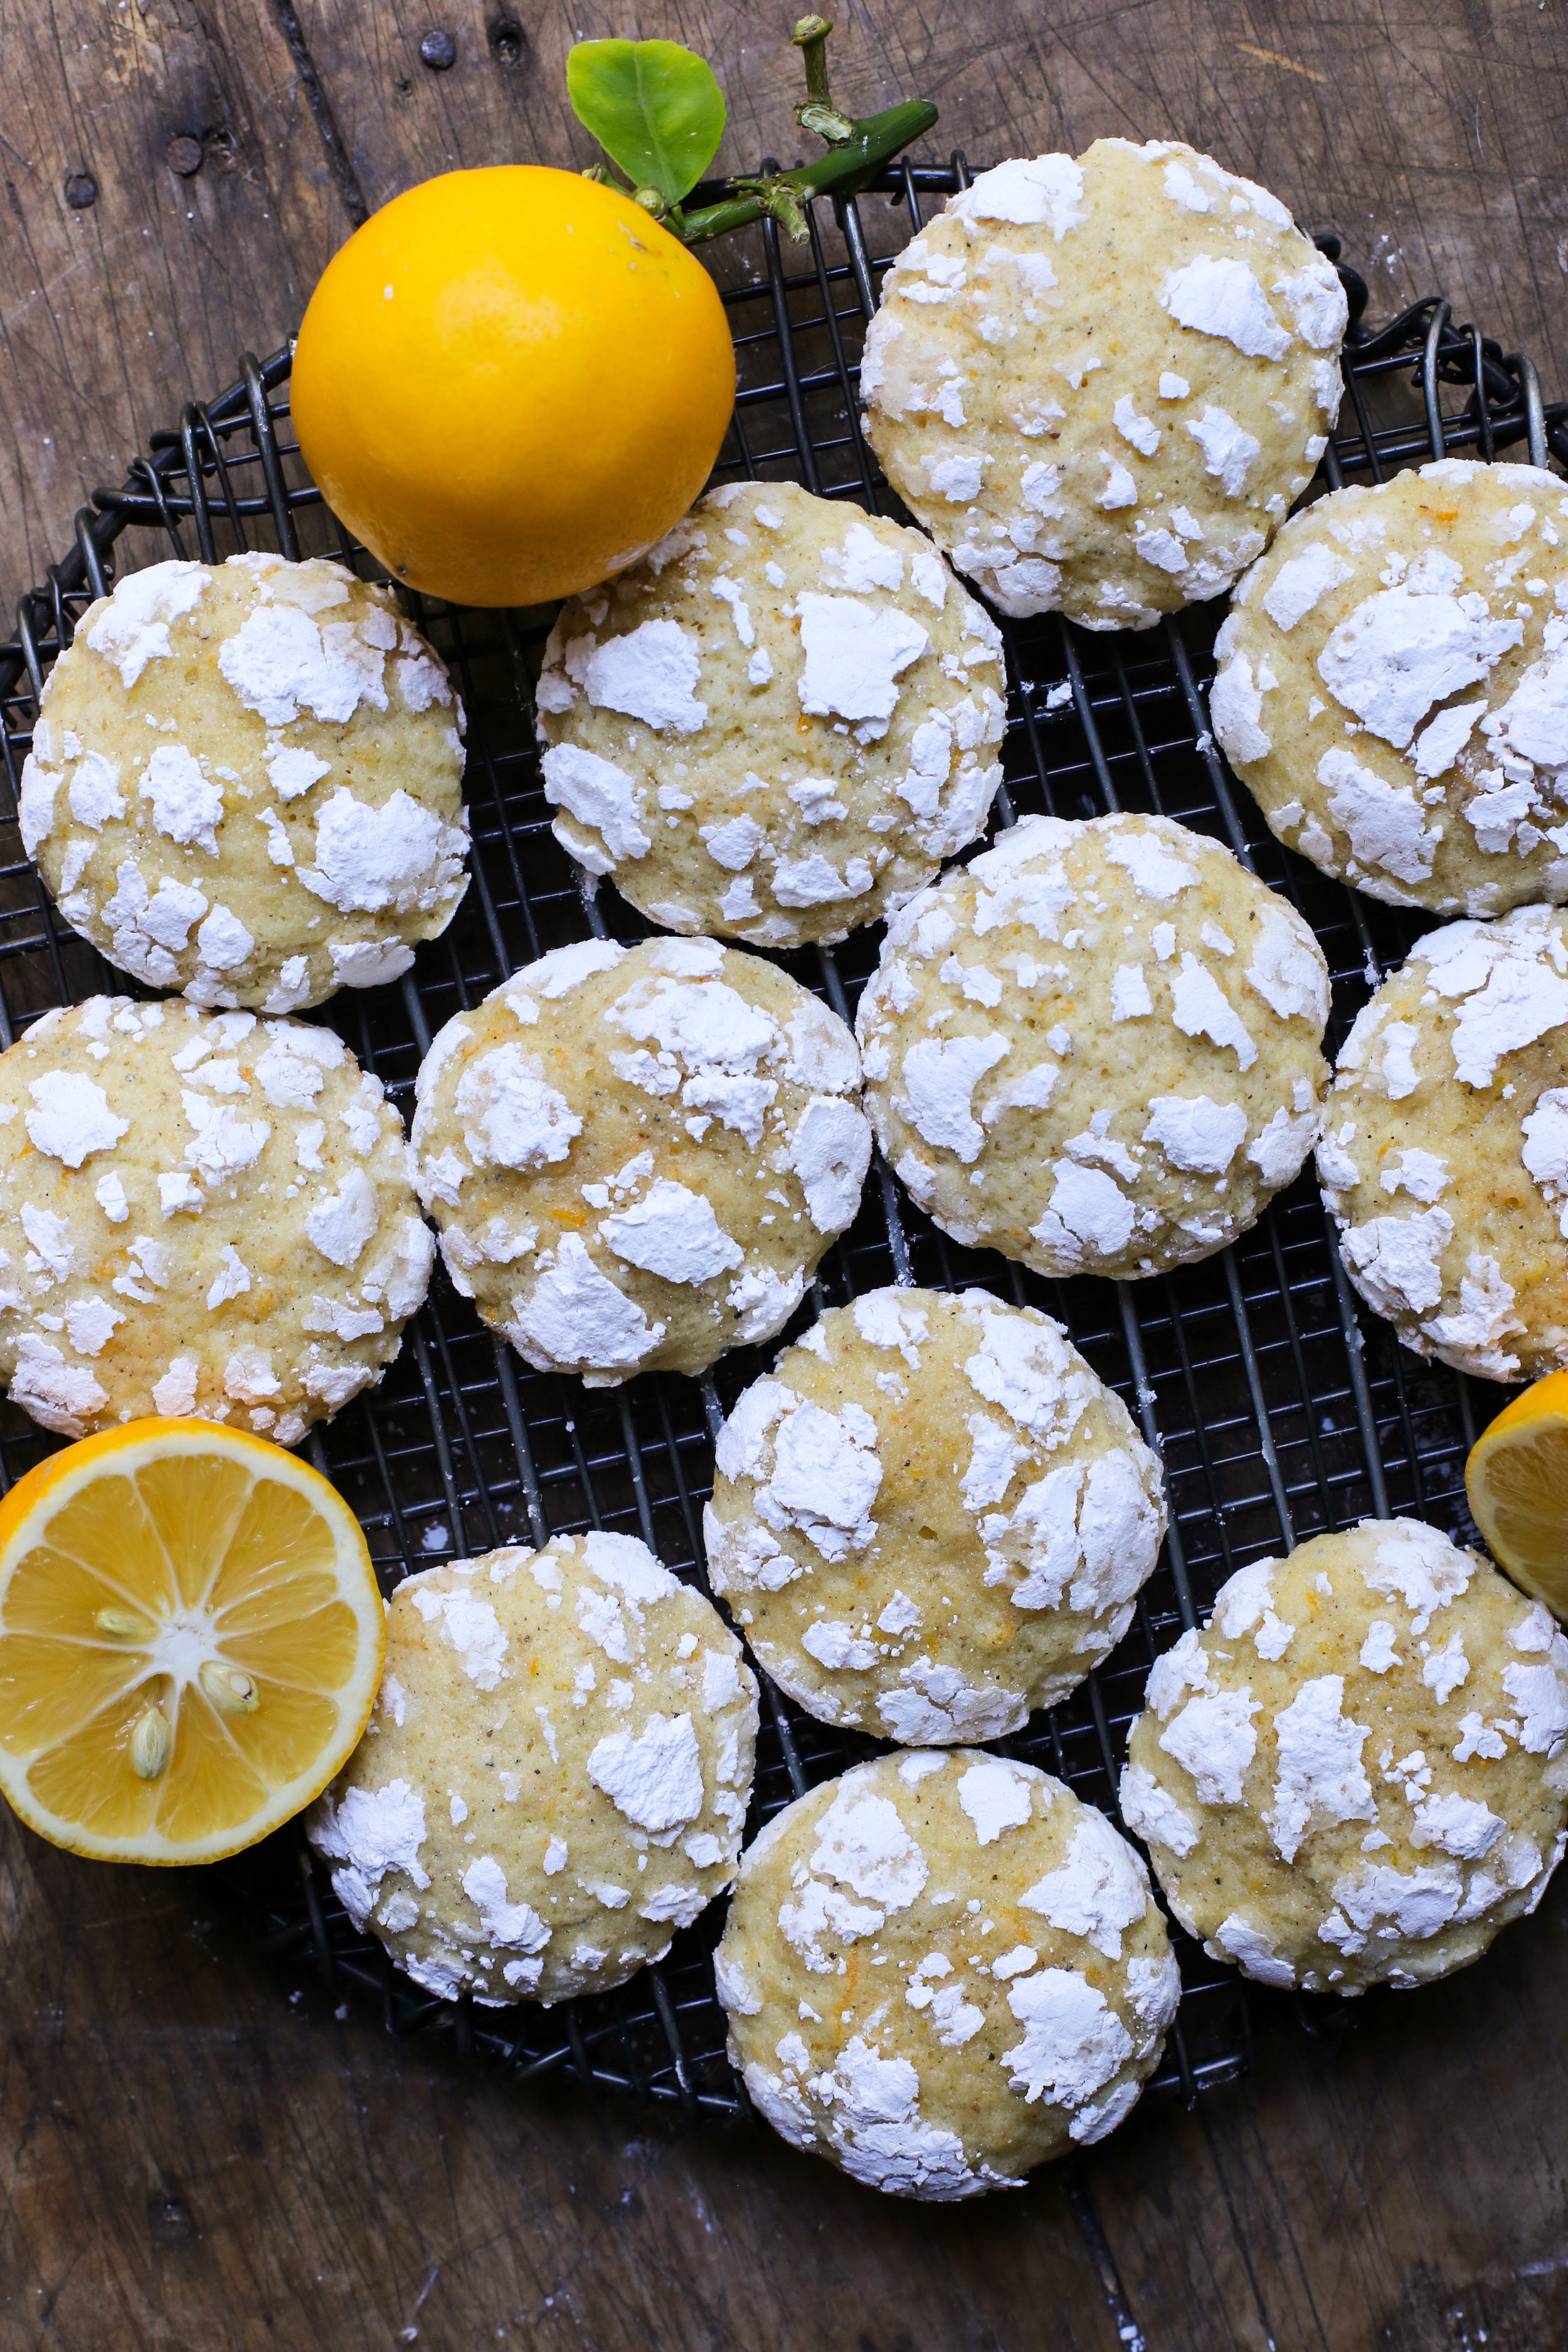
Since I had taken such a long break from the blog in 2021, it’s been a minute since I shared a new cookie recipe and what better time to share one than now which happens to be citrus season. The recipe that I’m giving you today is Lemon Cardamom Crinkle Cookies and like every other cookie recipe I give you, it’s absolutely incredible. I actually made them for the first time this past Christmas when I was looking to switch up my usual Christmas cookie packages that I hand out to family members each year, and they ended up being a huge hit with everyone. I paired them along with my Ginger Molasses Cookies and Brown Butter, Pecan and Milk Chocolate Chip Cookies for what I thought was the best variety of cookies you could ask for.

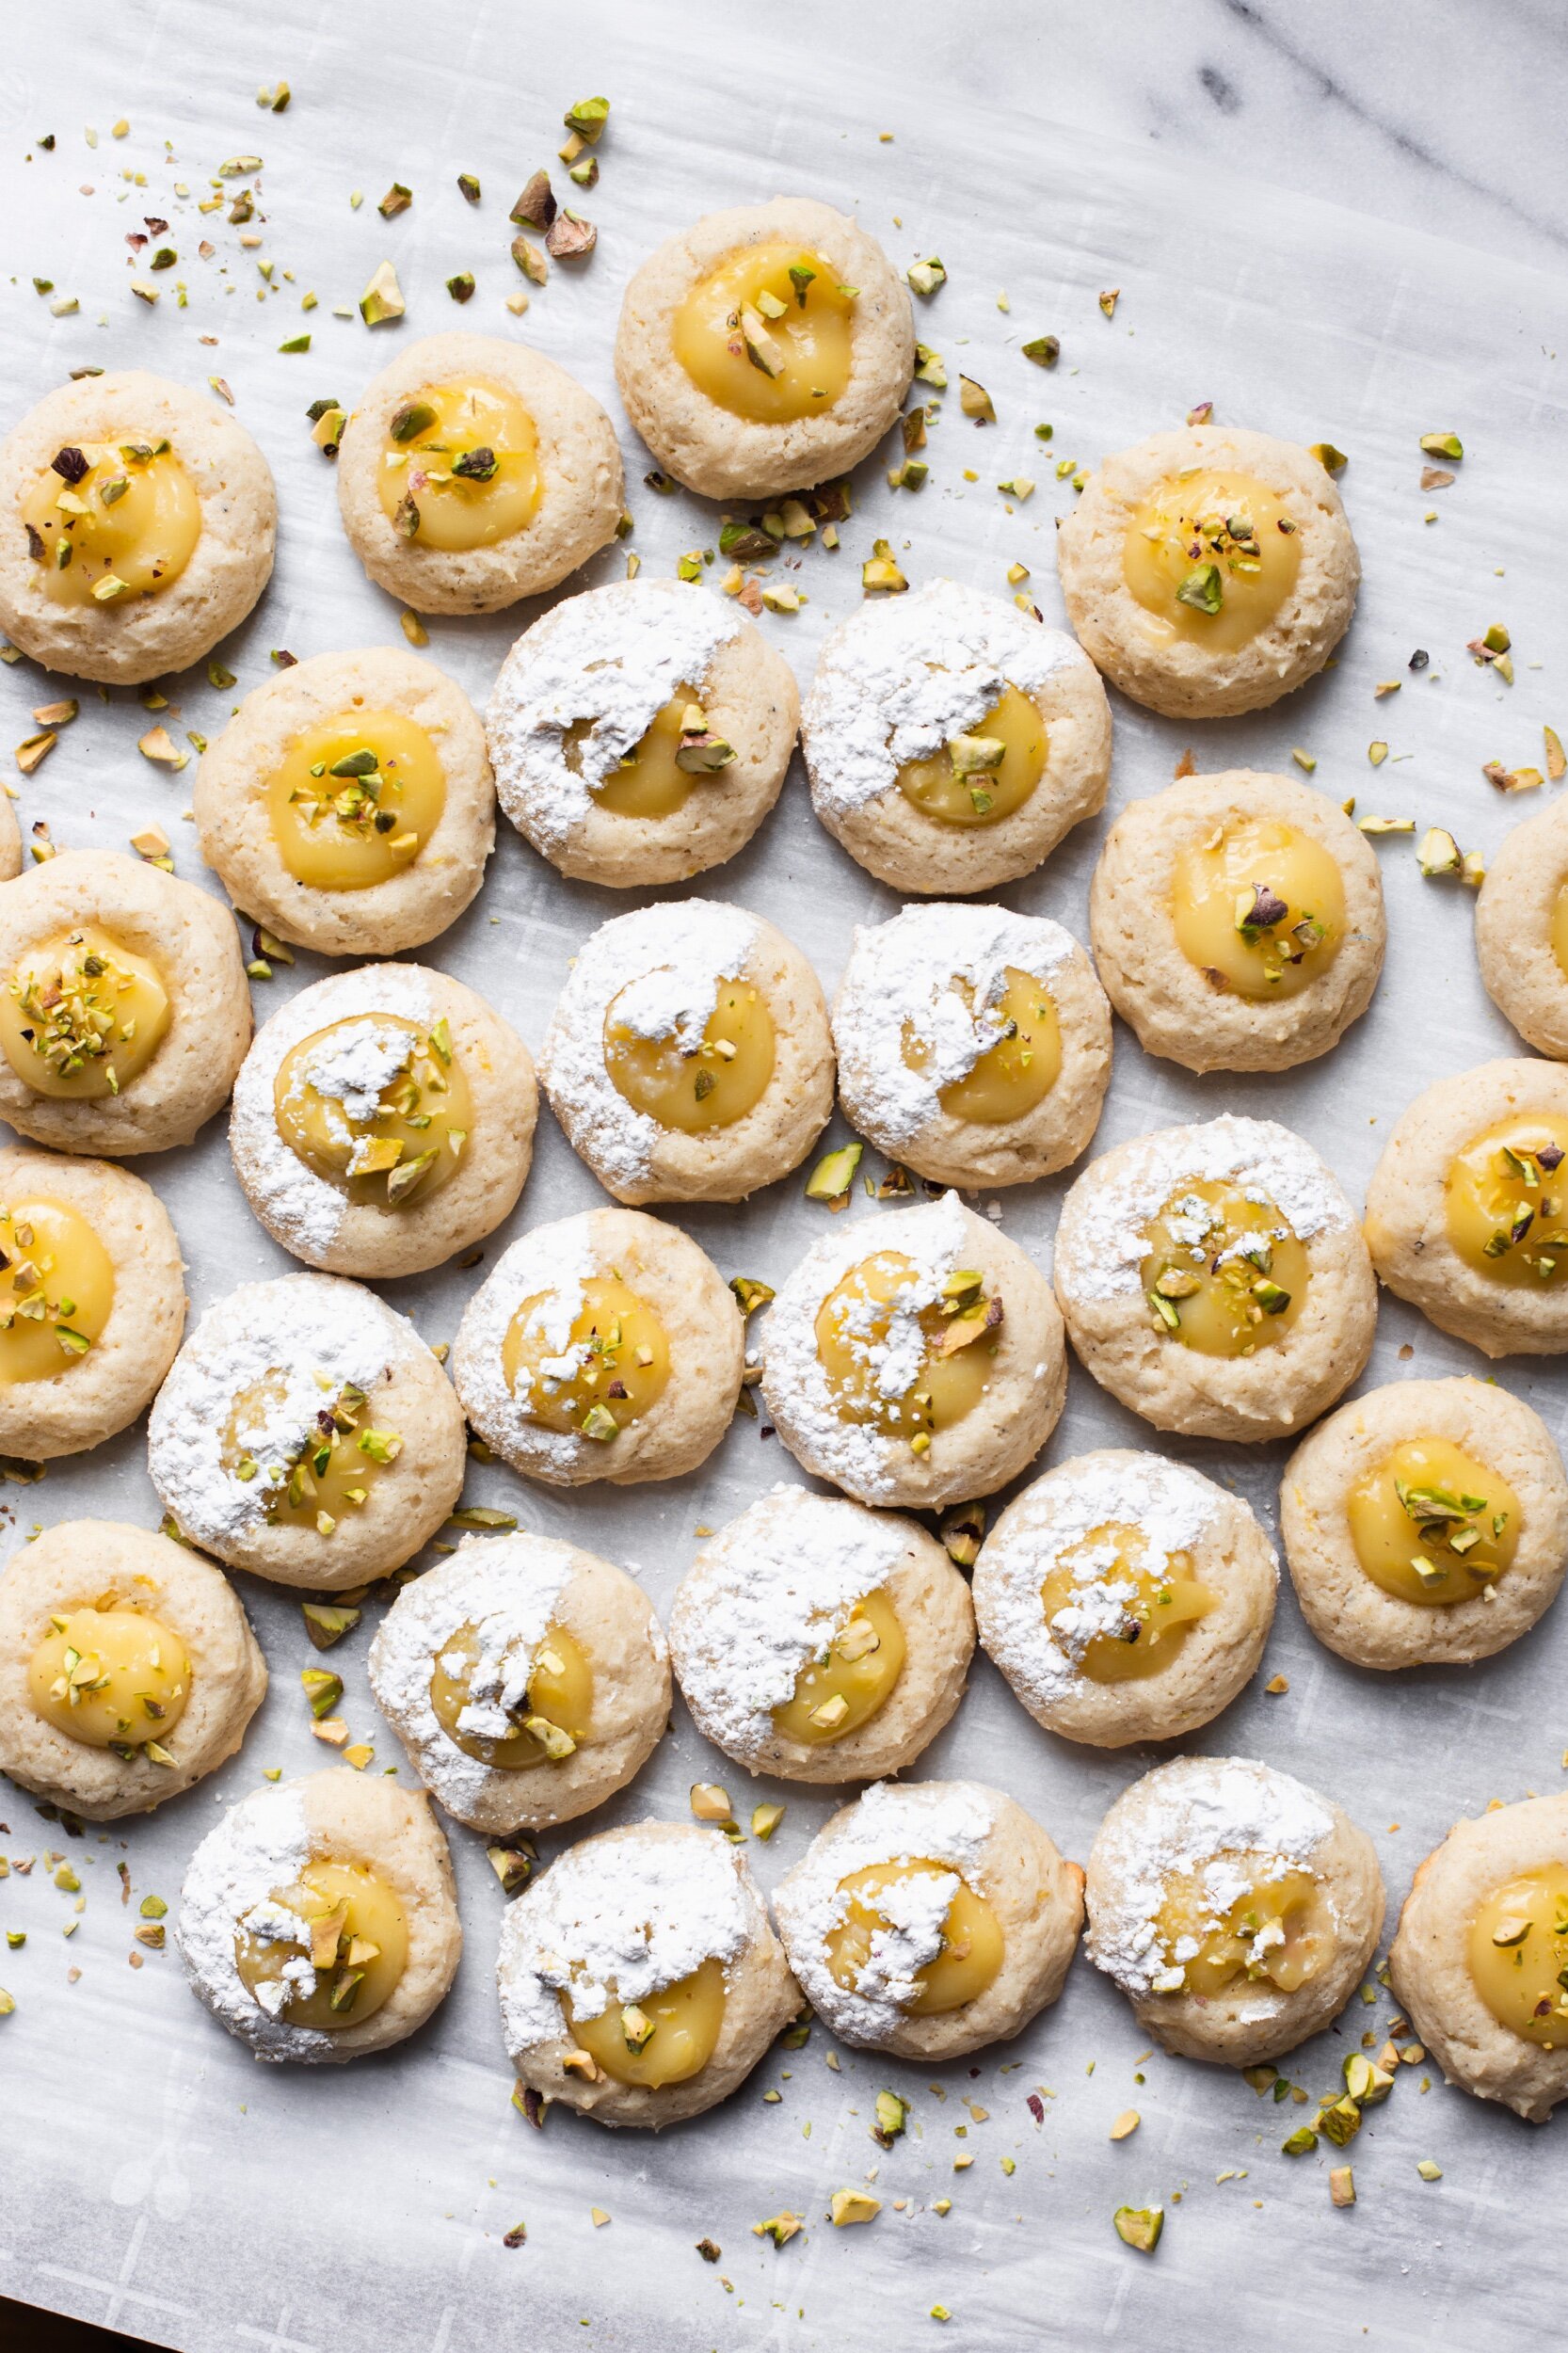
If you’re unfamiliar with this kind of cookie, they’re called “crinkle” cookies because of the crinkly pattern that forms while baking. This is achieved by rolling the cookie dough through confectioners’/powdered sugar before popping them in the oven, which leads to the powdered sugar cracking as the dough puffs up and eventually spreads. The end result is a beautiful, rustic design with no two cookies looking alike. In that regard, the cookies are kind of like snowflakes, which is why this is such a great cookie to make during the holiday/winter season. Unlike other typical cookies, these are softer and more cake-like in texture, which makes me love them even more.

When I had first made these cookies, I used basic store bought lemons and was thrilled with the results, but when I made them again using lemons picked fresh off of my mother-in-law’s tree in her backyard, the difference was staggering. The aroma and flavor of home grown lemons are so different from what you find in a typical grocery store - even the lemon skin is softer and easier to zest - and it honestly elevates the cookies even more so. I’m aware that many of my readers don’t have access to citrus trees like we do here in California, so if you can get your hands on an organic variety or even Meyer lemons, it’ll make all the difference. Just remember though that you’ll still have a delicious cookie regardless, so don’t feel bad if you can’t get anything but the standard variety.

Unlike other lemon crinkle cookies, my recipe only uses the zest of the lemon whereas others tend to add not only lemon juice, but lemon extract as well. I feel like that’s may be overdoing it a bit, and I can promise you that the zest is enough to achieve the perfect lemony flavor. Additionally, I added one of my favorite spices to bake with, cardamom, which pairs amazingly with lemon since the spice has fruity notes. The cool thing about using the ground cardamom is that you can actually see specs of it in the finished cookies which makes for a more interesting finish. A small amount of ground ginger is also added to round out the flavors and add brightness to the recipe. Another ingredient that you won’t find in my recipe is yellow food dye, which also tends to be the norm for lemon crinkle cookies. It’s added to the dough so that the final product isn’t as monotone and adds to the contrast in color between the cookie and crinkly top. I just don’t think it’s a necessary ingredient since it doesn’t contribute to the flavor in the end, but if you want to try it out, simply add 1-2 drops in the same step where you add the eggs and vanilla extract.

Lemon Cardamom Crinkle Cookies

Yields 2 dozen cookies

Ingredients

  • 1 3/4 cups all-purpose flour

  • 1 1/2 tsp. baking powder

  • 1/2 tsp. kosher salt

  • 1 3/4 tsp. ground cardamom

  • 3/4 tsp. ground ginger

  • 3 tbsp. lemon zest (from about 4 large lemons)

  • 1/2 cup (1 stick) unsalted butter, room temperature

  • 1 cup granulated sugar

  • 2 large eggs, room temperature

  • 1 tsp. vanilla extract

  • 3/4 cup confectioners’ sugar, sifted into a small bowl

Directions

  1. Into a medium bowl, sift the flour, baking soda, salt, cardamom and ginger together. Add the lemon zest and whisk until incorporated.

  2. In the bowl of a stand mixer fitted with the paddle attachment (or in a large bowl if using a hand mixer), cream the butter and sugar together until light and fluffy, about 2 minutes. Add the eggs one at a time until properly mixed in, then add the vanilla extract. Scape down the sides of the bowl.

  3. Add the dry ingredients all at once to the stand mixer or bowl and turn the mixer on low for 10 seconds before increasing the speed to medium. Mix until just incorporated. Cover the bowl with plastic wrap and refrigerate for at least one hour - the dough will be sticky, so the longer it’s chilled. the easier it will be to roll the dough.

  4. Preheat the oven to 350° F and line a baking sheet with parchment paper. Using a medium-sized cookie scoop or a spoon, scoop out roughly 1.5 tbsp. portions of cookie dough, shape it into a ball using your hands, then roll each one through the confectioners’ sugar. Make sure each ball is heavily covered in sugar; this will insure that you get the “crinkle” aspect of the cookie.

  5. Bake the cookies, 9 at a time, for about 12-14 minutes, rotating the pan halfway through. The cookies will be done when they have properly cracked and the centers are puffed. We do not want the cookies to brown too much, so they will look like they’re underbaked, but they won’t be. Allow the cookies to cool on the baking sheet for a few minutes before transferring to a cooling rack. Enjoy!

LEMON CURD RICOTTA THUMBPRINT COOKIES

IMG_5886.jpeg

No, those are not deviled eggs that you are seeing in the pictures before you; they are soft and delicate ricotta cookies that are slightly spiced and topped off with a silky and perfectly tart lemon curd. I know I always say this, but these little bites of perfection are my favorite dessert at the moment and I couldn’t be happier with how they came out.

With exactly a dozen cookie recipes on my blog so far, I found it quite surprising that I hadn’t yet included a single recipe for a thumbprint cookie - you know, the ones that have a slight “crater” or indentation on the top that is filled with jams or preserves, with raspberry being the most popular flavor. They’ve been around since the 1800s and apparently were invented in Sweden, but were also popular in Poland and other Eastern European countries. I grew up eating a similar version of them because my Czech grandma would bake them all the time and it’s a dessert of hers that I seriously miss.

IMG_5730.jpeg

The thumbprint cookie recipe that I’m sharing with you today isn’t exactly the standard way to make them but one that is kind of a hybrid with another traditional cookie: Italian ricotta cookies. It’s no secret that I adore dishes that have ricotta in them (whether used in ice creams, cakes, or pancakes), so I wanted to make a thumbprint cookie using the ricotta cookies as a base, and then further driving home the Italian influence by using lemon curd to fill the indentation instead of a fruity jam. It’s the best of both worlds and I find them to be insanely addicting, especially since they’re so small in size.

For the ricotta cheese, you can either go the route of making it yourself, which I actually have a recipe for here, or you can buy a tub of it at your local grocery store to make your life a little bit easier. Just make sure to buy whole milk ricotta and not the part-skim variety. The cookie base also has a couple of spices, cardamom and cinnamon, added to make for a more interesting flavor but feel free to play around with different spices like ginger and nutmeg. I also added a couple teaspoons of lemon zest to the dough to just give a bit more lemon flavor in addition to the lemon curd on top.

IMG_5884.jpeg

As for the lemon curd, I’ve found the easiest and most straightforward recipe via Epicurious: it doesn’t require you to use a food processor or a double-boiler like a lot of other recipes do, and you technically don’t even need to use a kitchen thermometer (fruit curds need to reach a temperature of 170°F in order to properly set), but I’ve made this recipe multiple times both with and without a thermometer, and had the exact same results each time. If you’re worried that you may have curdled the eggs, all you have to do is strain the mixture after taking it off the heat. The recipe will yield about 1 1/3 cups which will be more than enough needed for the cookies, so feel free to use up the rest by slathering it on pancakes, waffles, scones or as a filling in a layer cake.

Also, if you want to switch things up, you can absolutely make a different flavored curd, like blood orange, passion fruit or grapefruit. I recently made a blood orange curd and was almost going to use it for this recipe but honestly, it wasn’t the most appealing color. In my opinion, nothing beats the color and flavor of lemon curd but definitely use whatever fruits speak to you.

Note: if you plan on making the curd yourself, make it the day before baking the cookies so that the curd will be properly chilled.

IMG_5837.jpeg

Lemon Curd Ricotta Thumbprint Cookies

Yields about 4 dozen cookies

Recipe adapted from Food52

Ingredients

IMG_5913.jpeg
  • 2 cups all-purpose flour

  • 1/2 tsp. ground cardamom

  • 1/4 tsp. ground cinnamon

  • 1 tbsp. baking powder

  • 1/2 tsp. kosher salt

  • 1/2 cup (4 oz.) unsalted butter, room temperature

  • 1 cup granulated sugar

  • 6 oz. (about 2/3 cup) whole milk ricotta cheese, room temperature (homemade or store bought)

  • 1 large egg, room temperature

  • 1 tsp. vanilla extract

  • 2 tsp. lemon zest

  • 1/2 to 3/4 cup lemon curd, homemade (recipe below) or store bought

  • Chopped pistachios and/or confectioners’ sugar, to finish

Directions

  1. In a medium-sized bowl, whisk together the flour, cardamom, cinnamon, baking powder and salt. Set aside.

  2. Using a stand mixer fitted with the paddle attachment (or in a large bowl if using a hand mixer) cream the butter and sugar together until light and fluffy, about 2-3 minutes on medium speed. Add in the ricotta cheese and mix again until well incorporated. Scrape down the sides of the bowl and add the egg, vanilla extract and lemon zest. Mix until well combined.

  3. With the mixer off, add in the dry ingredients all at once and mix on low for about 10 seconds before increasing the speed to medium for about 30 seconds, or until the dough comes together - try not to over mix the dough. Cover the bowl with plastic wrap and refrigerate the dough for at least an hour..

  4. Preheat the oven to 350°F and line a baking sheet with parchment paper.

  5. Scoop out about 1 tablespoon portions of dough and roll into a ball using your hands - it will be messy but not too difficult if the dough is properly chilled. Bake 12 cookies at a time for 12-14 minutes, rotating the pan halfway through. The cookies will be done when they’re golden brown on the bottom and when the cookie springs back when gently poked with your finger.

  6. Allow the cookies to cool for about 30 seconds on the baking sheet, and then, using the back of a teaspoon, press down on each cookie for about 5 seconds in order to create an indentation for the lemon curd. After a couple of minutes, transfer the cookies to a cooling rack and fill each indentation with about 3/4 to 1 tsp. of lemon curd.

  7. Finish each cookie with chopped pistachios and/or a good dusting of confectioners’ sugar. Store the cookies in an airtight container at room temperature or in the fridge. Enjoy!

Lemon Curd

Yields about 1 1/3 cups

Recipe slightly adapted from Epicurious

Ingredients

  • 1/2 cup fresh lemon juice, strained if pulpy

  • 1 tbsp. finely grated lemon zest

  • 3 large eggs

  • 1/2 cup granulated sugar

  • Pinch of salt

  • 3 oz. (6 tbsp.) unsalted butter, cut into small pieces

Directions

  1. To a small/medium saucepan, add the lemon juice and zest, eggs, sugar and salt and turn the heat on the stovetop to medium-low. Immediately begin to whisk the mixture together in order to temper the eggs - the more frequently you whisk, the less of a chance you’ll have of curdling the eggs.

  2. After about a minute of whisking, start to slowly add in the small pieces of butter to the saucepan - I add the butter in about 4 batches, allowing the butter to melt before adding in more. Continue to whisk like crazy, and after about 5 minutes, the mixture will begin to thicken. If using a thermometer, you want the curd to reach 170°F. If not using a thermometer, the curd will be done when the mixture is beginning to bubble (don’t allow it to boil or the eggs will curdle).

  3. Immediately strain the curd through a sieve into a small bowl, cover it with plastic wrap (have the plastic touching the top of the curd) and refrigerate for about an hour. Store the curd in an airtight container like a mason jar and keep in the fridge.

    *For the above cookie recipe, you would want to have the curd chilled before using it, so I would suggest making the curd a day before baking the cookies.

GRAPEFRUIT POPPY SEED YOGURT CAKE

IMG_4895.jpeg

Oh hey, 2021! Since my last post, which was over a month ago, some exciting events have taken place in my life. To start, I celebrated my 31st birthday at the end of December and although that probably doesn’t sound all that thrilling to anyone, I’m a huge proponent of celebrating anything and everything, especially during a pandemic. The day featured my favorite things: breakfast pastries, a beach hike, Mexican food and good cocktails. Secondly, and much more importantly, I got engaged! On a very normal Thursday, Alex and I went for a walk around our beautiful neighborhood here in Portland, and before I knew it, Alex was down on his knee asking me to spend the rest of our lives together. It was very low-key, very intimate and exactly how I would have wanted it. I’m beyond happy.

IMG_4658.jpeg

With February just around the corner, I’m glad that we’re almost out of the “healthy phase” of the year, where people give up things like dairy, alcohol or carbs… only to go straight back to it the moment January ends. I’m a huge believer in balance and try not to restrict myself when it comes to food, so I definitely don’t partake in anything like that. but to each their own. With Valentine’s Day quickly approaching, I wanted to give a simple cake recipe that you could whip up for yourself, a loved one, friends or even coworkers (for those not working from home at the moment). Today’s Grapefruit Poppyseed Yogurt Cake doesn’t scream Valentine’s Day like chocolate does, but I think it’s something that can definitely be enjoyed on the holiday for breakfast or dessert, as well as any other day of the year.

In previous posts, I’ve made it abundantly clear that I love citrus season, which we’re in the thick of right now. I always take full advantage of the season whether I’m snacking on tangerines, juicing Cara Cara oranges to drink with breakfast, or making tons of salads with fresh lemon juice as part of the dressing. Grapefruit will always be a favorite fruit of mine and when it comes to desserts, I think they add a little something more special than a typical lemon or orange. Side note: Did you guys know that eating grapefruit while on certain medications can prevent the medicine from being effective?! Alex informed me of this last week while I was working on this recipe, and I honestly had no idea. Google it!

IMG_4718.jpeg

Alright, back to the cake. I added poppy seeds to not only give the cake a nice look, but of course for the added texture. Usually, we’re familiar with lemon poppy seed recipes (like my Lemon Poppy Seed Buttermilk Waffles) so I thought it’d be a nice change to see the seeds paired with a different citrus. This cake also has Greek yogurt, brown sugar, and vegetable oil: all things that will lead to a beautifully moist and flavorful cake. If you’re not a Greek yogurt fan, you can definitely use plain yogurt as a substitute; all I ask is that you stay away from the flavored varieties with added sugars and whatnot. Additionally, you can use full or nonfat yogurt… I tend to always have nonfat Greek yogurt in my fridge for breakfast, but I sometimes have the whole fat variety for when I plan on making tzatziki. Use what you got! If you’re in a pinch, even sour cream could work.

Lastly, the cake is finished with a very simple glaze - confectioners’ sugar mixed with grapefruit juice - but if you’re aiming for this to be more of a breakfast item, maybe think about skipping it? Or don’t, and savor the extra sweetness with a cup of coffee and enjoy your life.

P.S. For a similar cake, you can also try my Blackberry + Hazelnut Yogurt Cake, which has honey as an added sweetener.

IMG_4810.jpeg

Grapefruit Poppy Seed Yogurt Cake

Makes (1) 9x5 loaf cake

Recipe adapted from Sally’s Baking Addiction

Ingredients

For the cake:

IMG_4801.jpeg
  • 1 1/2 cups all-purpose flour

  • 1 1/2 tbsp. poppy seeds

  • 2 tbsp. grapefruit zest

  • 1 1/2 tsp. baking powder

  • 1/2 tsp. kosher salt

  • 3/4 tsp. ground cardamom, optional

  • 3 large eggs

  • 1 cup light brown sugar, packed

  • 3/4 cup plain Greek or regular yogurt, preferably whole milk, but nonfat works

  • 1/4 cup freshly squeezed grapefruit juice

  • 1/3 cup vegetable oil

  • 1/2 tsp. vanilla extract

For the glaze:

  • 1 cup confectioners’ sugar, sifted if lumpy

  • 2 to 2 1/2 tbsp. freshly squeezed grapefruit juice

Directions

Make the cake:

  1. Preheat the oven to 350°F and grease a 9x5 loaf cake pan with either butter or cooking spray. Set aside.

  2. In a large bowl, whisk the flour, poppy seeds, grapefruit zest, baking powder, salt and cardamom (if using) together until combined.

  3. In a medium bowl, whisk the eggs together and then add all the other cake ingredients - brown sugar, yogurt, grapefruit juice, vegetable oil and vanilla extract - and whisk until thoroughly combined,

  4. Add the wet ingredients to the dry ingredients and whisk until just incorporated, avoiding over-mixing. Pour the batter into the prepared loaf pan and bake until a toothpick inserted in the center of the cake comes out clean, about 45-50 minutes. Allow the cake to cool in the pan for about 20 minutes before removing and cooling completely on a cooling rack.

Make the glaze:

  1. Once the cake is cooled, whisk the confectioners’ sugar and 2 tbsp. of the grapefruit juice. If the glaze is too thick, add more of the juice, 1/2 teaspoon at a time, until desired consistency is reached. Drizzle the glaze all over the top of the cake. Enjoy!