ROASTED STRAWBERRY + VANILLA ICE CREAM

IMG_6279.jpg

With about a month left before summer is officially over, I am scrambling to make as many dishes utilizing what the season has to offer. Even though I'm much more of an autumn and winter fan, summer produce yields my favorite fruits to eat: watermelon, stone fruit, and berries. Although living in California allows me to eat some of these fruits year round, nothing compares to when these fruits are at their peak of ripeness.

The recipe I am giving you today was not what I had planned exactly. I was testing a roasted bourbon-peach sherbet and after a few trials, I ended up axing the recipe altogether. Alex gave his seal of approval, but from the process to the finished product, I came across a bunch of problems and in the end, I couldn't stand behind the recipe nor could I share it with you. Maybe I'll try it again next summer when I haven't reached my limit of purchasing peaches yet.

With that said, I want to be clear that today's ice cream recipe is no consolation prize, and in fact, I'm looking at the peach sherbet failure as a blessing in disguise. I realized that I hadn't shared my go-to vanilla ice cream recipe yet and instead of just giving you the recipe for that straight-up, I wanted to add something to it highlighting a summer ingredient. Enter: roasted strawberries.

Let me preface this by saying that growing up I never EVER cared for ice creams that didn't have some kind of chocolate element to them. Chocolate chip cookie dough, mint chocolate chip, cookies 'n cream... these were all my favorites. Flavors like pistachio, strawberry, cherry, or butter pecan, were all a no-go for me. Fortunately, I've outgrown my narrow-mindedness in the ice cream department, and can earnestly say that this roasted strawberry and vanilla ice cream is in my top 5 favorite flavors. Roasting the strawberries in honey and a bit of balsamic vinegar gives it such a unique flavor that isn't overpowering to the vanilla, and leaves you with a complete fresh taste. It's truly incredible.

I divided up the recipe so that if you 0nly want to make the vanilla ice cream, and trust me, you'll want to, the directions and ingredients are there for you. I've made this vanilla ice cream countless times and it's so creamy and refreshing that I will probably never bother trying to find another recipe. As for the roasted strawberries, there's one tip that I want to give: the larger you leave the roasted strawberries when cutting them before adding to the ice cream base, the bigger chance of them becoming icy when in placed in the freezer. As you can see in the pictures, I chose to leave the strawberries larger because I think it looks beautiful, and I personally wasn't phased by the texture of the berries. If you think that will bother you, simply puree the berries in a blender. 

Roasted Strawberry and Vanilla Ice Cream

Makes about 1 quart

Ingredients for Roasted Strawberries

  • 1 pound fresh strawberries, hulled and cut in half or quarters depending on size

  • 3 tbsp. honey

  • 1 tsp. balsamic vinegar

Ingredients for Vanilla Ice Cream (adapted from David Lebovitz)

  • 1 cup whole milk

  • 2 cups heavy cream, divided

  • 3/4 cup sugar

  • Pinch of salt

  • 6 large egg yolks

  • 2 tsp. vanilla extract

Additional Ingredient

  • 1 tsp. fresh lemon juice


Directions

Make the strawberries: 

  1. Preheat the oven to 350°F and line a baking sheet with parchment paper.

  2. In a medium size bowl, mix the strawberries, honey, and balsamic vinegar and transfer to the baking sheet, making sure to scrape out everything from the bowl.

  3. Bake in the oven for about 35-40 minutes, stirring the strawberries once halfway through. The berries will appear well-cooked, a bit browned, and the juices will be bubbling.

  4. Allow the berries to cool for about 15 minutes on the baking sheet. Using a knife or kitchen scissors, roughly cut up the berries so there will be bigger chunks in the ice cream. You can also use a muddler if you want a more less chunky mixture. Transfer to a bowl, making sure to get all the juices from the parchment paper and chill completely until ready for the ice cream.

Make the vanilla ice cream / strawberry vanilla ice cream

  1. In a large bowl, add 1 cup of the heavy cream and set a strainer over the top (use a bowl that will be able to fit over an ice bath for later).

  2. Warm the milk, 1 cup of heavy cream, sugar, and salt in a saucepan over medium-low heat. In a medium bowl, whisk the egg yolks together. Just as the milk mixture is beginning to simmer, gradually add some of it to the bowl of egg yolks, whisking constantly as to not scramble the eggs (this is called tempering). Once the egg yolk mixture temperature has raised, pour the mixture back into the saucepan. Stir constantly over medium-low heat until the mixture thickens and coats the back of your spatula or spoon.

  3. Pour the custard mixture over the strainer-lined bowl. Stir the custard in with the heavy cream that is already in the bowl and add in the vanilla extract. Let the ice cream base sit over an ice bath for about an hour before moving to the refrigerator. Chill for at least 4 hours, or overnight.

  4. When ready to churn, mix the roasted strawberry mixture with the custard ice cream base. Add the lemon juice. Churn the ice cream in your maker according to the manufacturer's instructions.

  5. Transfer the finished ice cream to an airtight container and freeze until solid. Enjoy!

COFFEE TOFFEE ICE CREAM

FullSizeRender.jpeg

If I haven't made it abundantly clear yet, ice cream (and sorbet, and gelato...) is my favorite thing to make in the kitchen when it comes to sweets. The Vivid Kitchen has been live for about four months now, and out of the 20 or so posts I've written so far, this marks my fourth recipe dedicated to the frozen treat. Personally, I believe making ice cream is the most rewarding dessert: from making the custard (if the recipe calls for it) to the hours you have to wait for it to chill, to watching it churn in your ice cream maker... makes the finished product that much better. 

On my Instagram account the other week, I asked my followers to partake in an Insta Story poll on which ice cream flavor they wanted me to make for the blog next. The options were either Mint Chocolate Chip or Coffee Toffee, with the former being a flavor I have made numerous times, while the latter I had not tried until this post. The poll results were very close, but Coffee Toffee just barely edged out Mint Chip. I was actually pretty satisfied with the results because I wanted to try something new, and I gotta say, I am thrilled with the outcome of today's recipe. 

IMG_5389.jpg

This ice cream recipe is custard-based so there will be the added element of tempering your eggs on the stove top while trying not to make scrambled eggs (yuck), as well as one more step that involves using actual whole coffee beans. At one point in the directions, you will be "steeping" coffee beans in the milk mixture for about an hour, almost as if you were making sun tea with teabags. It's an vital process in ensuring that the coffee flavor will be very pronounced. 


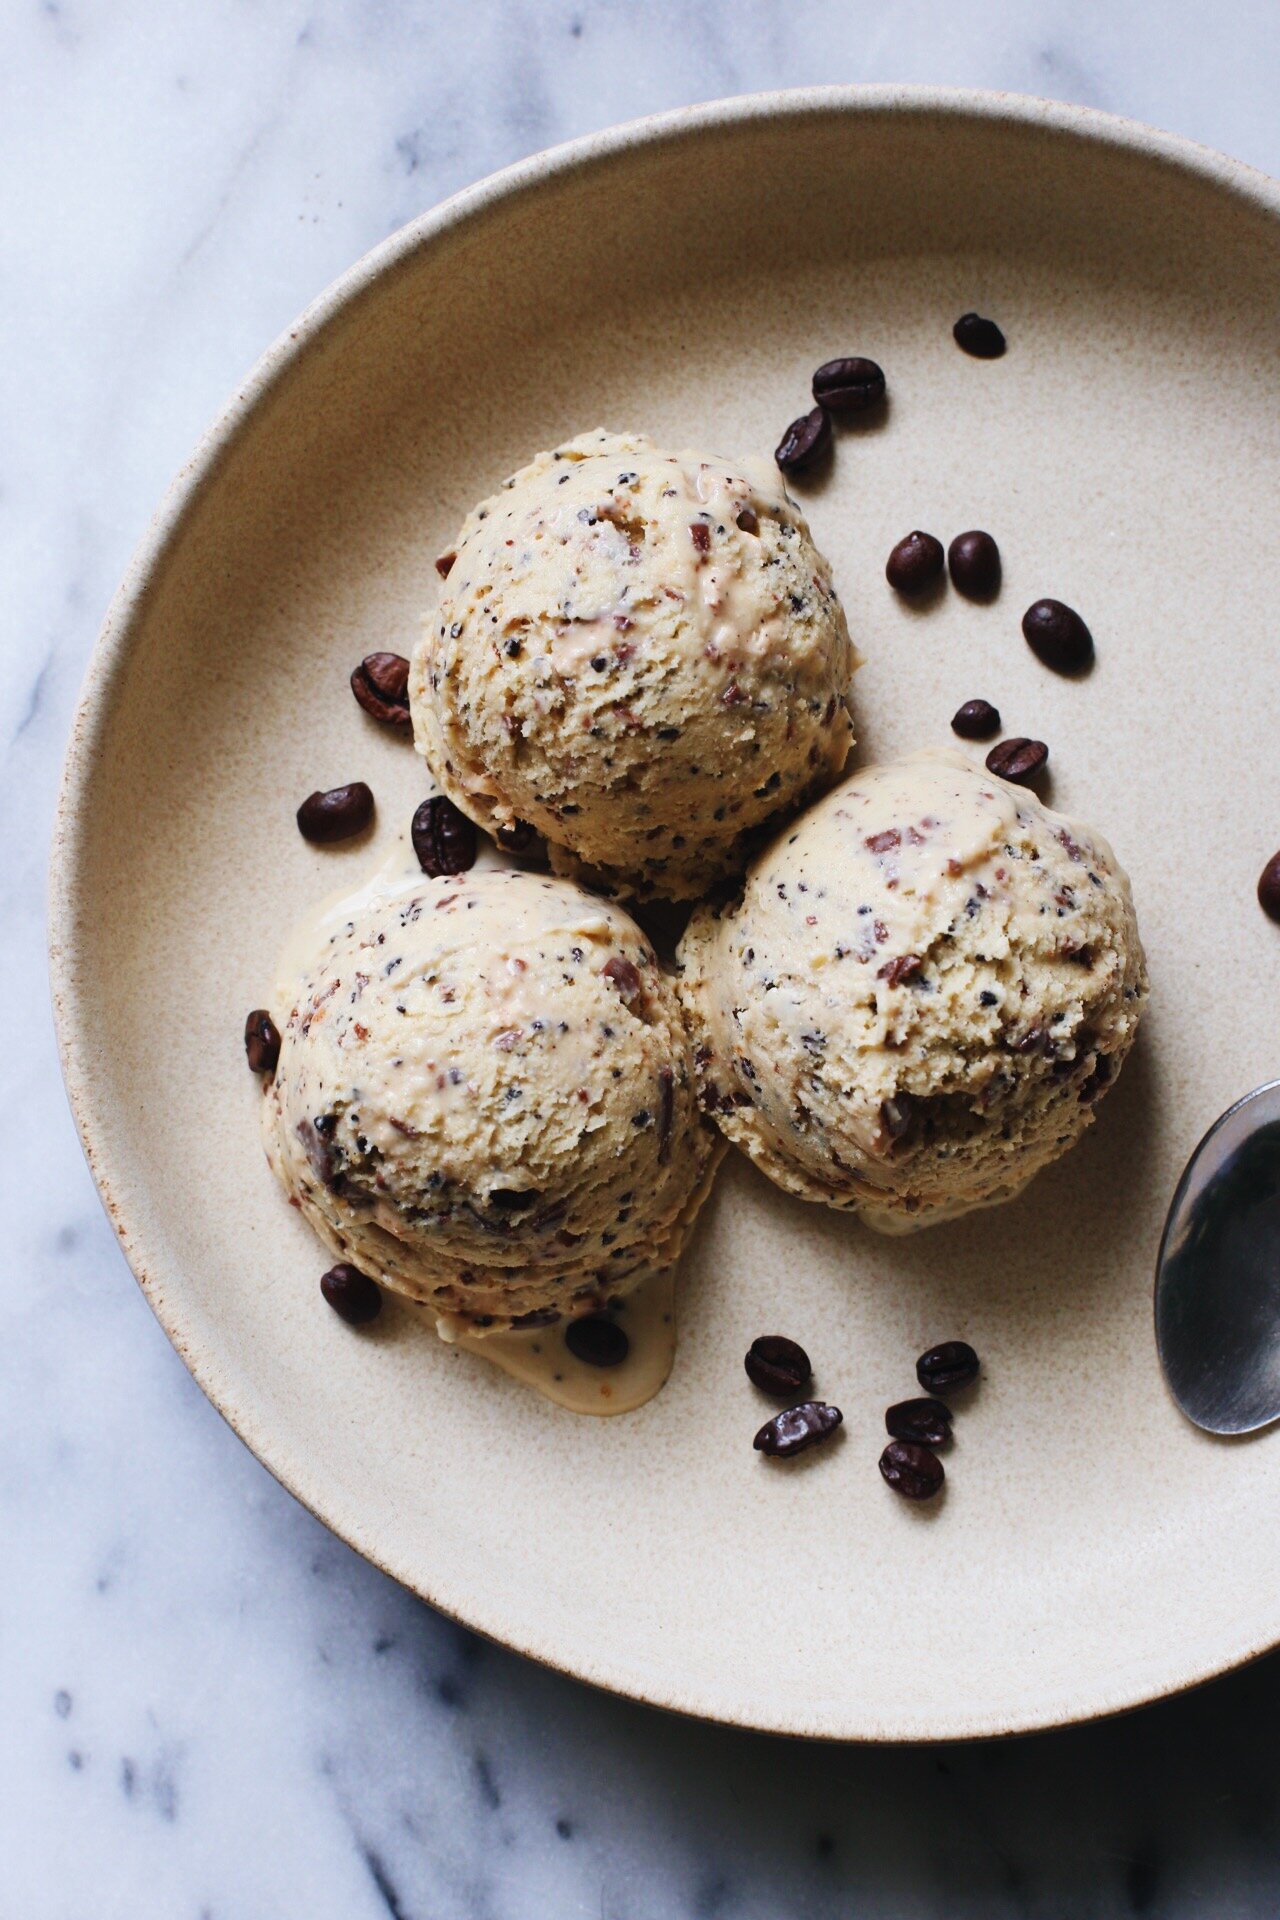
When the custard is made and ready to chill before being transferred to your ice cream maker, the whole coffee beans actually will be taken out and discarded (according to the recipe from David Lebovitz, of course). But, instead of throwing away all of those coffee beans, I let them dry out for a couple of hours before blending them up in my Magic Bullet, or blender, and adding them to the churned ice cream. Not only did this step give the ice cream even more coffee flavor, but I think it made the ice cream look more appealing with its tiny specks of coffee throughout. This is an optional step, but I think it was well worth it.

PenultimateFullSizeRender.jpeg

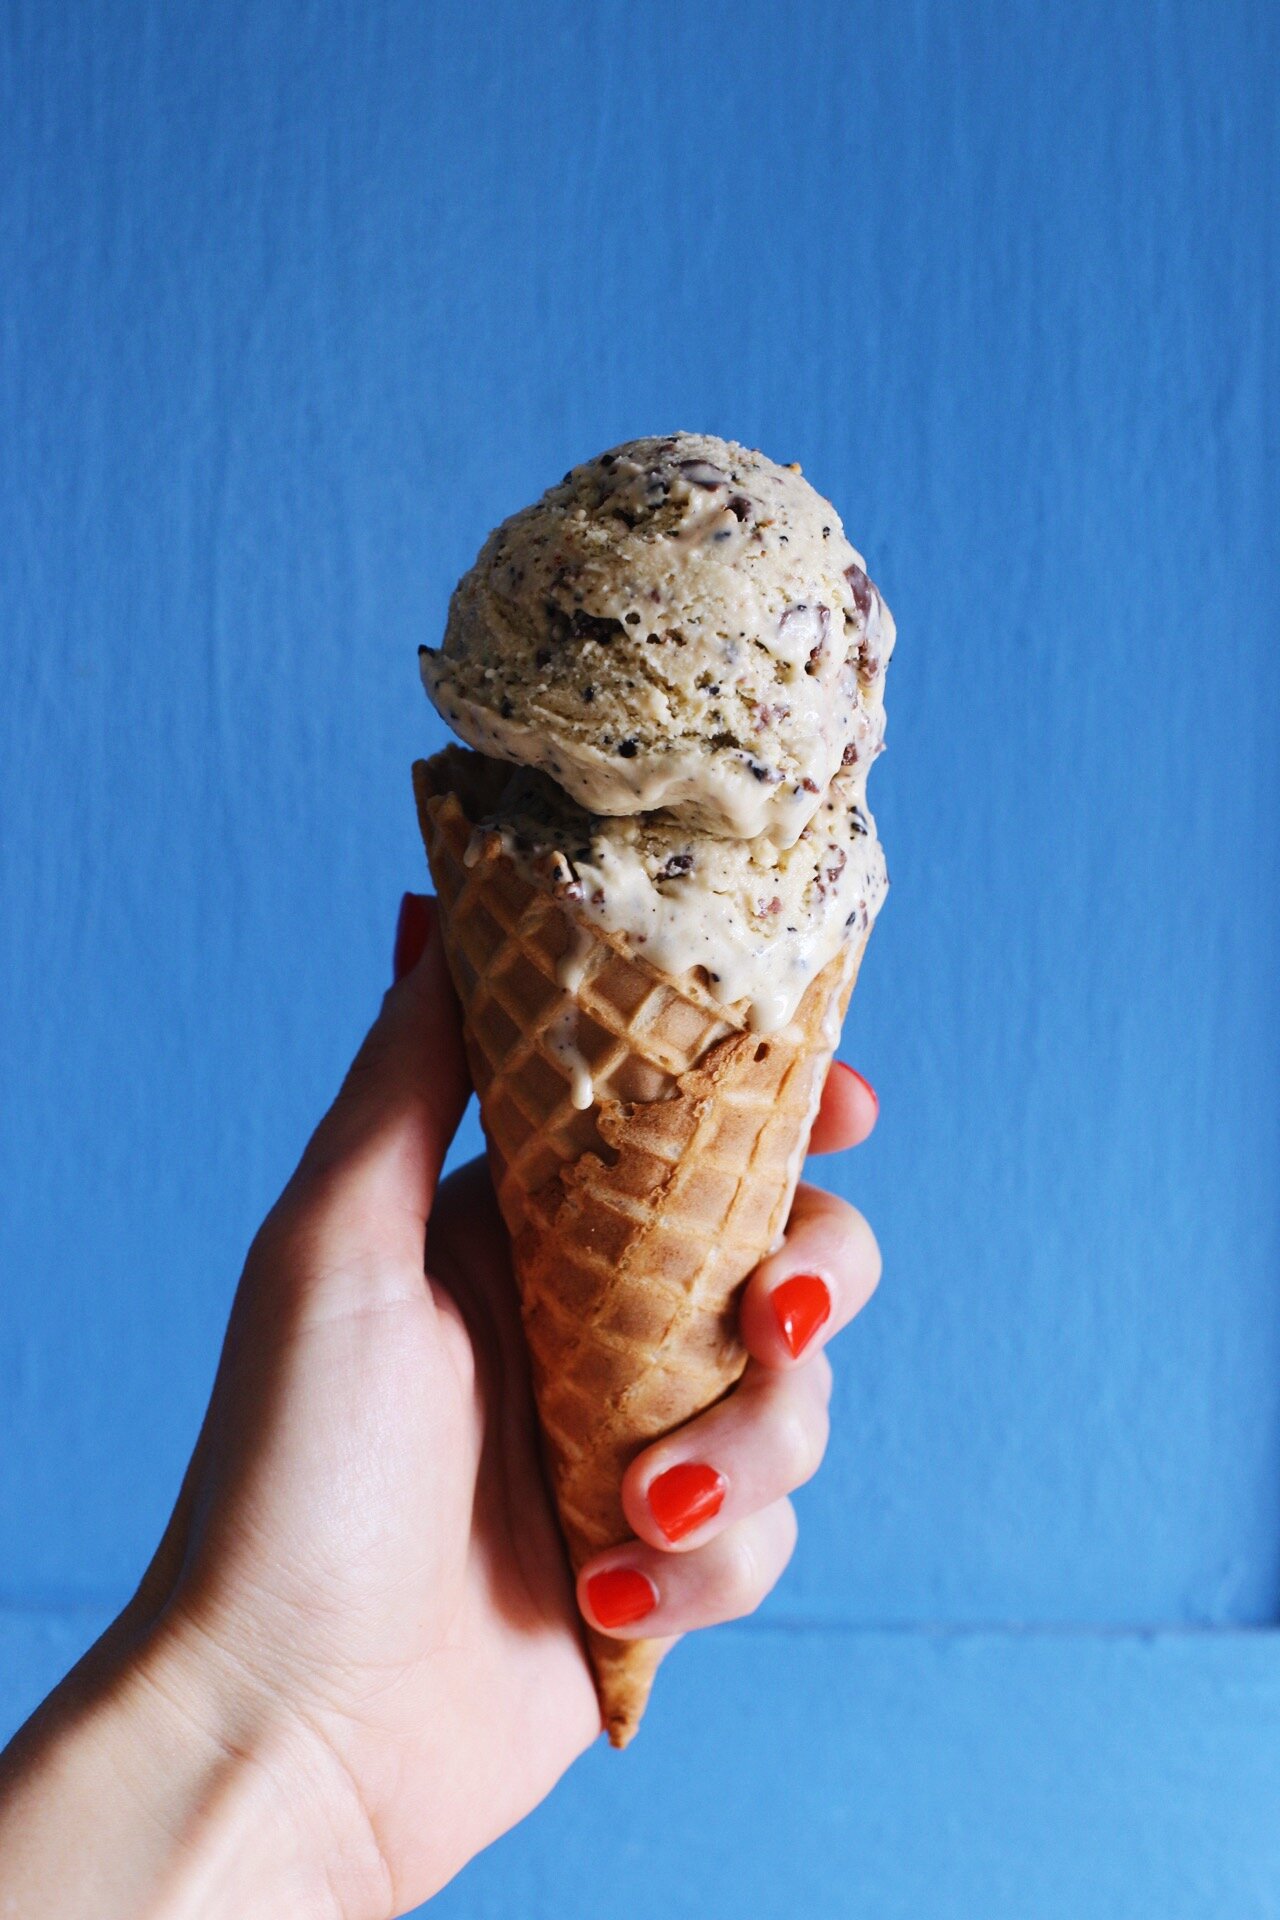
Now, let's not forget the second part of the ice cream flavor we are featuring today: the toffee! When I thought of this cute rhyming ice cream flavor, I thought I was the only genius who had thought of this flavor combo, but alas, I was not (hello Ben & Jerry's). Regardless, the crunchy chocolate-covered toffee bits mixed in with the coffee base takes this ice cream to a whole different level of deliciousness. You can either use Heath or Skor bars (both available in your local grocery store).

Lastly, I don't know if any of you have been to Trader Joe's lately, but they recently started selling ice cream waffles cones! I've been wanting grocery stores to start selling them for years, but I've only ever been able to find the cheap-y (but still delicious) sugar cones. So now that my beloved Trader Joe's sells them, I couldn't be happier. The cones taste AMAZING and actually make the ice cream taste better, believe it or not. Please, go buy a couple of boxes now!

Side note: If caffeine for dessert aka before bedtime isn't your thing, you can absolutely buy a container of decaffeinated coffee beans instead. If you don't think you'll get use of the leftover decaffeinated beans, I would suggest buying exactly the amount the recipe calls for by getting the beans from the "bulk" section at your grocery store. 

IMG_5505.jpeg

Coffee Toffee Ice Cream

Yields about 1 quart of ice cream

Recipe adapted from David Lebovitz

Ingredients

  • 1 1/2 cups whole milk

  • 3/4 cup sugar

  • 1 1/2 cup whole coffee beans, preferably dark-roasted

  • Pinch of salt

  • 1 1/2 cups heavy cream

  • 5 large egg yolks

  • 1/4 tsp. vanilla extract

  • 1/4 tsp. finely ground coffee OR espresso powder (I used the latter, since I always have this on hand for when I bake brownies)

  • 8 oz. chocolate-covered toffee, chopped (Heath or Skor bars work perfectly)

Directions

  1. In a medium saucepan, warm the milk, sugar, coffee beans, salt, and 1/2 cup of the heavy cream. Once warmed up, turn off the heat, cover the pan, and let it sit at room temperature for an hour.

  2. Meanwhile, pour the remaining 1 cup of heavy cream into a large bowl and set a strainer over the top (use a bowl that will be able to fit over an ice bath for later).

  3. After an hour, rewarm the mixture on the stove on medium heat. In a medium bowl, whisk the egg yolks together. Just as the coffee/milk mixture is beginning to simmer, gradually add some of it to the bowl of egg yolks, whisking constantly as to not scramble the eggs (this is called tempering). Once the egg yolk mixture temperature has raised, pour the mixture back into the saucepan. Stir constantly over medium-low heat until the mixture thickens and coats the back of your spatula or spoon.

  4. Pour the custard mixture over the strainer to separate the whole coffee beans. Press down on the beans to make sure you get all the liquid. Stir the custard in with the heavy cream that is already in the bowl. Add in the vanilla extract and ground coffee/instant espresso. Let the ice cream base sit over an ice bath for about an hour before moving to the refrigerator. Chill for at least 4 hours, or overnight.

  5. Reserve about a 1/4 cup of the whole coffee beans that were left behind in the strainer and allow them to dry out on paper towels while the ice cream is chilling. Add them to a blender, and pulse until fine. Set aside.

  6. Churn the ice cream in your maker according to the manufacturer's instructions. A couple of minutes before stopping the machine, sprinkle in 1-2 tablespoons of the finely ground coffee beans.

  7. Transfer the finished ice cream into a bowl and stir in toffee bits. Freeze in an airtight container and enjoy, preferably in the Trader Joe's waffle cones!

ROCKY ROAD ICE CREAM (WITH THE BEST CHOCOLATE ICE CREAM EVER)

Photo Jun 20, 11 11 16 AM.jpg

Hello boys, I'm backkkkkkk!!! After three weeks away from the blog, I am happy to report that my little "break" is over, and I can't wait to get back into the swing of things in my (vivid) kitchen.

In case you don't follow me on instagram (@shawnasellmeyer), I explained in a post that I wanted to focus all my time and energy into my sister's wedding, which happened this past Saturday! With family flying in from around the country for the big day and the fact that I was in charge of the desserts, I knew that in order to keep my sanity, I had to put The Vivid Kitchen on the back burner. Even though I was honestly pretty sad about not being able to blog, I think it was the best decision I could have made. The week leading up to the wedding was complete chaos with me, my mom and aunt prepping and baking for about 6 hours each day. 

In the end, we baked: 75 carrot cake cupcakes with a cream cheese frosting, 130 salted dark chocolate chip cookies, 50 tartlets with a sweetened cream cheese filling topped with a mixed berry sauce, and a four-layer homemade funfetti vanilla cake with a vanilla buttercream frosting. My sister and her husband (it's going to take a while to get used to calling him that) aren't the biggest fans of cake, so they luckily only wanted a small, one-tier cake for them to cut into. Additionally, my grandma baked Mexican wedding cookies as well as shortbread cookies. It was definitely all hands on deck when it came to the desserts.

Although there were a number of mishaps and accidents along the way, I think all of the hard work was well worth it. To say that I made the desserts for a 110-person wedding is an incredible feat, and something I will always be proud of. And to make matters BETTER, I was getting compliments all night long at the wedding at how delicious the desserts turned out. Now, would I ever do this again? Be in charge of the desserts for a wedding? Short answer: no. Long answer: no, definitely not. Just being honest! 

Photo Jun 20, 11 13 54 AM.jpg

After the wedding was all said and done, my intention was to come back to the blog offering you one of the recipes I used for the wedding. But in all honesty, I am so bored with making those desserts that I needed to switch it up and I figured ice cream was the perfect route to take. But don't fret; I will share the recipes for everything served at the wedding eventually, if you all want them that is! Comment below and let me know which recipe you would want first.

Another big reason I wanted to make ice cream is because my (fourth) cousin, Tereza, from the Czech Republic is visiting! Little side fact about me: my mom's parents were both born and raised in the Czech Republic and emigrated to the United States back in 1956. They eventually made their way to Los Angeles, California where my mom was born, and the rest is history!

Growing up with Czech grandparents, it was always a dream of mine to someday visit their home country and meet all the family members that were still living there. This dream eventually became a priority when sadly both of my grandparents passed away by the time I was 12 years old. I finally made it out there in 2016 with Alex (it was part of the same trip when we went to Berlin, Germany) with the only goal of traveling to Nespeky, a small village just outside of Prague, where most of my family resides to this day. It was there that I met Tereza, who is just a few years younger than me and speaks perfect English. So when I heard she was visiting my family here in California, I was very excited to show her around my neck of the woods.

Photo Jun 20, 11 14 04 AM.jpg

One thing that I quickly learned about Tereza is that she LOVES sweets, especially chocolate.  When my mom took Tereza to the grocery store to stock up on her favorite foods to have while visiting, Tereza made a beeline for the ice cream section and picked up a carton of rocky road ice cream. It was then that I knew I had to recreate this flavor of ice cream for Tereza at home, and show her how homemade ice cream is better than store-bought.  

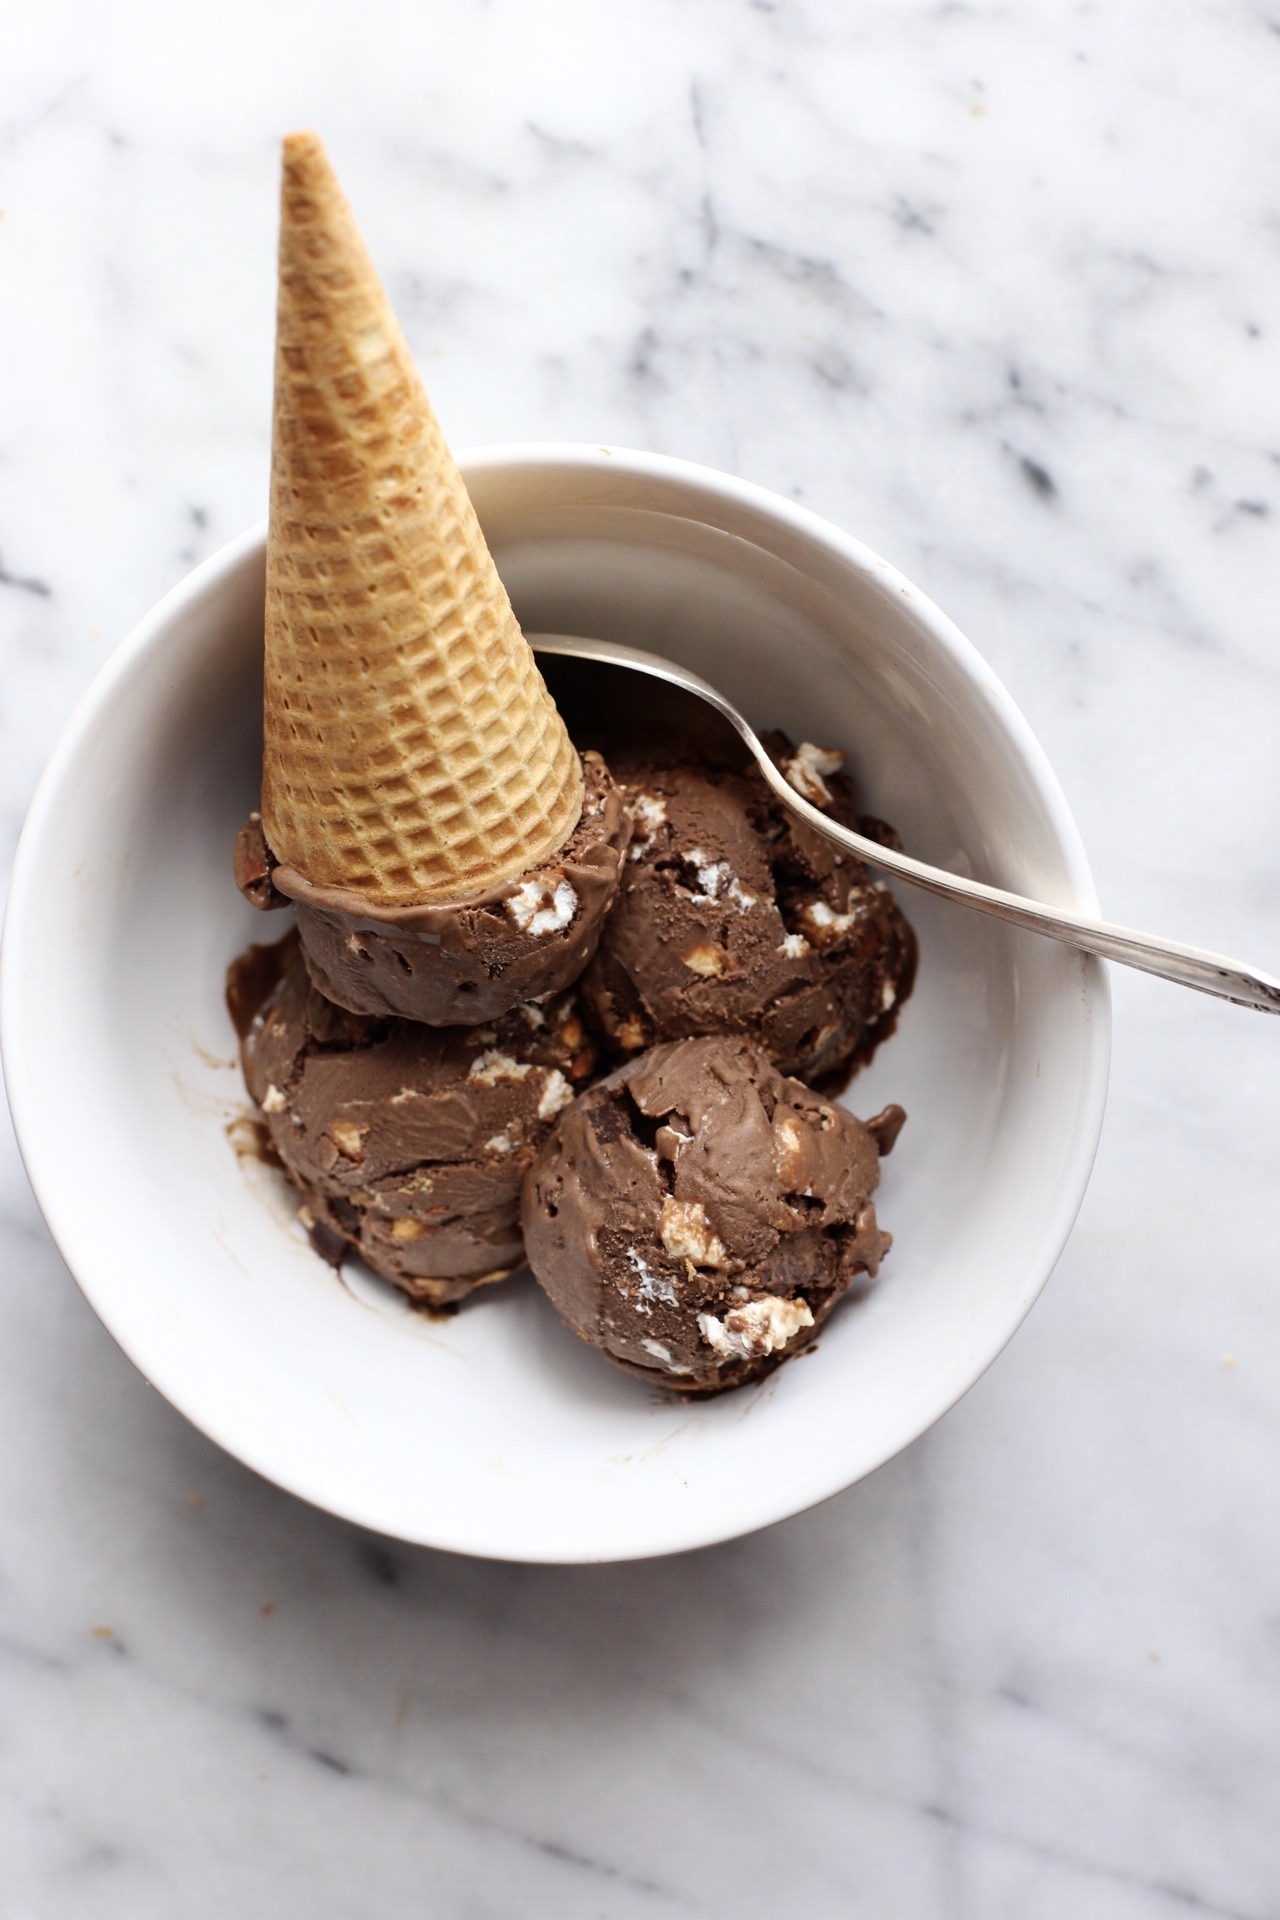
Rocky road ice cream is simply chocolate ice cream mixed with fluffy, soft marshmallows and crunchy, toasted almonds - it is perfect. The ice cream I am giving you today begins with, quite frankly, the ONLY chocolate ice cream recipe you will ever need in your life. And to that, we will add the mini marshmallows and almonds, as well as chunks of dark chocolate thrown in for good measure. If you just want plain ole chocolate ice cream, which you might, due to nut allergies or because you like it plain, just leave out the additions. But I will say, those additions compliment the ice cream very well and will only make you happier. I promise. 

P.S. I want it to be known that Tereza LOVED the ice cream, and I know she wouldn't lie to me because when we took her to In-n-Out for her first time, she straight up said she didn't like it. The girl does not hold back!


Rocky Road Ice Cream / Chocolate Ice Cream

Yields about 1 quart of ice cream

Recipe adapted from David Lebovitz (forever my go-to ice cream guy)

Ingredients

Photo Jun 20, 11 11 36 AM (1).jpg
  • 2 cups heavy cream

  • 3 tbsp. unsweetened cocoa powder

  • 5 oz. semisweet or bittersweet chocolate, chopped (I used a blend of both)

  • 1 cup whole milk

  • 3/4 cup sugar

  • Pinch of salt

  • 5 large egg yolks

  • 1/2 tsp. vanilla extract

If making rocky road ice cream, add:

  • 1 cup toasted almonds, roughly chopped

  • 1 1/4 cup mini marshmallows

  • 1/2 cup bittersweet chocolate chunks or chips

Directions

  1. In a medium saucepan, warm one cup of the heavy cream with the cocoa powder, making sure to whisk thoroughly. Bring the mixture to a boil, then lower the heat and allow it to simmer for 30 seconds. Remove the pan from the heat and add the 5 oz. of chopped chocolate. Stir until smooth, and then add the remaining 1 cup of heavy cream. Transfer the mixture, trying to not leave any remnants behind in the pan, into a large bowl set with a mesh strainer. Set this whole bowl in a prepared ice bath.

  2. Warm the milk, sugar, and salt in a clean saucepan over medium-low heat. In a medium bowl, whisk the egg yolks together. Just as the milk mixture is beginning to simmer, gradually add some of it to the bowl of egg yolks, whisking constantly as to not scramble the eggs (this is called tempering). Once the egg yolk mixture temperature has raised, pour the mixture back into the saucepan. Stir constantly over medium-low heat until the mixture thickens and coats the back of your spatula or spoon.

  3. Pour the custard over the strainer into the prepared bowl that has the chocolate mixture from earlier and stir the two together. Add the vanilla extract and allow the ice cream base to cool before covering with plastic wrap and refrigerating until thoroughly chilled.

  4. Churn the ice cream in your maker according to the manufacturer's instructions (mine took about 20 minutes to finish). The mixture will be a bit thick after chilling, so I suggest whisking it before pouring into the maker.

  5. Transfer the finished ice cream into a bowl and stir in the marshmallows, almonds, and chocolate (if you are making rocky road ice cream). Freeze in an airtight container and enjoy!