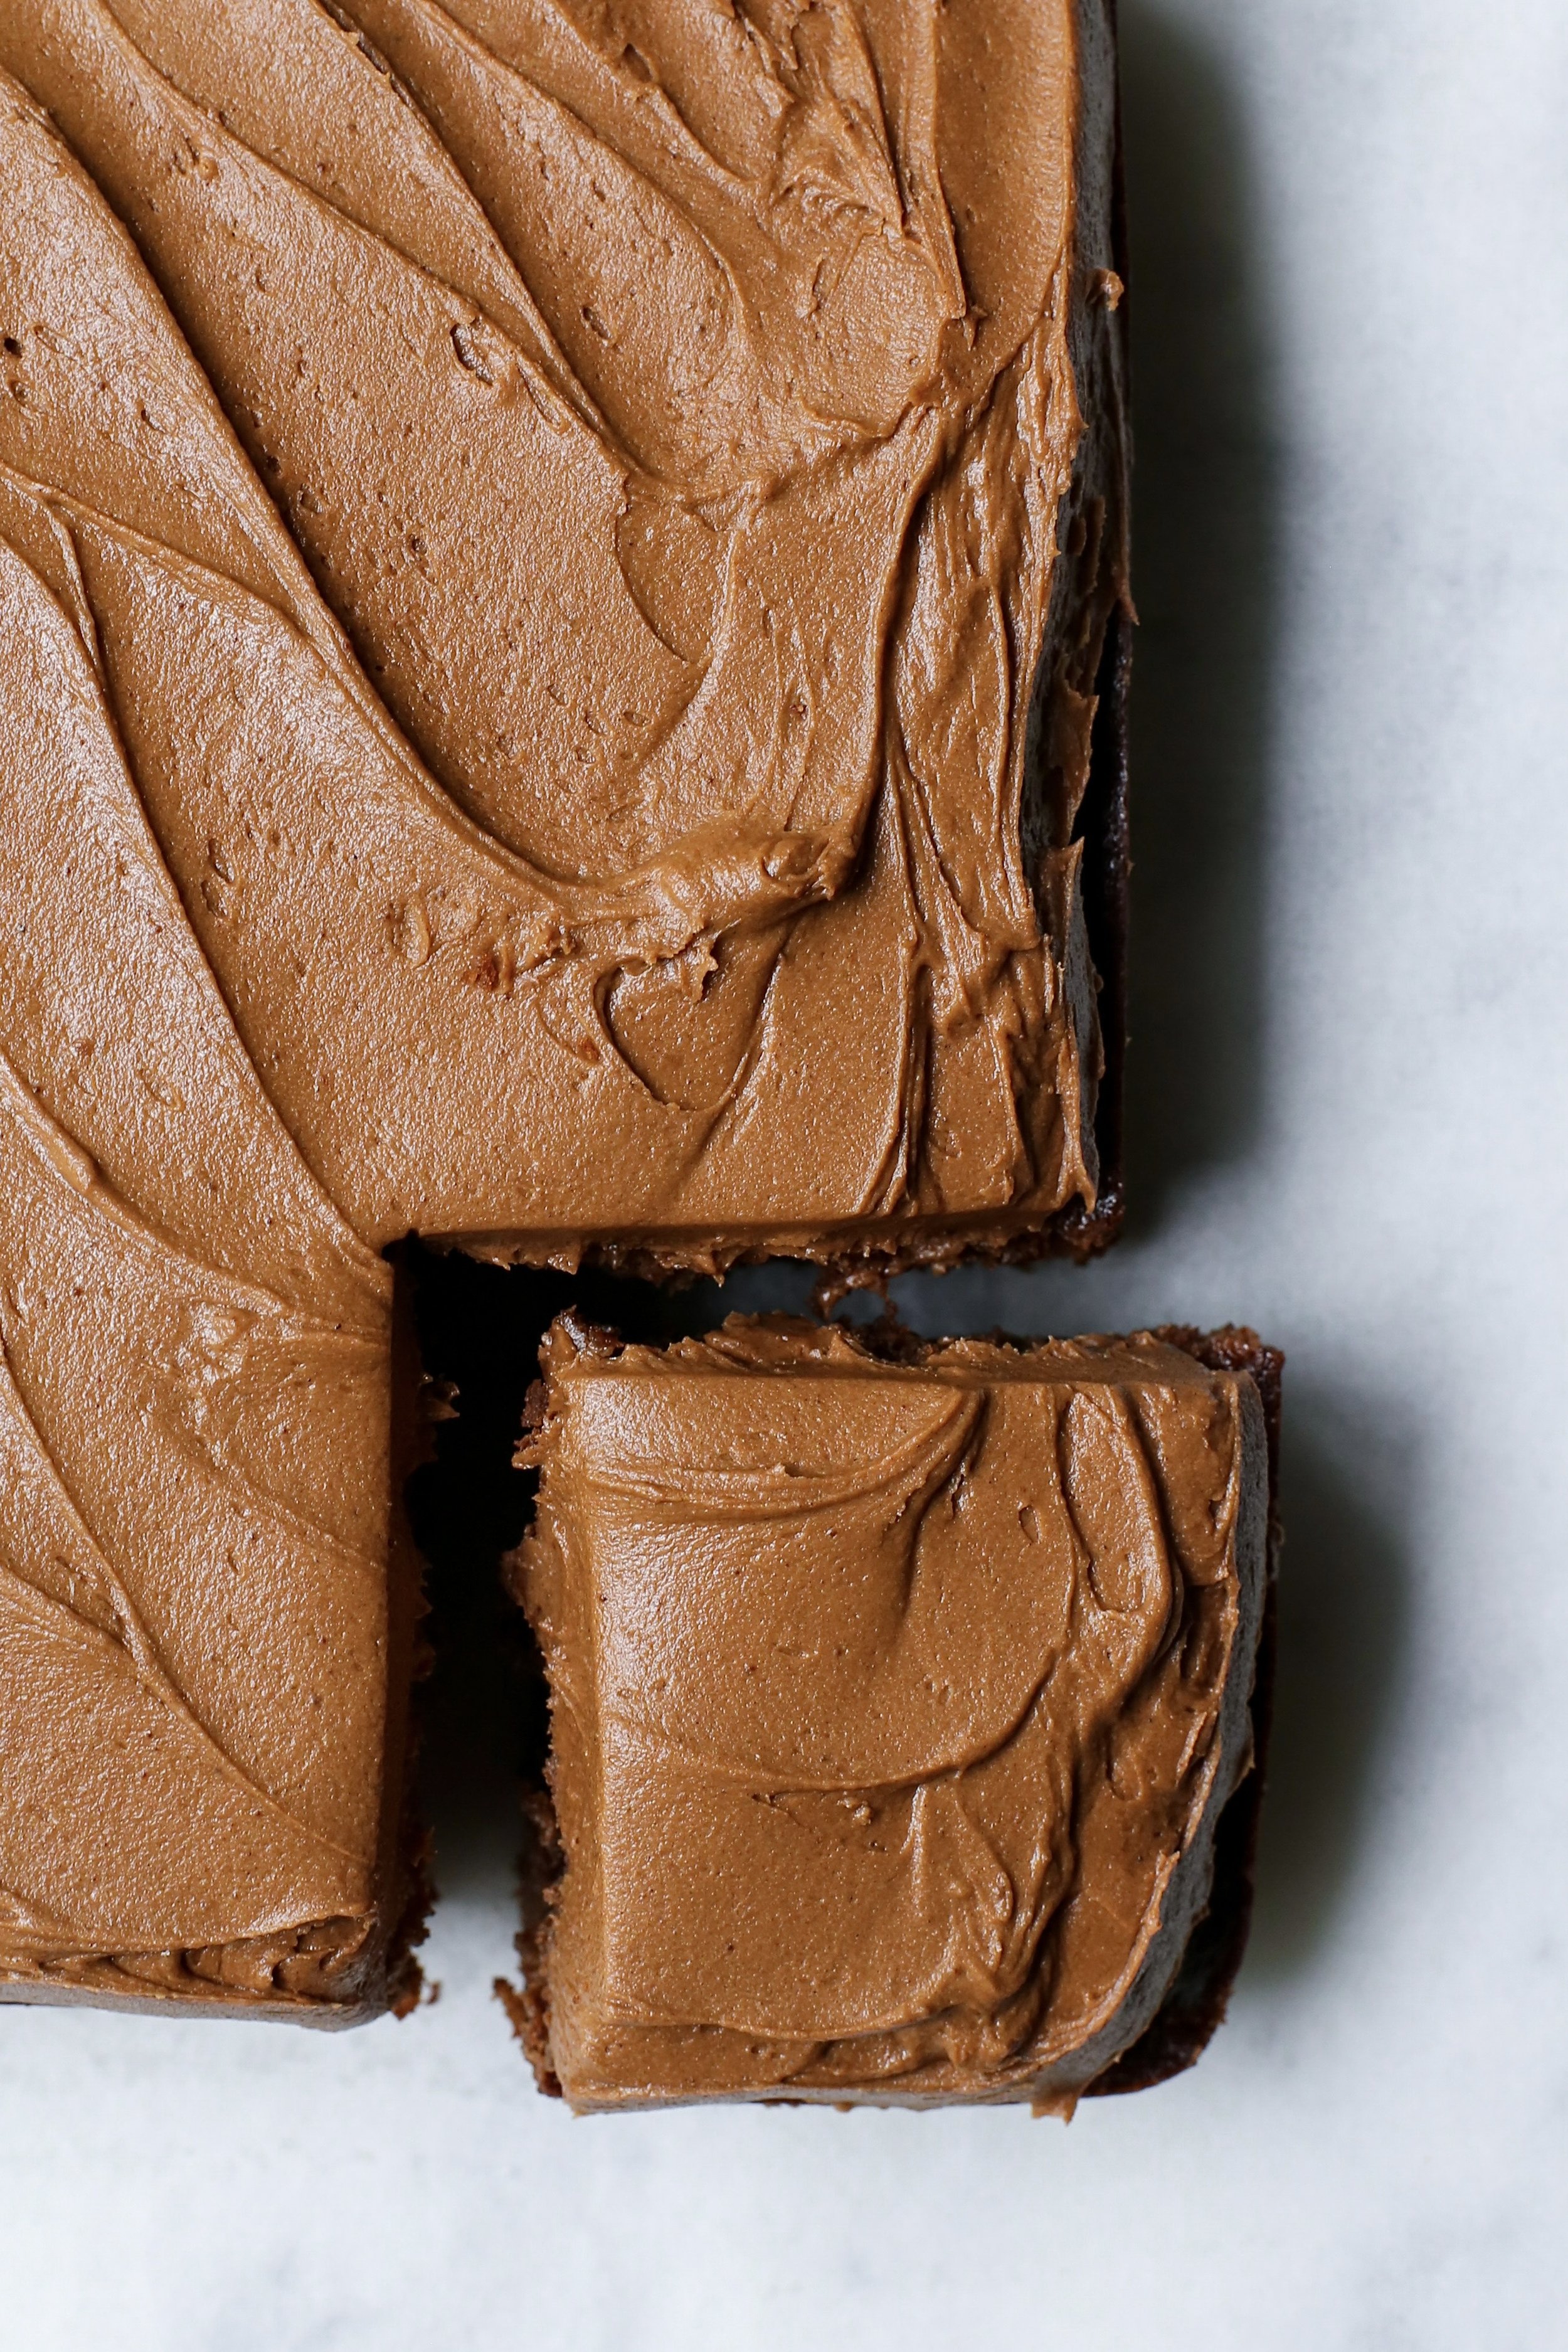
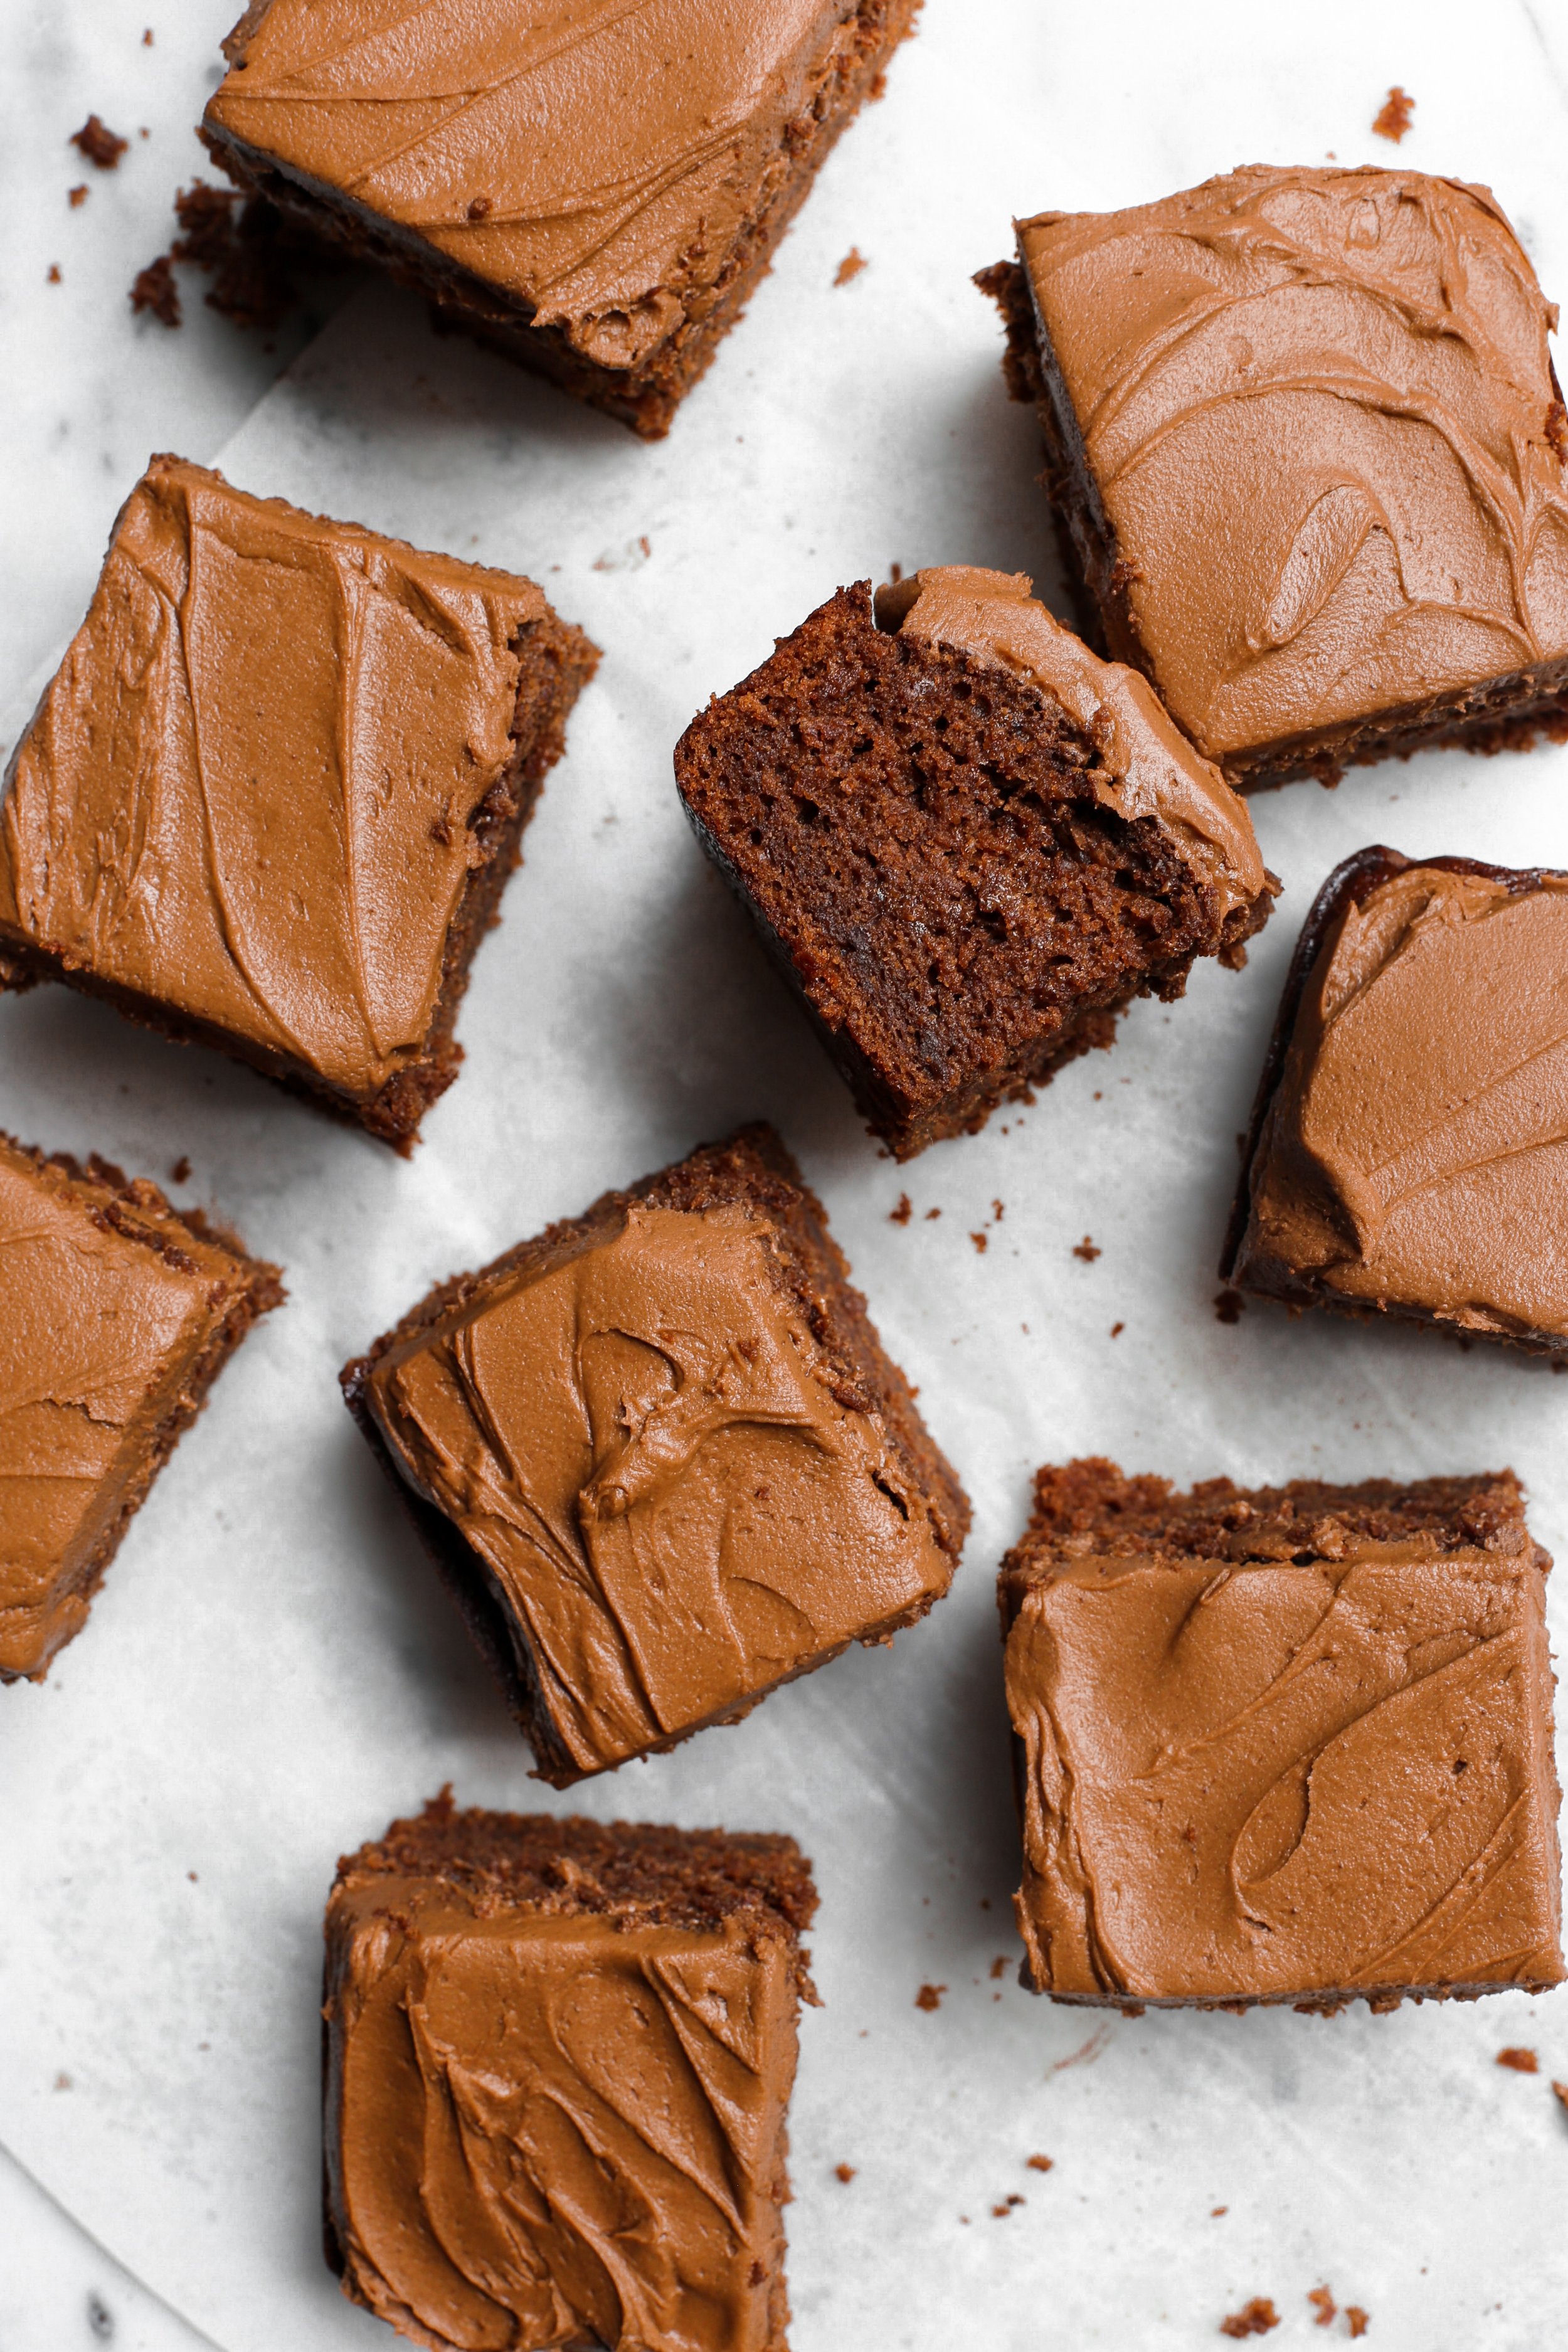
CHOCOLATE RICOTTA CAKE w/ CHOCOLATE COFFEE BUTTERCREAM FROSTING

Now that we’re in the month of November, I’m sure that most people are busy with researching recipes and finalizing their menus for the big food holiday at the end of the month. Just about every year at this time, I save a bunch of new-t0-me dessert recipes only to find myself falling back on my tried-and-true favorites like my pumpkin cheesecake and maple pecan ice cream. But before I plan on giving you a new Thanksgiving-friendly dessert recipe by next week (hopefully), I wanted to share a simple, yet perfect chocolate cake that can be enjoyed every day of the year.

Today’s chocolate cake isn’t anything fancy, but that’s what we like about it. It’s a single layer cake that comes together quickly with an equally simple buttercream frosting. I would categorize it as a “snacking cake” which pretty much just means that it isn’t baked for a celebration in mind, but just to have on hand when a cake craving strikes. Being 8 months pregnant, this is exactly the kind of treat that I’m craving on almost a daily basis so I guess I’m admitting that I thought of this recipe for selfish reasons. Chocolate cake will always be a top 5 favorite dessert for me and so I’m glad that I was able to come up with such a delicious recipe.

What makes today’s chocolate cake recipe so good is that there’s a handful of ingredients called for to make it extremely moist. Not only will you find the typical additions of vegetable oil and milk, but there’s also one of my favorite ingredients that I love to use not only in dessert recipes, but in savory dishes as well: ricotta cheese. Adding ricotta cheese to any baked good not only guarantees an amazing texture, but it also adds a creamy and rich flavor that is addicting. If you’ve never baked anything with ricotta in it and find yourself weary of its inclusion in the recipe, just think of it as a substitute for sour cream or buttermilk.

Another ingredient listed for the chocolate cake that may stand out to you is the freshly brewed coffee. The coffee takes place of the typical hot water that you find in most chocolate cake recipes, which is used to help “bloom” the cocoa powder and therefore intensify the chocolate flavor. With using hot coffee, we’re not only amplifying the cocoa flavor with the heat of the liquid, but also because coffee is used to naturally enhance the flavor of chocolate. So essentially you won’t be tasting coffee in the cake, but will only have the benefit of enjoying a more chocolate-forward taste. If you’re a non-coffee drinker, then I would recommend sticking with hot water and adding a teaspoon of instant espresso/coffee powder to the recipe.

As for the buttercream frosting, it’s a pretty straightforward chocolate version with the typical ingredients of butter, powdered sugar, cocoa powder and milk. But because the chocolate cake calls for freshly brewed coffee to intensify the chocolate flavor, I decided to also add a coffee component to the frosting with the inclusion of instant espresso/coffee powder. Again, the coffee flavor won’t be completely in your face, but will be more subtle and create a much more rich, chocolate-y flavor. I added two teaspoons of instant espresso powder to the frosting and thought it created the best “mocha” flavor, but if you are searching for more of a coffee taste, you can add another 1/2-1 teaspoon to the recipe. Again, if coffee is not your thing or if you don’t have instant coffee lying around, feel free to leave it out completely and you’ll still have a great topping for your perfect chocolate ricotta cake.

Chocolate Ricotta Cake w/ Chocolate Coffee Buttercream Frosting

Makes (1) 8 inch round/square cake

Recipe adapted from Baker by Nature

Ingredients

For the cake:

  • 1 1/4 cups all-purpose flour

  • 1/2 cup unsweetened cocoa powder

  • 3/4 cup granulated sugar

  • 1/2 cup light brown sugar, packed

  • 1/4 tsp. baking powder

  • 1/4 tsp. baking soda

  • 1/2 tsp. kosher salt

  • 3/4 cup (6oz.) whole milk ricotta cheese

  • 1/2 cup neutral oil, like vegetable

  • 1/4 cup milk, whole or 2%

  • 2 large eggs

  • 2 tsp. vanilla extract

  • 1/3 cup freshly brewed coffee (or hot water)

For the frosting:

  • 1/2 cup (1 stick) unsalted butter, room temperature

  • 1 1/4 cups confectioners’ sugar

  • 1/4 cup unsweetened cocoa powder

  • 1 1/2 tbsp. milk

  • 2 tsp. instant espresso/coffee powder

  • 2 tsp. vanilla extract

  • Pinch of kosher salt

Directions

Make the cake:

  1. Preheat the oven to 350°F. Grease an 8-inch round/square cake pan with spray or butter, then line with parchment paper and grease the paper as well. If using a square pan, make sure to have enough overhang of the parchment paper for an easier removal of the cake.

  2. In a large bowl, whisk together the dry ingredients (flour, cocoa powder, both sugars, baking powder baking soda, and salt). Set aside.

  3. In a medium bowl, whisk the ricotta cheese, oil, milk, eggs and vanilla until combined. Slowly pour in the hot coffee while whisking (just to make sure you don’t cook the eggs in case your coffee is very hot). Add this mixture to the dry ingredients and gently fold together using a spatula. Do not over mix! The batter will be quite thin.

  4. Pour the batter into the prepared pan and bake for 45 to 50 minutes, or until a toothpick inserted in the center of the cake comes out clean.

  5. Allow to cool in the pan for about 5 minutes before transferring to a cooling rack. Cool completely before frosting.

Make the frosting:

  1. In the bowl of stand mixer fitted with the paddle attachment (or in a large bowl if using a hand mixer) beat the butter until soft and creamy.

  2. In a small bowl, whisk together the milk and instant coffee until combined.

  3. Directly into the stand mixer bowl, sift in the confectioners’ sugar and cocoa powder, then add in the milk/coffee mixture, vanilla extract and salt. Mix on low for about 10 seconds, then increase the speed to medium and mix for another minute, or until completely combined.

  4. Add the frosting to the cooled cake and spread evenly using an offset spatula or butter knife. Enjoy!

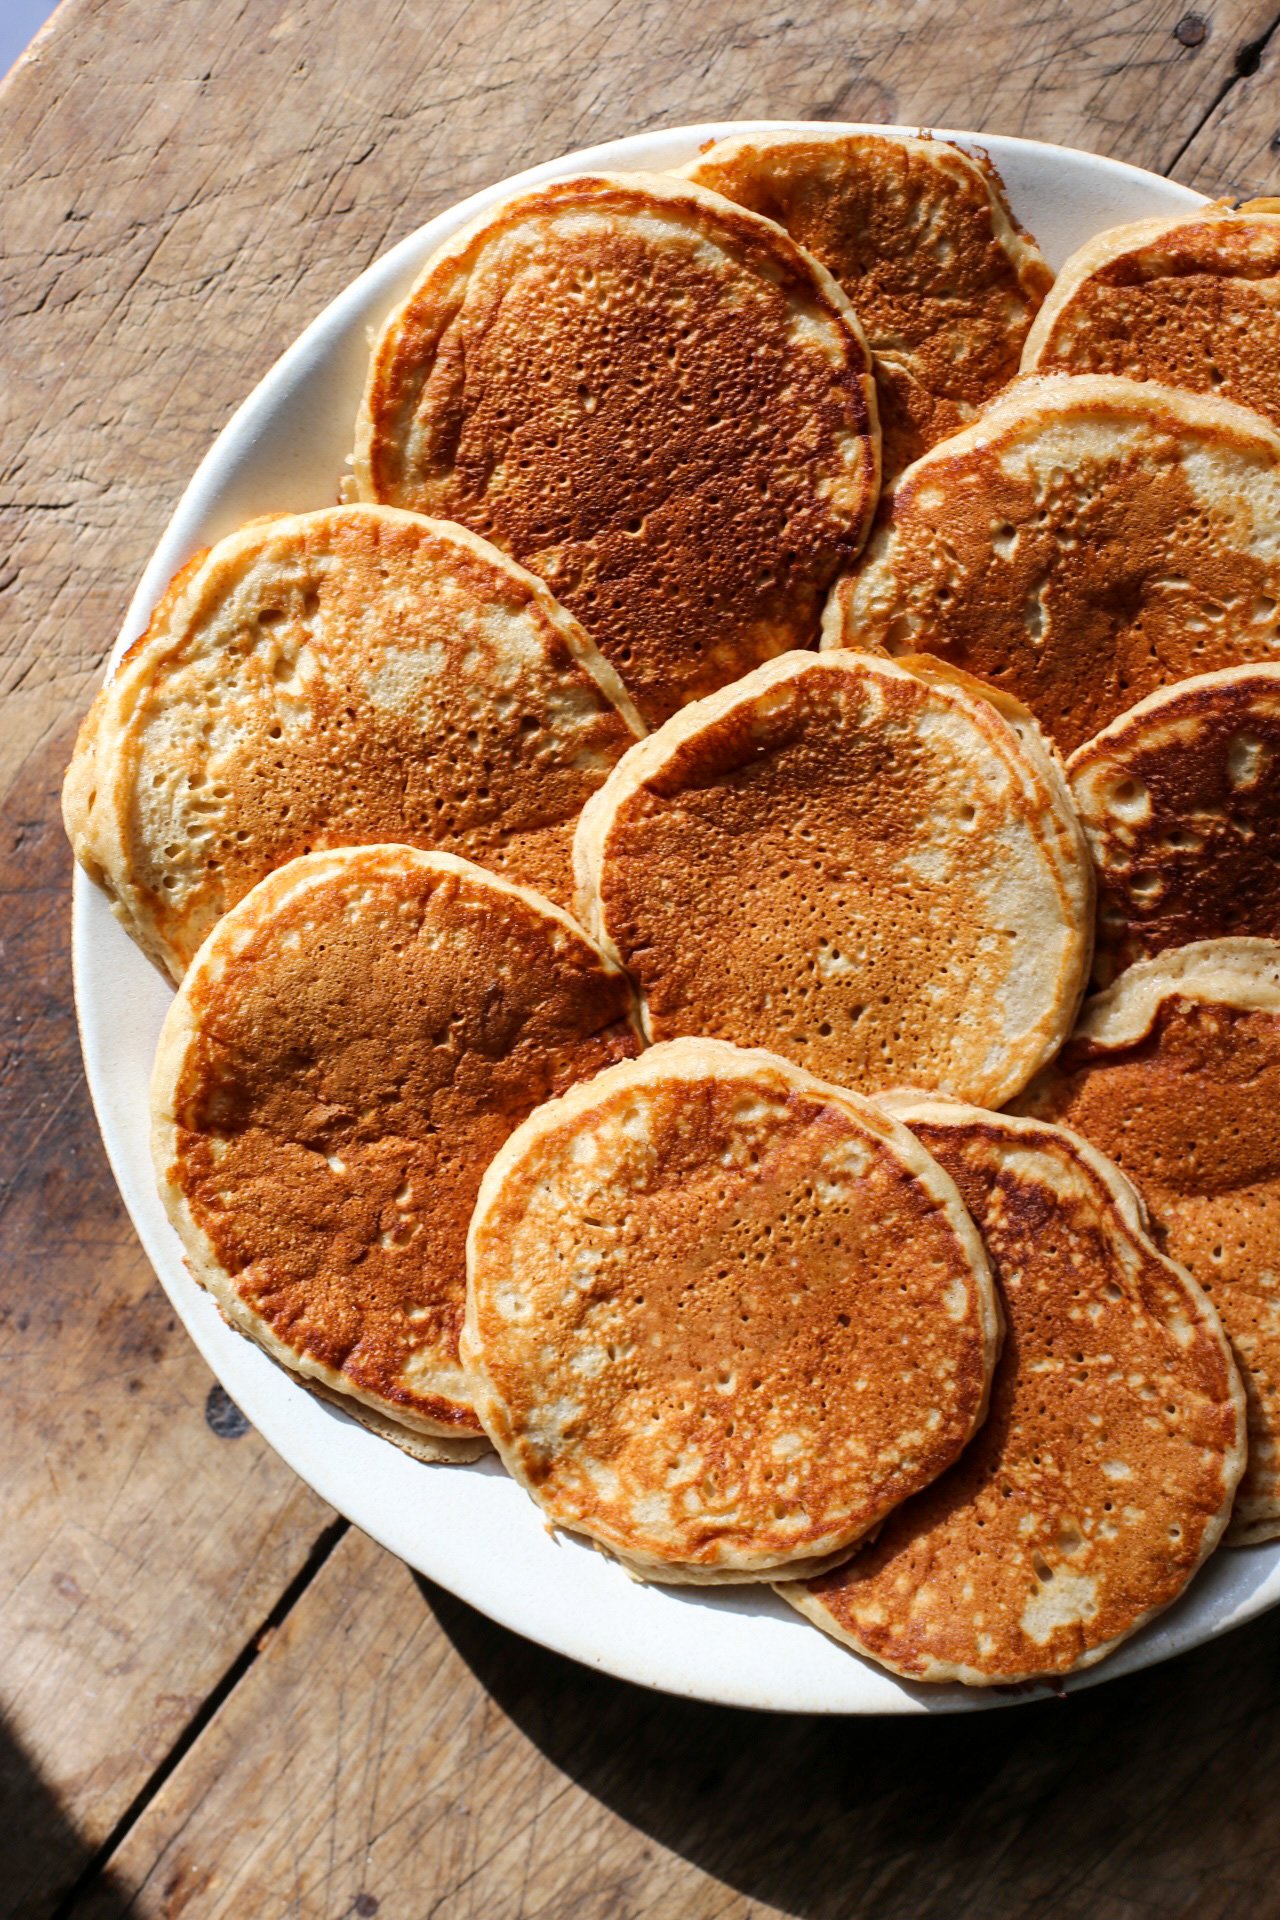
APPLE BUTTER PANCAKES w/ SAUTÉED APPLES

Why yes, it is yet another apple-focused recipe coming at you today! It might be the third one in just about a month, but I for one will never get sick of apple recipes so I hope you all feel the same way. I also wanted to use up the rest of my big batch of apple butter that had been sitting in my fridge since the rugelach post, so that’s really how I developed today’s recipe for apple butter pancakes with sautéed apples.

The last, and only, time I shared a pancake recipe was back in April 2020 when, as we all know, life was looking pretty grim for the entire world. I remember thinking that my orange ricotta pancakes were a little bright light at a very dark time, and how something as simple as writing and sharing a recipe could make me feel just a little bit better. Luckily, today’s recipe won’t be associated with any pandemics and we can all just focus on one thing: the deliciousness of these pancakes.

Although I’m usually more of a waffle person, there will always be room in my heart (and stomach) for pancakes, especially when they have autumnal flavors. The apple butter flavor may not be particularly in your face, but you’ll definitely get a hint of it in each bite. Because of this subtlety, I wanted to amp up the apple flavor by adding a topping of apples sautéed in butter, brown sugar and cinnamon. It’s of course an optional addition, but I have to say it really took these pancakes to a whole different level. But these pancakes will be perfect as well with a simple pat of butter and/or drizzle of maple syrup.

Apple Butter Pancakes

Makes about a dozen medium-sized pancakes

Ingredients

  • 1 1/4 cups all-purpose flour

  • 1 tbsp. granulated sugar

  • 2 tsp. baking powder

  • 1 tsp. cinnamon

  • 1/2 tsp. kosher salt

  • 1 cup milk, any kind works

  • 2 large eggs, separated

  • 1/2 cup apple butter, homemade or store bought

  • 2 tbsp. unsalted butter, melted

  • 2 tsp. vanilla extract

  • Sautéed apples, to finish (recipe below)

Directions

  1. In a large bowl, whisk the flour, sugar, cinnamon, baking soda and salt together until well combined.

  2. In a medium bowl, whisk the milk, egg yolks, apple butter, melted butter and vanilla extract until well combined. Pour the wet ingredients into the dry ingredients and using a spatula, fold all ingredients together until almost combined.

  3. Using a stand mixer fitted with the whisk attachment (or in a large bowl if using a hand mixer) whisk the egg whites until have stiff peaks. Gently fold the egg whites into the batter, being careful not to over mix. Let the batter rest for about 10 minutes. *This is a good time to start working on your sautéed apples.

  4. Preheat a lightly-greased griddle or nonstick pan over medium heat. Scoop about 1/4 cup of batter for each pancake and cook on the first side until the edges appear set and bubbles start to show on the top surface, about 2-3 minutes. Carefully flip and continue to cook for a few more minutes, or until golden brown. Repeat until all batter is used up.

    *If not serving immediately, place pancakes on a baking sheet in the oven preheated to 200°F. This will keep them warm until ready to serve.

  5. Top with butter, maple syrup and/or sautéed apples. Enjoy!

Sautéed Apples

Ingredients

  • 2 large apples, peeled and chopped (I prefer Granny Smith or Pink Lady), about 2 cups

  • 2 tbsp. unsalted butter

  • 1 tbsp. brown sugar

  • 1/2 tsp. ground cinnamon

Directions

  1. In a skillet over medium heat, sauté the chopped apples in the butter for about 5 minutes, stirring every so often.

  2. Once slightly softened, add in the brown sugar and ground cinnamon and continue to cook for another 5-10 minutes, or until fork tender.

ROASTED GRAPE AND BRIE CROSTINI

Do any of you have a mom that goes over the top when it comes to hosting? And by that I mean, do they put out trays and trays of food with four different dips, six various chips and crackers, at least three kinds of cheese, and roughly half of the local grocery store’s veggie selection? Well mine does and you can bet that on Thanksgiving that everything I just mentioned (and more) is causally placed in front of guests as the “appetizer” portion of the day. As much as I love eating all of it, especially the Ruffles and onion dip, it’s not ideal when you want people to save room for dessert, aka what I love making for Thanksgiving. Today’s recipe is my answer to this dilemma when it comes to hosting: make 1 dish that incorporates all the typical appetizer favorites without overdoing it.

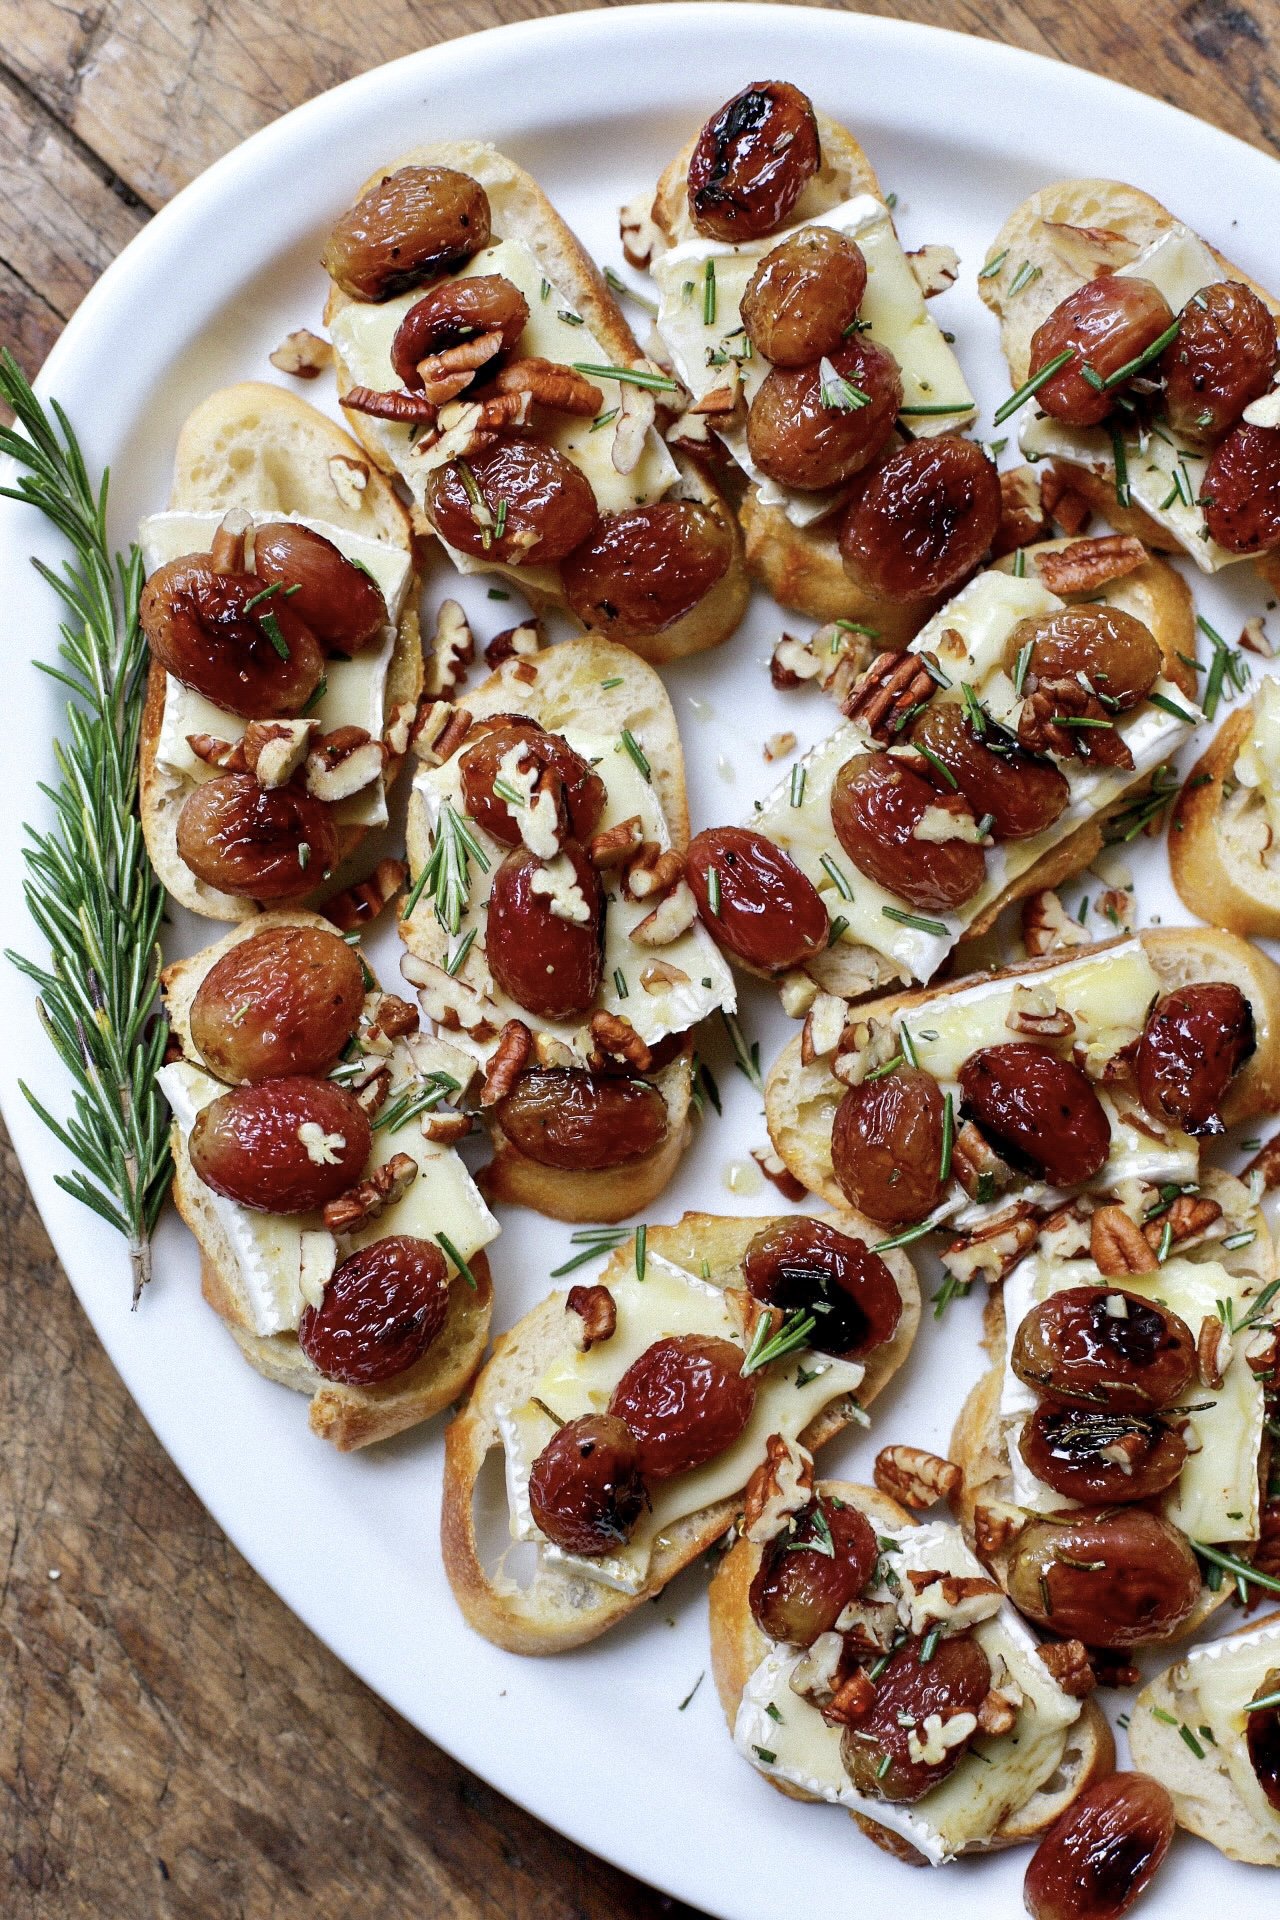
These Roasted Grape and Brie Crostini are so good that I promise you they’ll be one of the most remembered dishes of the day if served on Thanksgiving. You start off by roasting red grapes in olive oil, fresh rosemary, salt and pepper until they are nice and caramelized, then add them to toasted baguette slices along with creamy brie cheese, chopped toasted pecans, a drizzle of honey and some more rosemary for color and flavor. It couldn’t be simpler, but the finished product is mind-blowingly delicious. Everyone I’ve made them for so far has agreed that they’re the perfect couple of bites of food.

The thing that I like best about this recipe is that you can make it your own based on your personal food preferences. If you don’t like brie cheese, you can use ricotta, goat cheese or even a funkier bleu; if rosemary isn’t your favorite herb, then try it with thyme, oregano or sage; if you don’t have chopped pecans lying around, walnuts, pistachios, or hazelnuts all make for great substitutions; and lastly, instead of the plain honey, you can drizzle on a hot honey or a balsamic glaze to make it a bit more interesting. The combinations are truly endless so if you feel overwhelmed with where to start, just use my flavor pairings as a jumping off point.

Roasted Grape and Brie Crostini

Makes about 30 crostini, depending on bread size/slice thickness

Ingredients

For the roasted grapes:

  • 4 cups red grapes

  • 2 tbsp. olive oil

  • 2 sprigs of fresh rosemary, roughly chopped

  • Salt and pepper to taste

For the crostini:

  • 1 baguette, cut into 1/2in. pieces

  • Olive oil, to drizzle over the bread

  • 2-3 garlic cloves

  • 10-12 oz. Brie cheese, thinly sliced

  • 1/2 cup toasted pecans, roughly chopped

  • Honey, to finish

  • Chopped fresh rosemary, to garnish

Directions

  1. Preheat the oven to 400 degrees F. Place the grapes on a baking sheet and toss with the olive oil, rosemary, salt and pepper (to taste). Bake in the oven for 30-35 minutes, or until softened and browned, mixing halfway through. When the grapes are done, lower the oven temperature to 350 degrees F.

  2. Place the baguette slices on a separate baking sheet(s), drizzle with olive oil, and bake until lightly toasted, about 10 minutes. Once out of the oven, immediately rub each baguette slice with the garlic clove.

  3. Top each piece of baguette with a slice of brie, 3-4 roasted grapes and a sprinkling of chopped pecans. Finish with a drizzle of honey and some chopped rosemary. Serve immediately and enjoy!