SALTED ALMOND BUTTER W/ CHIA AND FLAX SEEDS

IMG_6872.jpg

My household goes through jars of nut butter like it’s nobody’s business. Every single day, and I mean every single day, Alex and I both have either almond and/or peanut butter in some capacity. For me, I put almond butter in my post workout smoothie and I also put a good slathering of peanut butter on my toast for breakfast. As for Alex, he eats a scoop full of peanut butter with a drizzle of honey before he heads to the gym first thing in the morning.

Although the almond butter we buy is just a simple creamy, unsalted variety, our go-to peanut butter on the other hand is more amped up with a crunchy texture, slight salty taste, and added nutrition from chia and flax seeds. We buy this amazing peanut butter from our forever favorite grocery store, Trader Joe’s, of course. One thing that I always wondered is why Trader Joe’s never decided to make an almond butter version, so I set out to make my own. And I gotta say, I’m so happy that I did because Alex and I both prefer my homemade almond butter version to any store-bought nut butter we’ve tried (peanut or almond). Surprise surprise.

IMG_6757.jpg

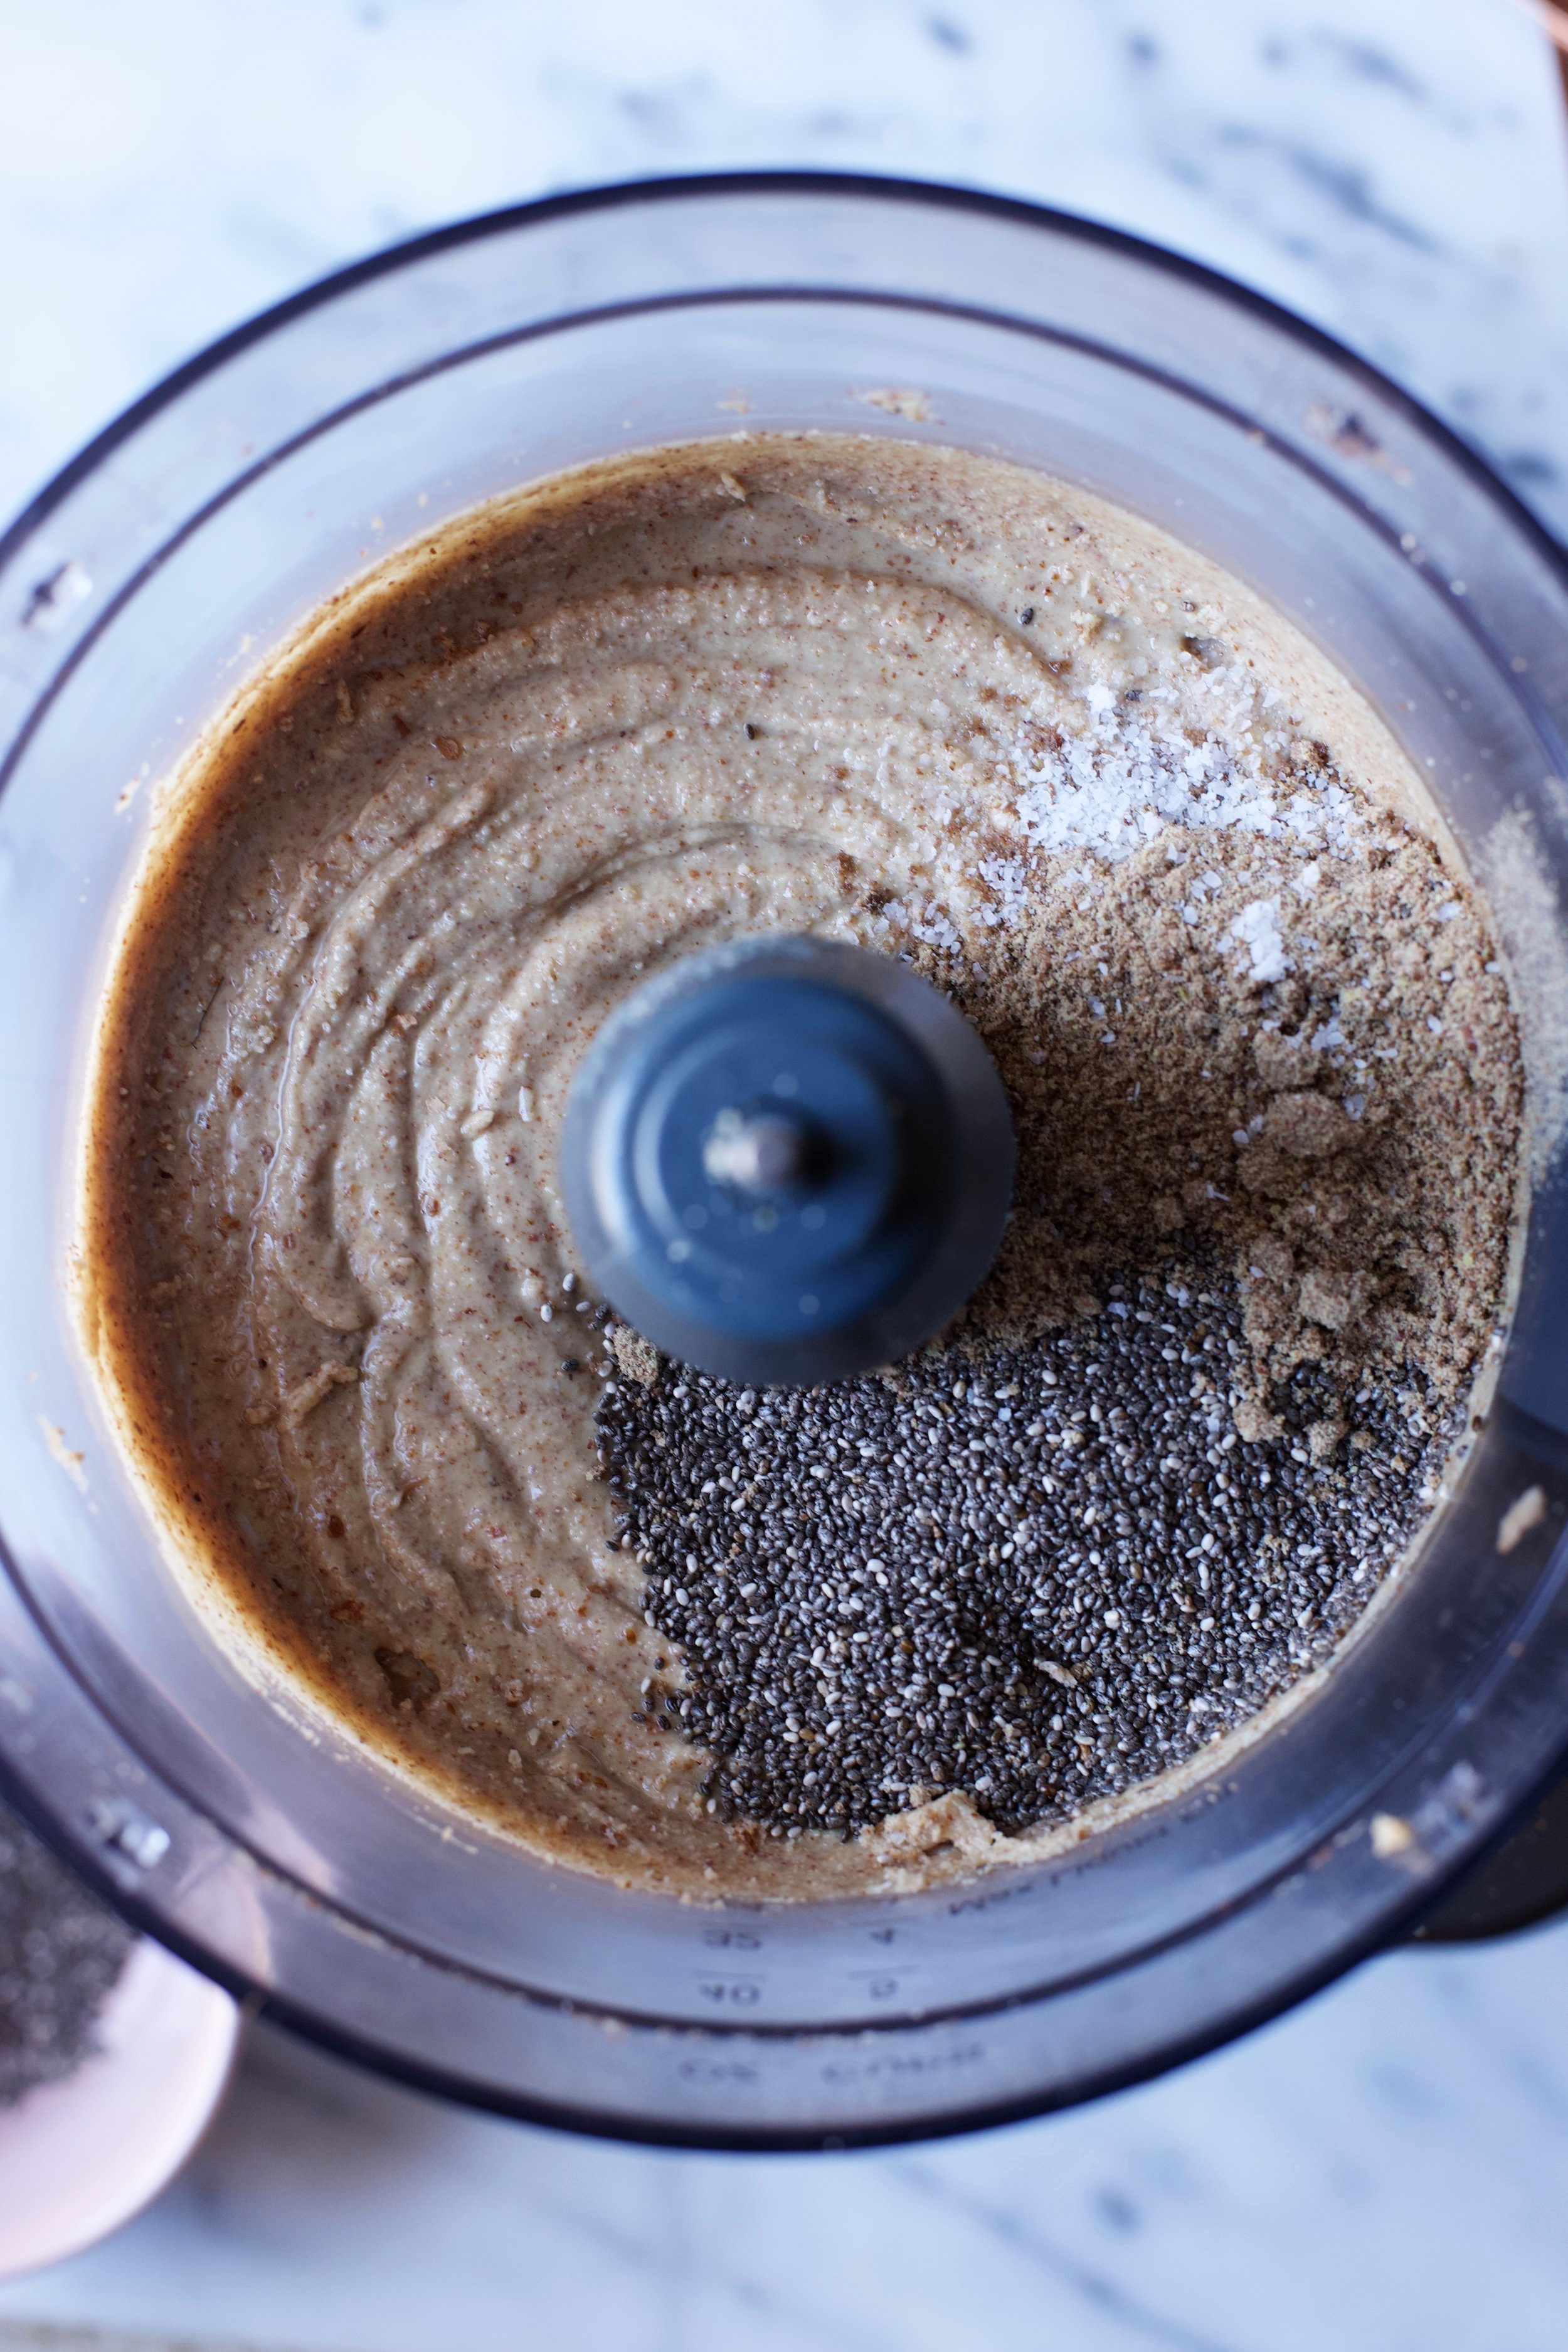
Making your own nut butter is fairly easy just as long as you have a high-powered blender, like a Vitamix, or a food processor. I own a Cuisinart food processor, so I’ll be giving directions on how to make the butter using a food processor, but the directions are identical if you plan to use a Vitamix instead. Once the almonds have completely transformed into a creamy mixture, that is when you will add in the salt and seeds. If you want to flavor it up a bit, go ahead and add whatever you’d like - cinnamon, vanilla extract, honey, maple syrup, etc..

IMG_6819.jpg

After some research, I found that making almond butter is easier/quicker if you buy raw almonds and toast them yourself - the heat will allow for the almonds to break up more easily. Also, if you want to have a crunchier almond butter, set aside about a 1/4 cup of almonds after toasting them and give them a chop. When the almond butter is complete, hand stir the almonds in and you’ll have a very nicely textured butter.

If you’ve never made a nut butter on your own, I highly recommend it! It’s a pretty fun process and undoubtedly gives you a much better flavor then what you’d get from the store.

IMG_6833.jpg

Salted Almond Butter w/ Chia and Flax Seeds

Ingredients

  • 16 oz. (about 3 cups) raw almonds

  • 1/8 tsp. kosher salt

  • 2 tbsp. chia seeds

  • 2 tbsp. ground/milled flax seeds

IMG_6830.jpg

Directions

  1. Preheat the oven to 350°F. Spread the almonds evenly on a rimmed baking sheet and toast them in the oven for about 10 minutes, giving them a stir halfway through.

  2. Allow the almonds to cool slightly before transferring them to the food processor, about 10-15 minutes. If making a crunchy almond butter, set aside 1/4 cup of almonds and give them a good chop.

  3. Place the almonds in the food processor fitted with the s-blade and blend on “high". The almonds will go through various stages of consistency - they will be powdery, then begin to form clumps, and then will eventually form one massive clump. Throughout this process, you will have to keep on eye on the food processor and break up the mixture with a spoon or the back of a spatula. If may seem like it’ll never become creamy, but trust me, it will! The whole process can take about 10-15 minutes depending on your machine, so you’ll just need to be patient.

  4. Once the mixture is creamy, add in the salt, chia, and flax seeds and pulse until incorporated - this is when you can add in any other ingredients of your choosing. Stir in the reserved 1/4 cup chopped almonds with a spatula (if you’re making a crunchier almond butter). Allow it to cool to room temperature.

  5. Transfer the almond butter to a mason jar and store in the fridge. Enjoy on toast, apple slices, in smoothies, or on its own.

RESTAURANT STYLE SALSA + HOMEMADE TORTILLA CHIPS

IMG_5588.jpg

It's been a long and hard week... our family dog, Luka, sadly passed away last Saturday night. I know everyone has their own daily struggles and hardships, and they probably don't want to come to a food blog to read about someone else's problems BUT, I couldn't not say anything about our sweet boy.

We rescued Luka about 12 years ago, and he was actually the first dog that my family ever owned. Before Luka, all my family ever cared about was cats... at any given time from the day I was born, we consistently owned at least two kitties. But around the time I was a sophomore in high school, my mom decided that it was time to get our first dog, and we ended up finding Luka at an animal shelter in Mission Viejo. He was about 6 years old when we brought him home, so he lived a VERY long and nice life. My mom spoiled him like crazy, but we all gave him so much love, happiness, and whipped cream (his favorite treat). And in return, he gave us love, happiness, and a lot of shedded hair. We will miss that handsome pup so much, but I know that every day he spent with us was his happiest day. PLEASE consider adopting your next pet... there are so many animals in shelters that need a loving home.  

IMG_5483.jpg

Ok, enough sad talk! Let's move on to today's recipes. 

I don't know about you guys, but I could probably eat tortilla chips and salsa every single day of my life. There actually have been many nights where I was too lazy to cook myself a proper meal, and happily plopped down on the couch with a fresh bag of chips and a big bowl of salsa and/or guacamole. When I'm at home and using store-bought salsa, I'm not too picky about what kinds of salsas I like; I enjoy salsa verde, pico de gallo, etc. etc. But when I go out to eat at Mexican restaurants, I judge each place based on how good their house salsa is; salsa is a very important aspect of Mexican dining.

IMG_5509.jpg

Luckily, living in Southern California, I haven't run into the problem of having "bad" salsa, and I can probably name 10 places off the top of my head that crush the salsa game. My all-time favorite house salsas come from two Mexican restaurants here in Orange County: 1) Coyote Grill in Laguna Beach and 2) El Ranchito, which has multiple locations, but my favorite one is located in Orange. The salsas from these two restaurants are amazing to me in their own ways, with Coyote Grill's having an extra kick of black pepper and El Ranchito's having chunks of green onion in almost every bite.

IMG_5526.jpg

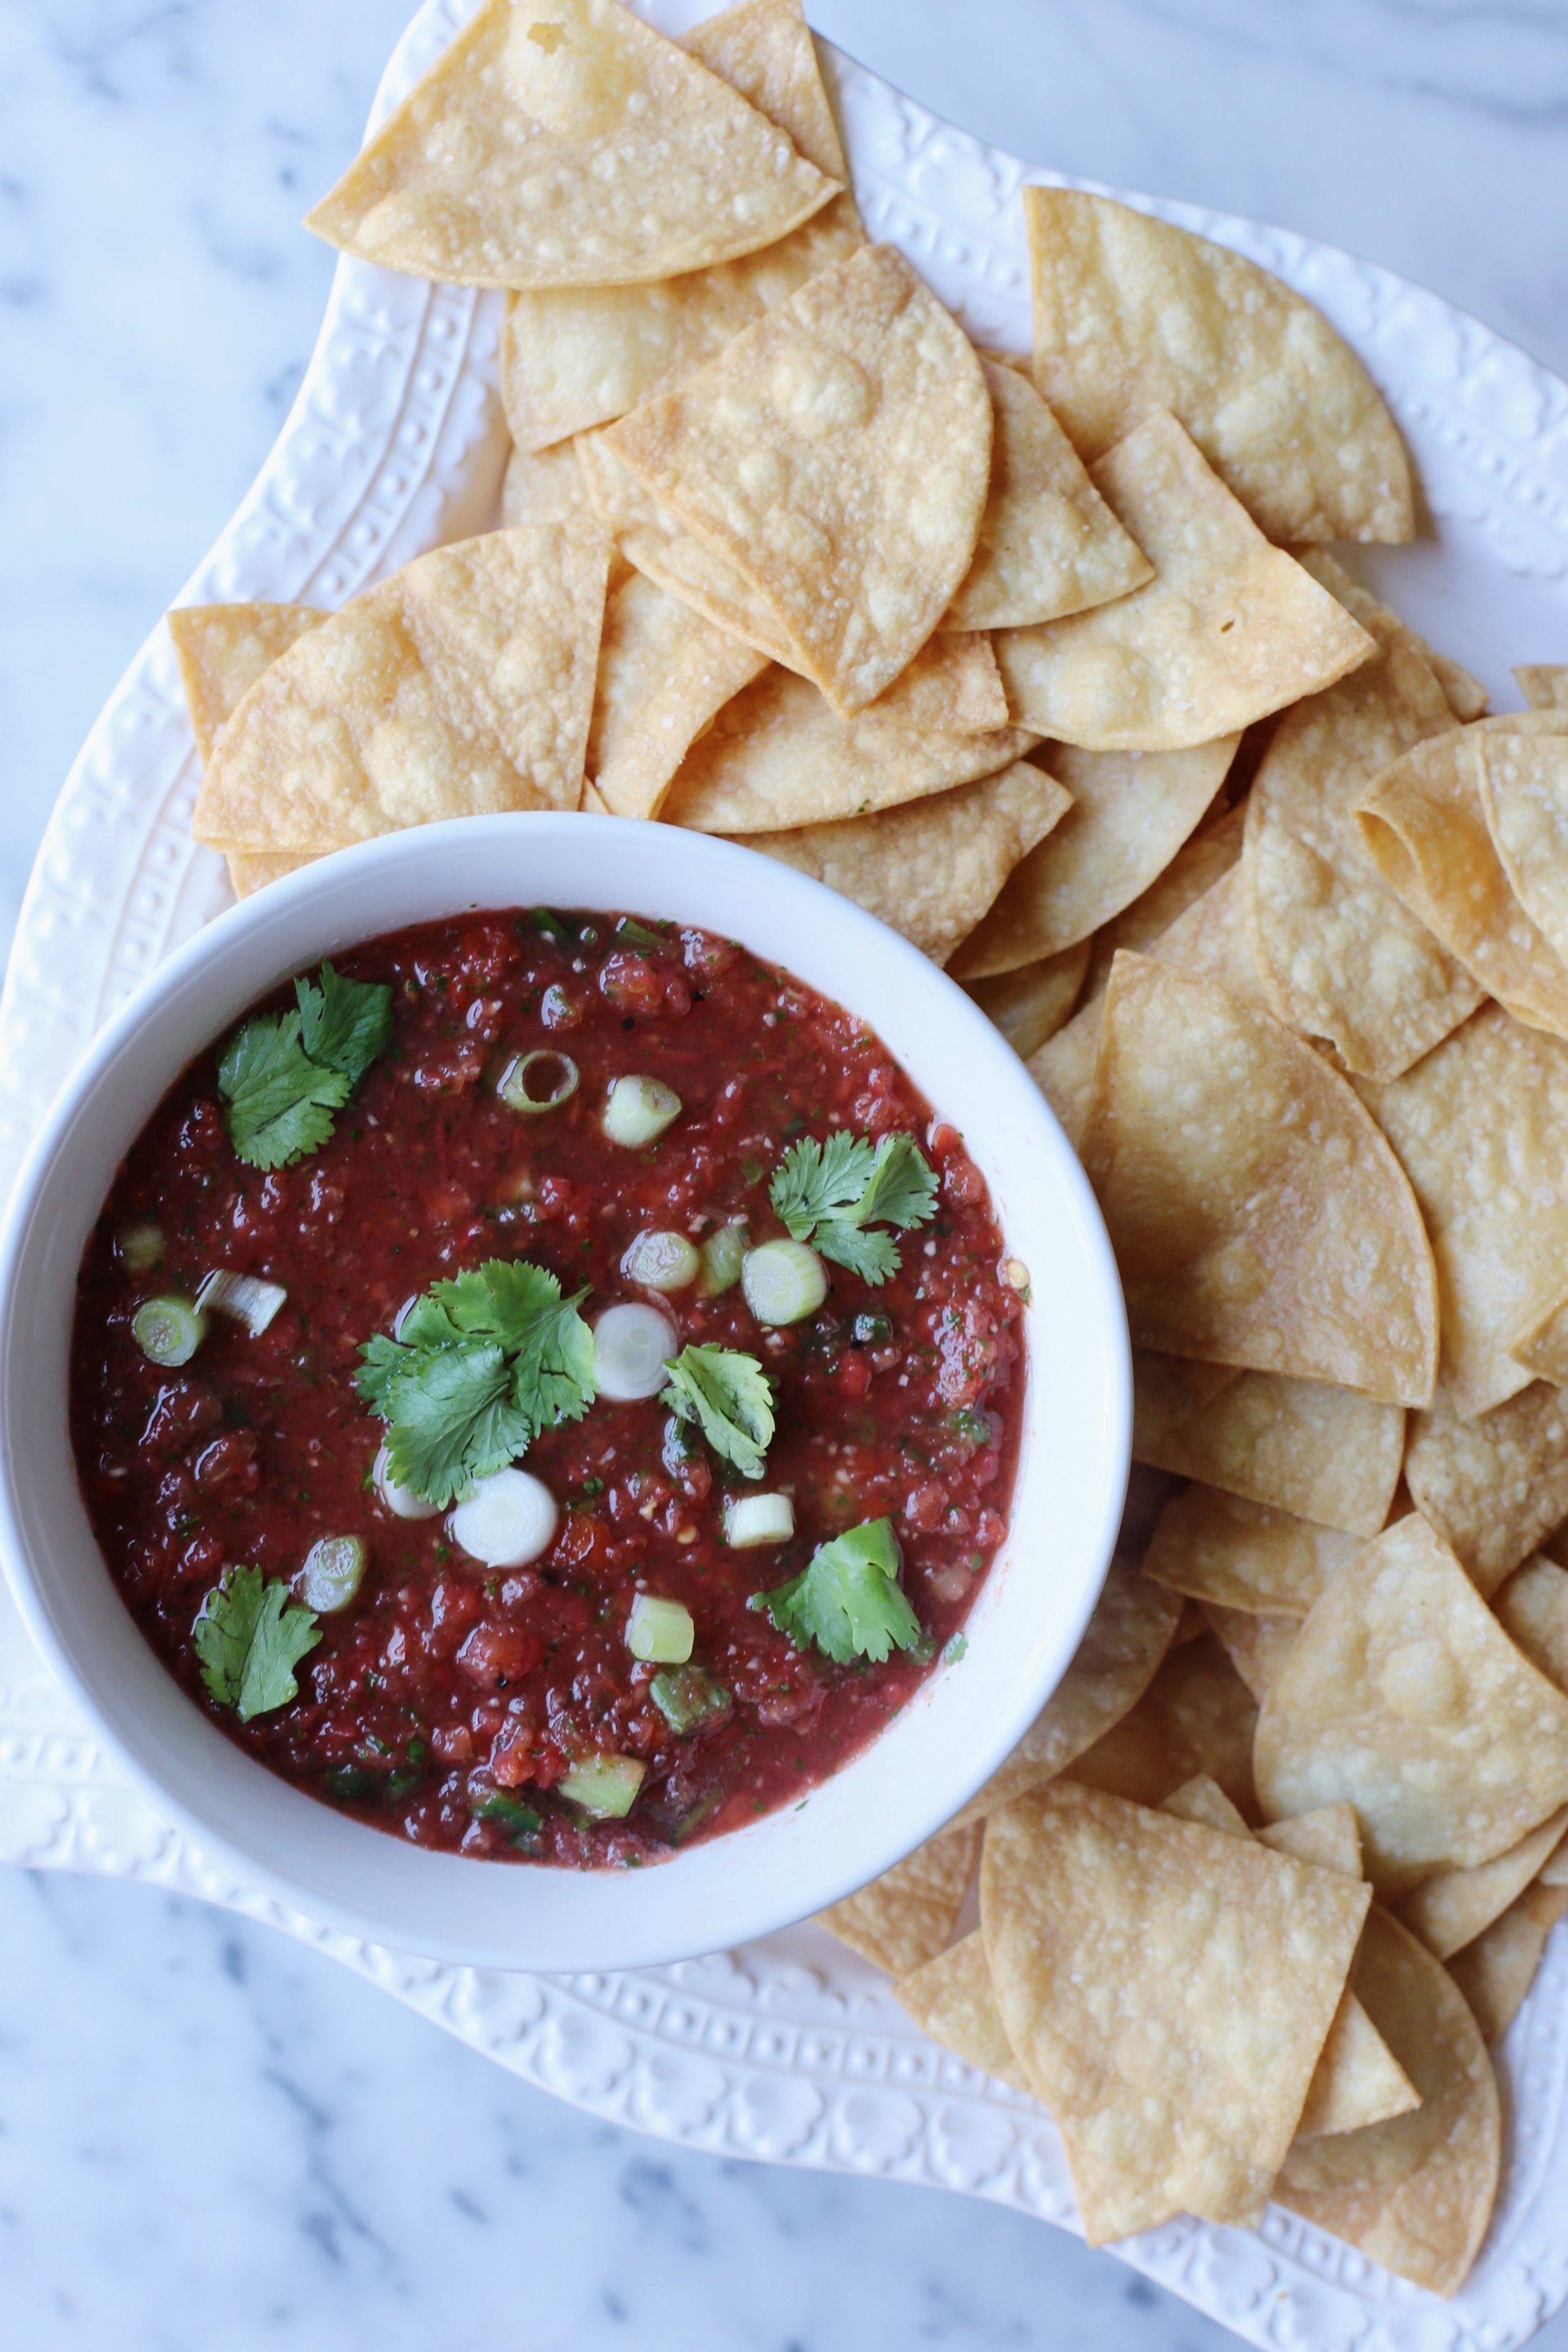
So, when my sister shared with me a simple, yet perfect salsa recipe that she created by using her new Vitamix, I decided to take that recipe and add my favorite salsa elements to it. The end result came out being insanely delicious! This salsa is definitely restaurant-worthy, if not on the same level: very fresh, a bit of heat, and undoubtedly addicting. I'm seriously surprised that I had leftover salsa to take pictures of for the blog because I couldn't stop eating it. I used my food processor for this recipe because I personally think it yields the best consistency, and makes it much easier than chopping up each ingredient. Don't have a food processor? Just stick to a blender, and I think the results will be similar.

And of course, what goes perfectly with fresh salsa? Warm, straight from the fryer, corn tortilla chips. Everyone should at least give homemade tortilla chips a try because I honestly think making that extra effort really pays off in the end. My only suggestion for making the chips is that having a kitchen thermometer is pretty vital to the process... the oil needs to be at 350°F in order to fry the chips.

IMG_5583.jpg


Homemade Tortilla Chips

Ingredients

  • 15-20 corn tortillas, cut into quarters (60-80 chips)

  • Vegetable or peanut oil, for frying

  • Salt, to taste

Directions

  1. In a large pot or Dutch oven, heat up 2-3 inches of oil - enough to cover the chips - over medium heat.

  2. When the temperature of the oil reaches 35o degrees F (a kitchen thermometer will come in handy here), begin adding about 10 tortilla quarters at a time to the pot. Using a slotted spoon or an Asian strainer, move the tortilla pieces around to prevent sticking and to let them evenly cook. After about two minutes, the tortillas will begin to change to a golden brown color and the oil will settle down - this is when the chips are done.

  3. Transfer the chips to a paper towel-lined plate or baking sheet, and immediately sprinkle generously with salt. Continue working in batches until all tortilla pieces are cooked. Enjoy the chips with my salsa recipe below!

Restaurant Style Salsa

Makes about 3-4 cups

Ingredients

  • 1/2 cup fresh cilantro leaves, lightly packed

  • 3 large garlic cloves

  • 1 serrano or jalapeño pepper, seeds and membrane removed

  • 8 Roma tomatoes, seeds removed

  • Juice from 1/2 a lime

  • 1 1/2 tsp. kosher salt

  • 1 tsp. freshly cracked black pepper

  • 1 bunch of green onions, white and light green parts, thinly sliced

Directions

  1. Add the cilantro, garlic, and pepper to the food processor fitted with the "S" blade and pulse until finely chopped.

  2. Next, add the tomatoes, lime juice, salt, and pepper and blend until no chunks of tomato remains - about 20 seconds.

  3. Transfer the salsa to a bowl and stir in the green onions. Add more salt and black pepper if needed.


RIP sweet Luka

RIP sweet Luka

TRADITIONAL GUACAMOLE

IMG_7820.jpg

If I had to describe my perfect date night to you it would start with dinner at one of my favorite Mexican restaurants, followed by either dancing or going to the movies (this all would depend on how much food I ate at dinner). I would also probably throw in Haribo gummy bears somewhere in that equation. 

So when the often dreaded question of "What should we have for dinner?" is asked, my answer almost always is naming off five different Mexican restaurants in the area. To me, nothing is more fun than having a round of margaritas and eating one too many chips, all before your plate of carnitas comes to the table.

IMG_7730.jpg

Despite all of this, my history with avocados and guacamole has been somewhat of a rollercoaster. When I was little, I was a very picky eater to the point that I'm pretty sure I existed only on chicken tenders and fries for dinner. Even when my family would go out to eat at restaurants, I would still order that exact meal. So when I first tried guacamole at about the age of 10, I was pretty hesitant of the green stuff but it soon grew on me and I eventually became obsessed with it. This obsession was short-lived when my family was all together during the holidays and we had a giant Mexican meal at home. Lil Shawna kind of went ham with the chips and guacamole, and one thing led to the other; before I knew it, I couldn't even look at an avocado without feeling sick.

This food aversion of mine with avocados/guacamole lasted until after I graduated college, so about 12 years! Guacamole came back into my life thanks to Trader Joe's and their free samples where I was able to try their "Guilt-Free" guacamole made with greek yogurt. I guess that version was less in your face with the guacamole flavor and before I knew it I was back to loving guacamole again and adding avocado to everything. Thank you Trader Joe's!

IMG_7792.jpg

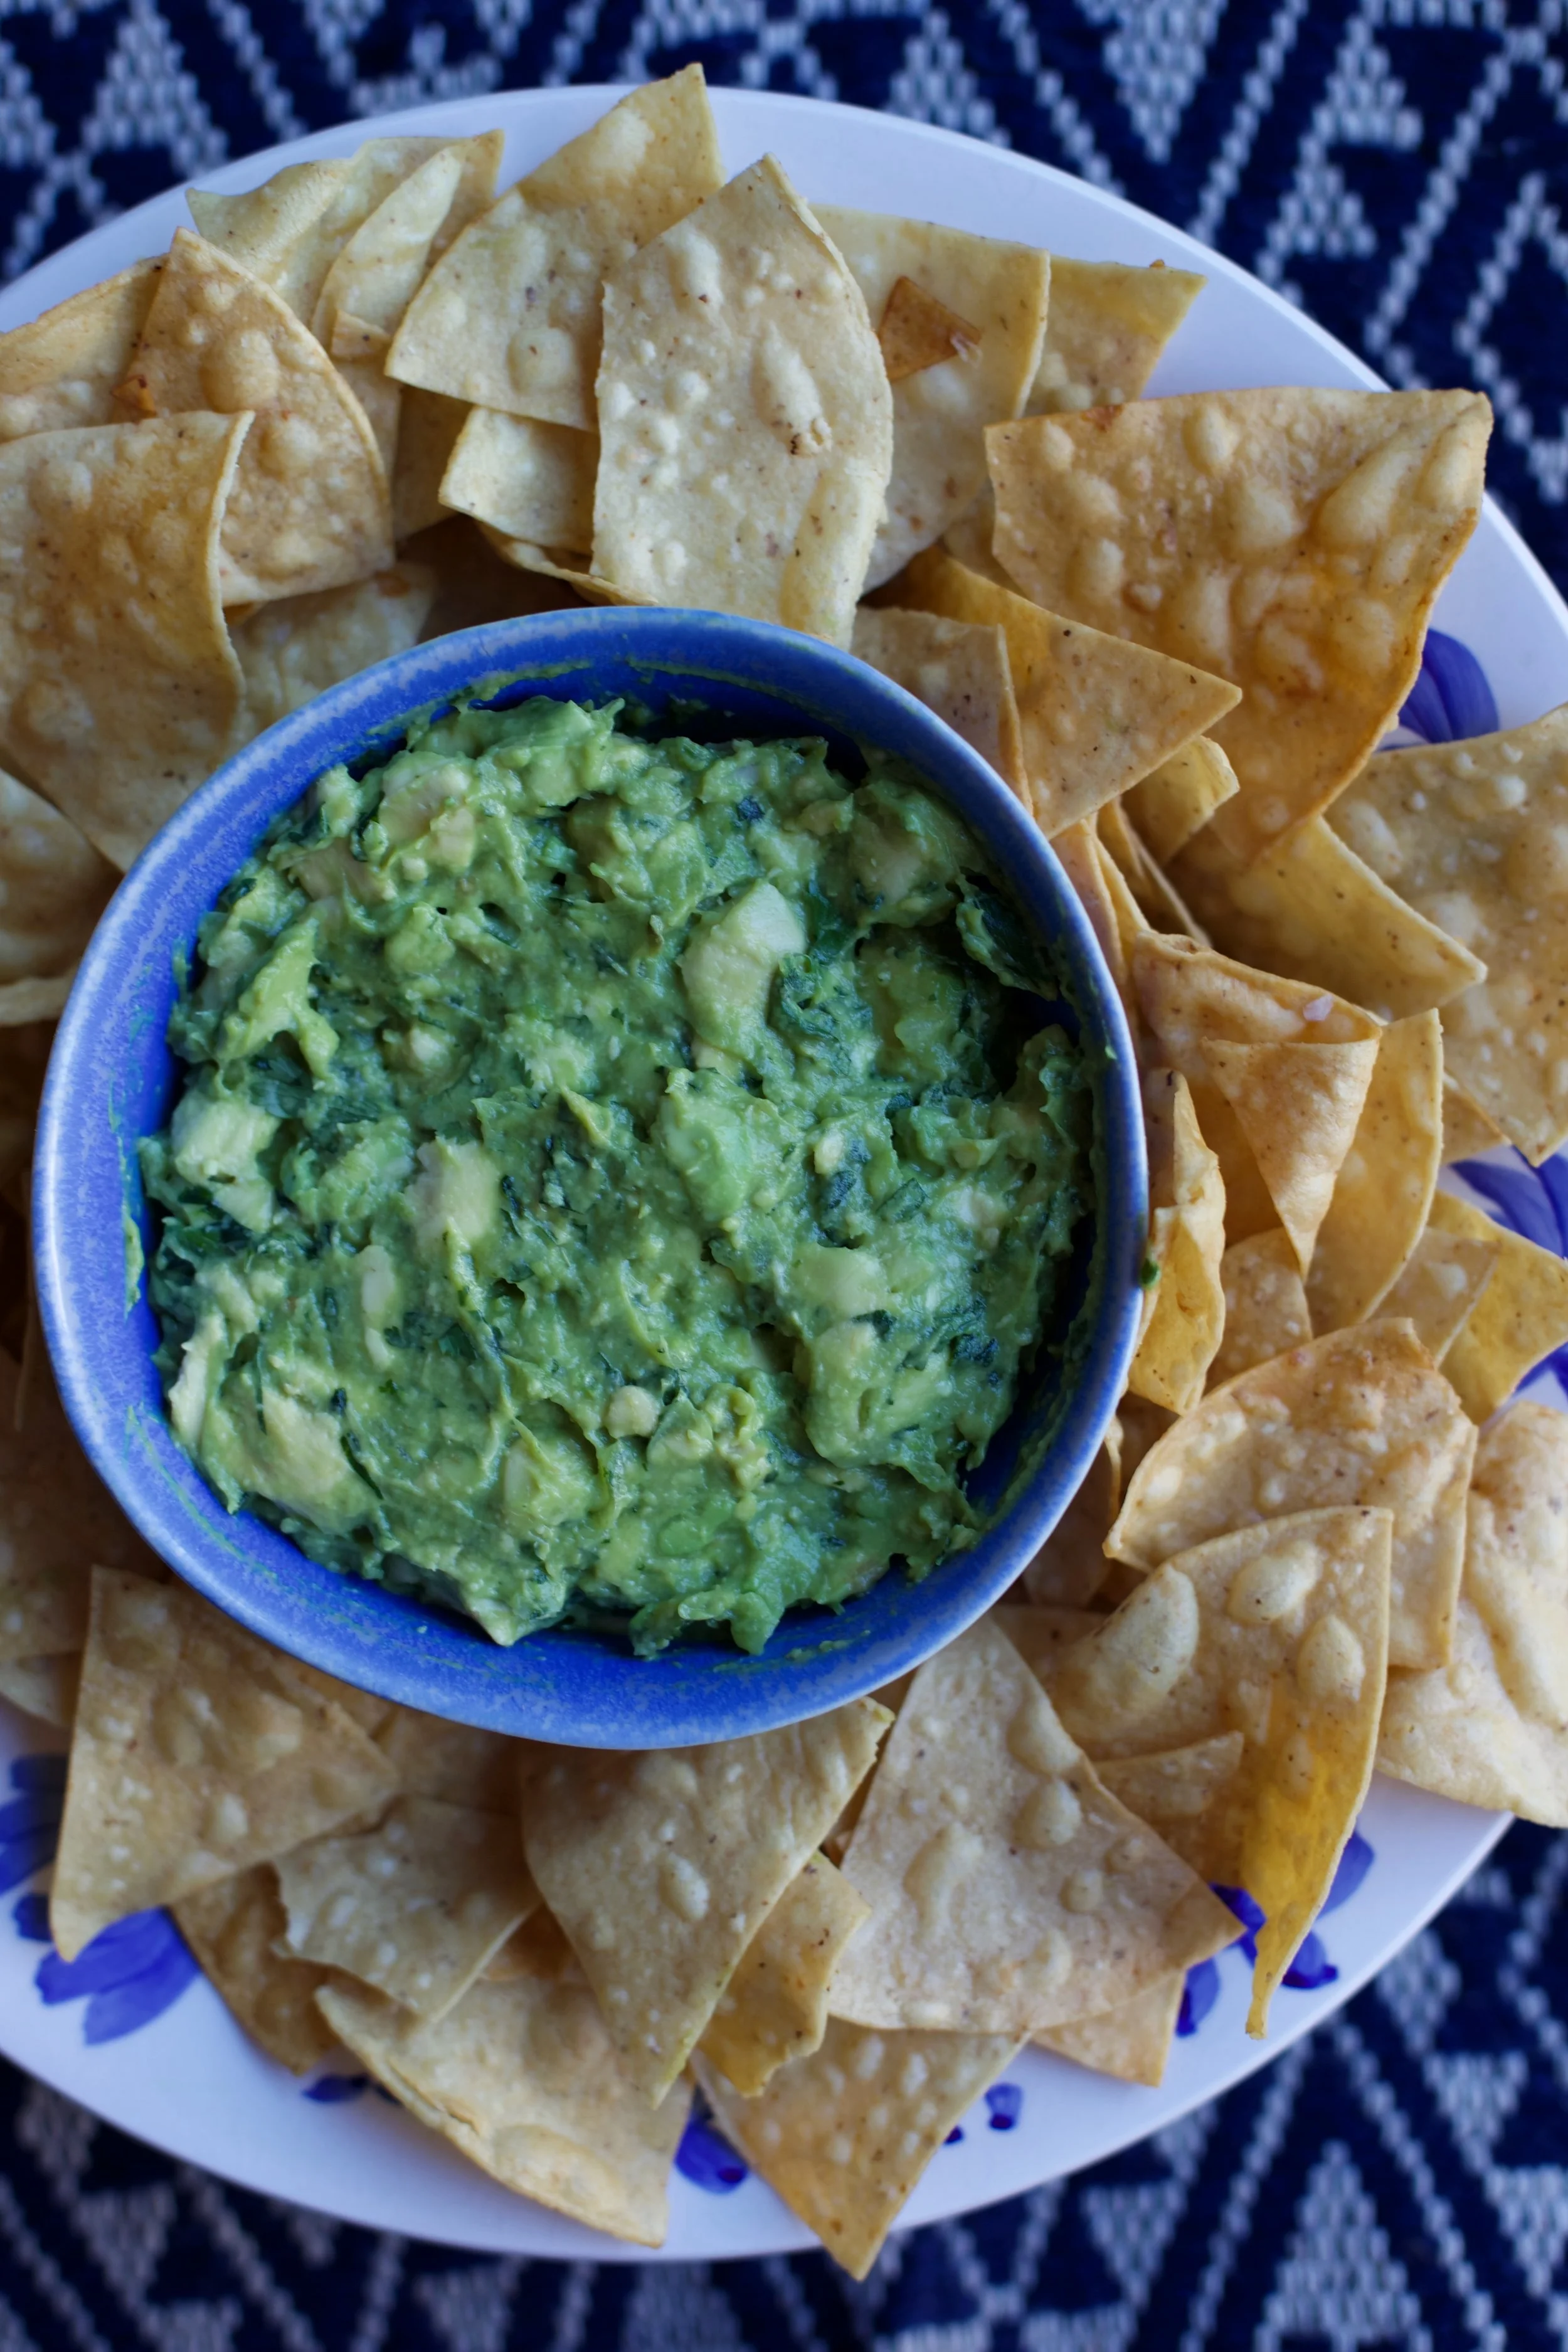
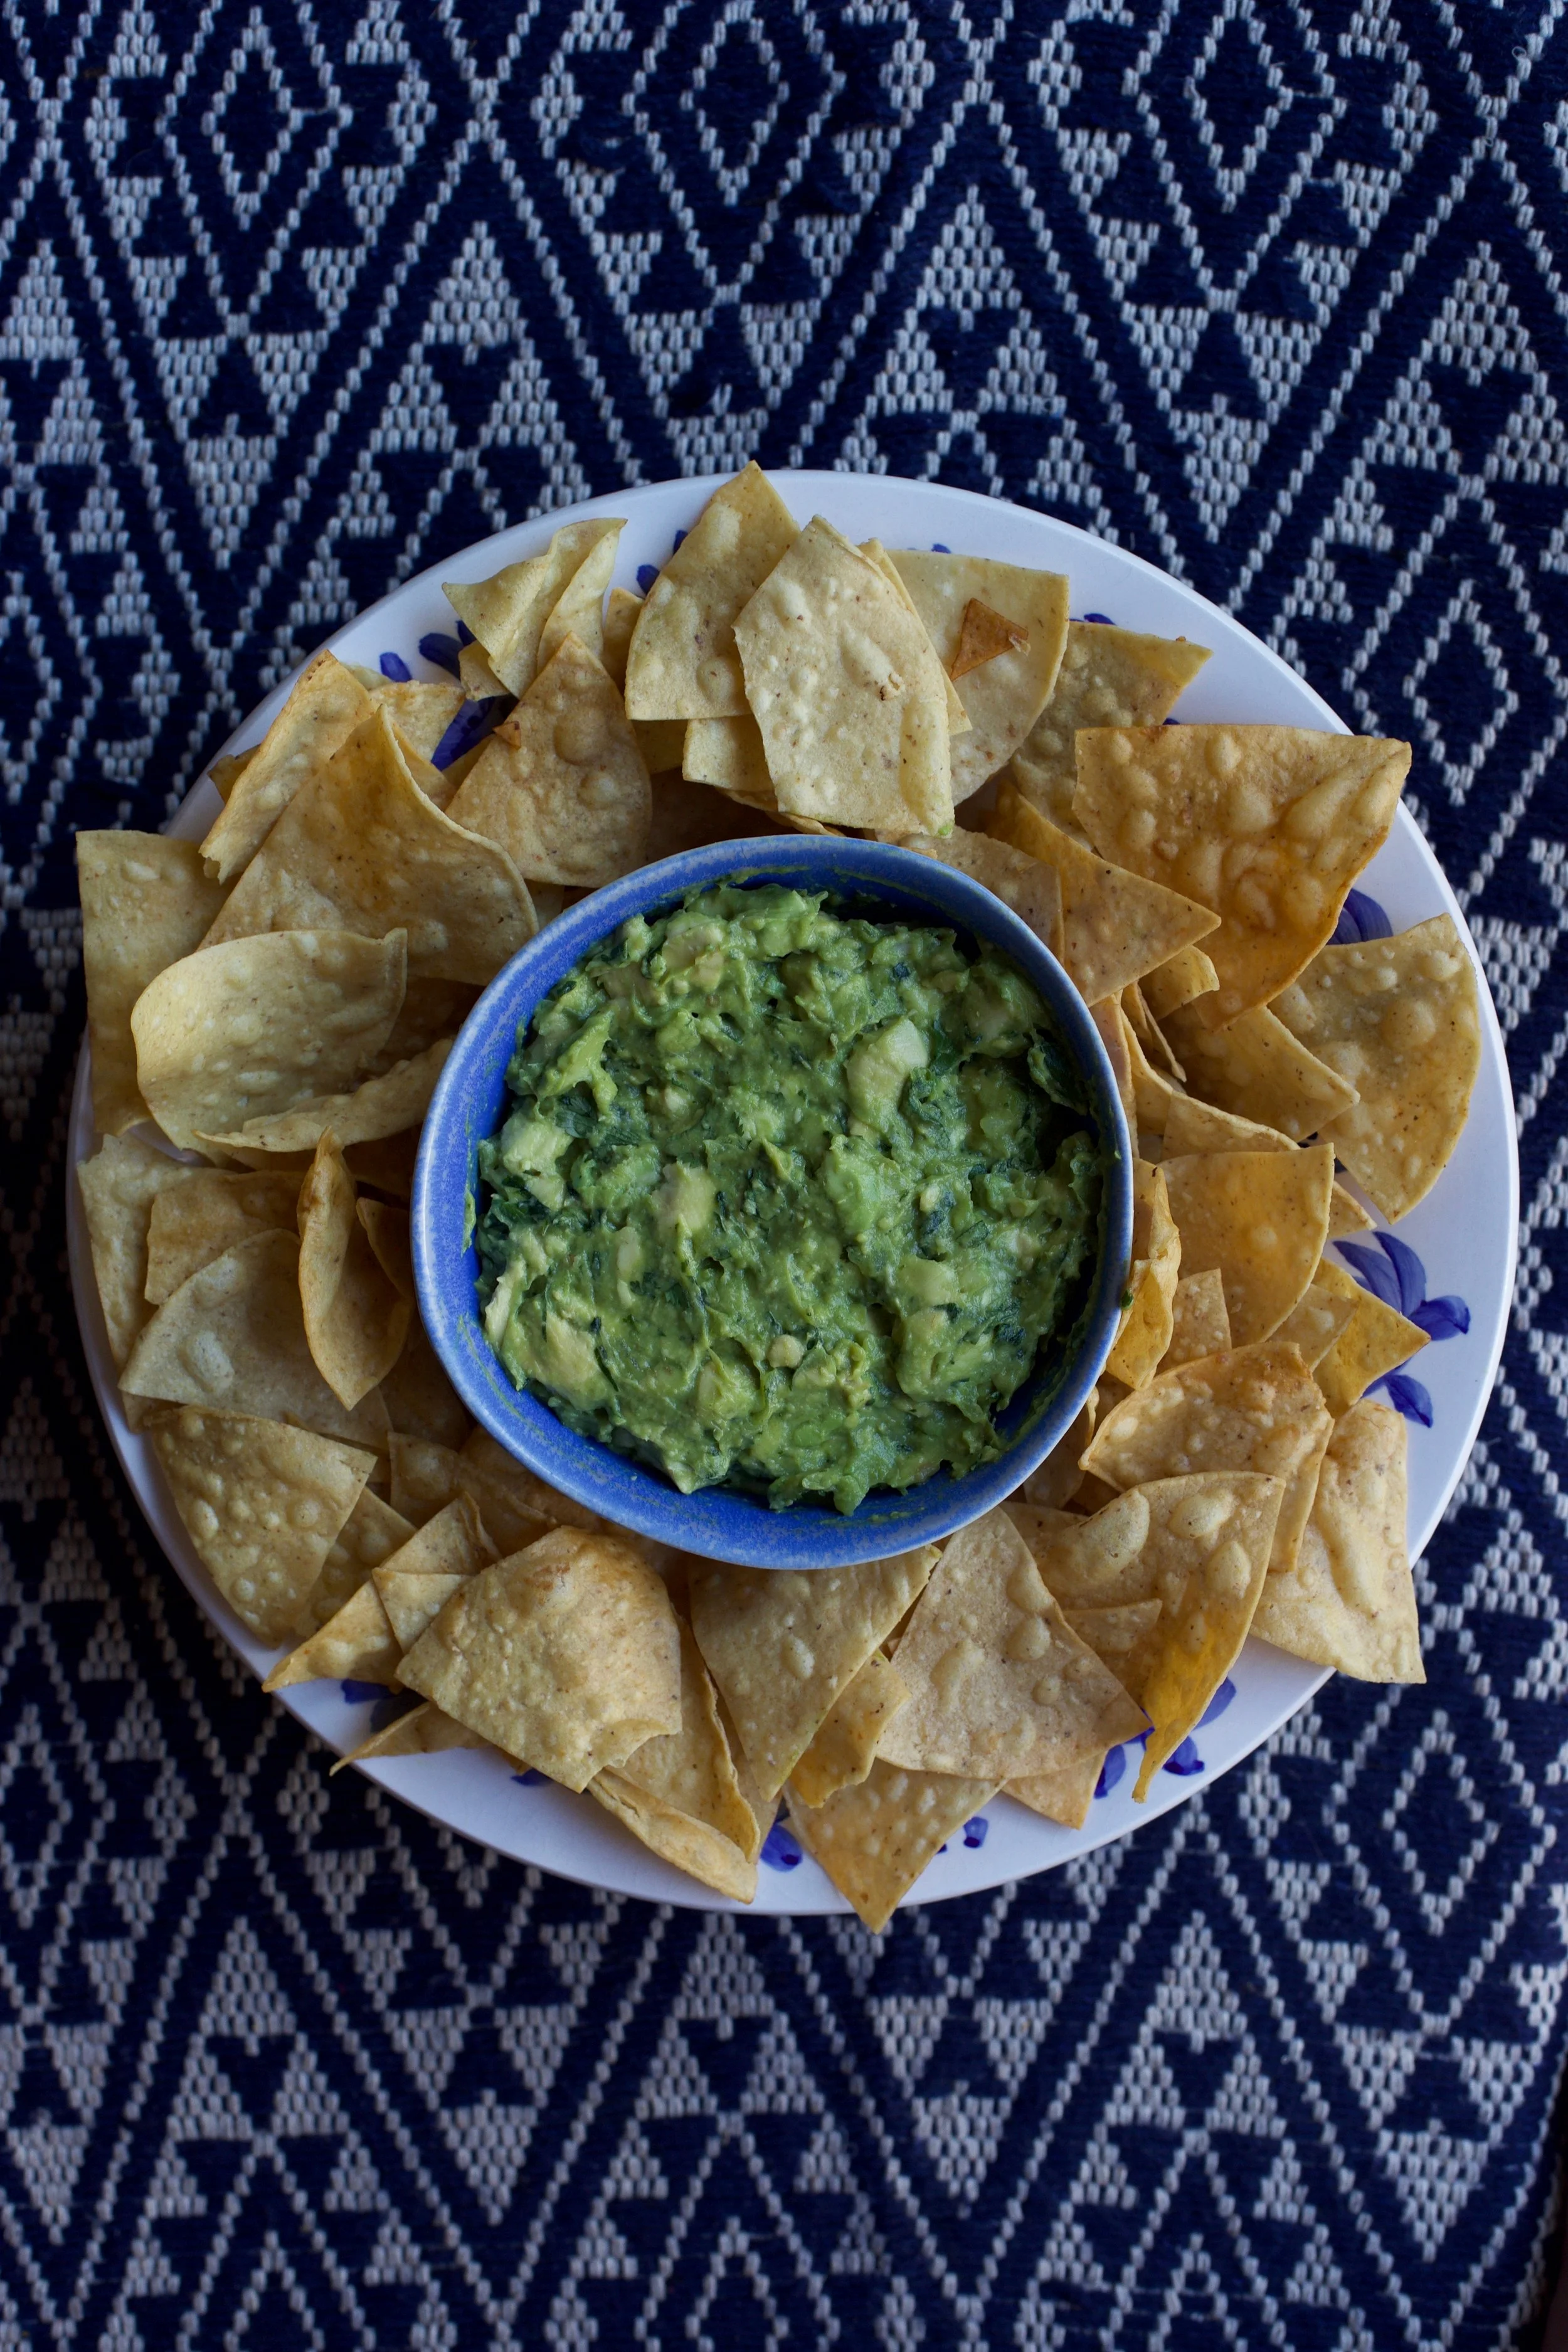
This recipe for guacamole from Roberto Santibañez is, in my opinion, perfect. It is very straight forward with only 6 ingredients, but recommends using a molcajete (a mortar and pestle). I got mine for a great price at either TJ Maxx or Marshalls (they're pretty much interchangeable to me and I love them both), and I still always see some for sale every time I visit. The molcajete is key to making the "paste" of cilantro, chile, onion, and salt that is added to the avocados, but if you don't want to add yet another tool to your kitchen, you can definitely create the paste with a knife or fork.

Alex and I have made this countless times and even though people are usually hesitant to try our version because they're used to a different guacamole - one with garlic, red onions, and/or tomatoes - 100% of the time we end up being asked for the recipe: it really is that good. Try it and let me know what you think!

Traditional Guacamole

Recipe from Roberto Santibañez

Makes about 3 cups (we always make this portion but it can easily be halved)

Ingredients

IMG_7842.jpg
  • 4 tbsp. finely chopped white onion

  • 2 tbsp. minced serrano or jalapeño pepper, seeds included (more or less depending on what you can handle; Alex and I prefer serrano peppers)

  • 1/2 tsp. kosher salt (this may seem like a little, but I'd rather everyone start with less and then season to their liking at the end)

  • 1/2 cup chopped cilantro, divided

  • 2 large or 4 small ripe avocados, halved and pitted

  • A squeeze of lime

Directions

  1. In your molcajete, mash together the onion, serrano or jalapeño pepper, salt, and half of the cilantro until it is a paste. If you don't have a molcajete, mash the ingredients together as well as you can on a cutting board with a knife or fork.

  2. With the skin still on, score the avocados in a crosshatch pattern with a knife, being careful not to cut through the skin, and scoop out into a bowl. Add the paste to the bowl and toss together well, and then add the rest of the chopped cilantro and mix with a fork.

  3. Add a good a squeeze of lime. Taste the guacamole and season to your liking - you may need more salt or more pepper. Enjoy!